


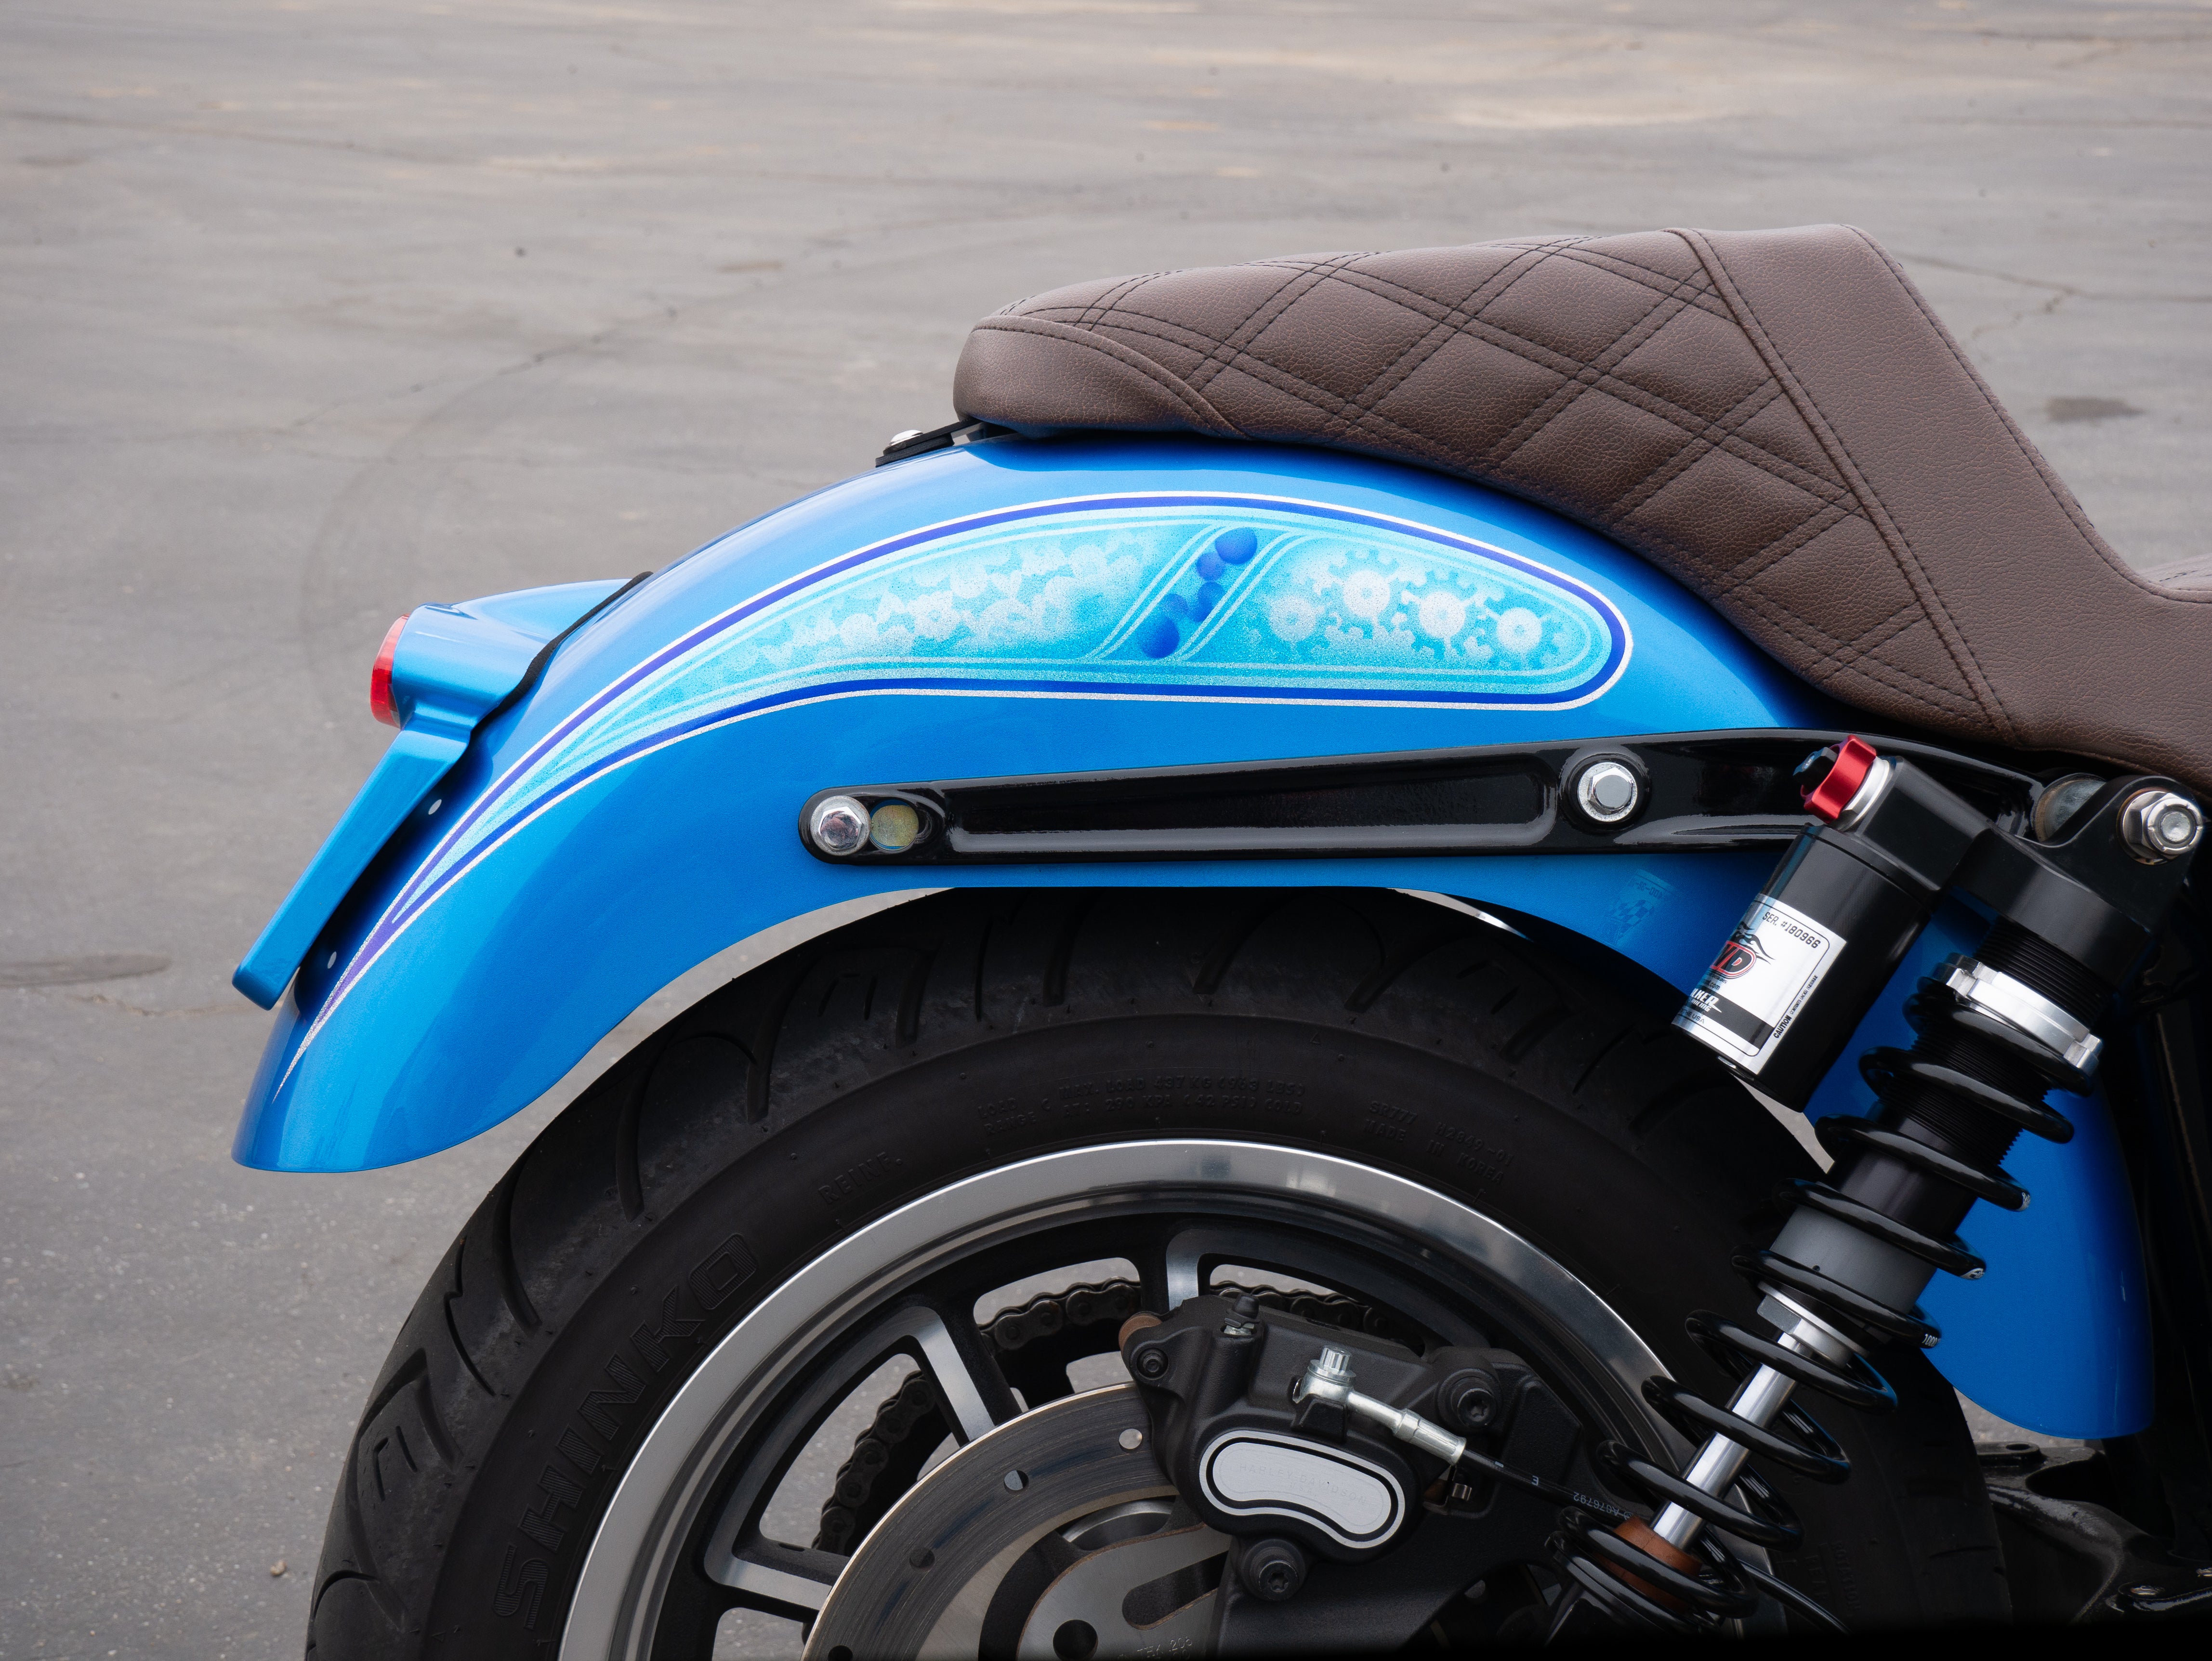
The Complete Guide to Replacing Harley-Davidson Shocks: When and How
Your Harley Davidson's rear shocks are more than just suspension components. They're the difference between a bone-jarring ride and the smooth, controlled experience you bought your bike for.
Over time, even the best factory shocks wear out, leaving you with a bouncy ride, poor handling in corners, and that uncomfortable feeling that your bike just isn't moving like it used to.
Whether you're noticing oil leaks, hearing clunking sounds over bumps, or your bike is bottoming out more frequently, worn shocks don't just hurt your comfort. They also compromise your safety and control.
When to Replace the Shocks on Your Harley Davidson
Knowing when to replace your Harley shocks isn't always obvious, especially if the deterioration happens gradually over thousands of miles. Most factory Harley shocks are built to last between 20,000 and 50,000 miles depending on your riding style, road conditions, and how much weight you're carrying.
But mileage isn't the only factor.
If you frequently ride two-up with a passenger or loaded touring bags, your shocks work harder and wear out faster. Similarly, aggressive riding with hard acceleration and braking puts extra stress on your suspension components.
5 Signs That It's Time to Replace Harley Shocks
- Oil Leakage: The most obvious warning sign is visible oil leakage around the shock body or on the shock shaft. Shocks rely on hydraulic fluid to dampen movement, so any leak means your suspension is already compromised and will only get worse.
- Excessive Bouncing: You might also notice your bike bouncing excessively after hitting a bump. If it bounces more than once or twice before settling, your shocks have lost their damping ability.
- Corner Handling: Pay attention to how your bike handles in corners too. Worn shocks cause instability and a vague, floaty feeling when leaning into turns, which directly affects your confidence and safety on the road.
- Bottoming Out: Another telltale sign is bottoming out, especially when carrying a passenger or hitting larger bumps. You'll feel a harsh metal-on-metal clunk as the suspension compresses fully and runs out of travel. This isn't just uncomfortable, it can damage other components and leave you with poor traction when you need it most.
- Uneven Tire Wear: Check for uneven tire wear patterns too, particularly cupping or scalloping on the rear tire, which often indicates suspension problems. If your rear tire is wearing out faster than expected or showing unusual wear patterns, your shocks are likely the culprit.
Don't wait until your shocks are completely blown to replace them. Even if you're not seeing dramatic symptoms, shocks that are several years old or have high mileage may have degraded enough to affect your ride quality and handling.
If you're planning other upgrades like new tires or a suspension tune, that's an ideal time to evaluate your shocks. Many riders also choose to upgrade their shocks proactively when they want better performance, adjustability, or a more comfortable ride than what the factory provided.
Remember, your suspension is a critical safety system—when in doubt, have a qualified mechanic inspect your shocks and give you an honest assessment.
Next, let's get into how to change your shocks with RWD V-Twin shocks for your Harley.

How to Change Your Harley Shocks
Replacing your Harley shocks is a straightforward job that most riders with basic mechanical skills can handle in their garage.
We offer premium aftermarket shocks designed specifically for Harley Davidson models, giving you better performance and adjustability than factory shocks. The process typically takes 20-30 minutes, depending on your skill level, and requires just a few common tools.
Before you start, make sure you have the correct shock length for your specific Harley model. RWD V-Twin shocks come in various lengths to fit different Touring, Softail and Dyna models.
Always work on a level surface with your bike securely stabilized on a center stand or lift.
The installation process is relatively simple. Just take your time and follow proper safety procedures. You'll need to support the rear end of your bike to take the load off the shocks before removing them. Once the weight is off, it's just a matter of removing the upper and lower mounting bolts, pulling out the old shocks, and installing your new RWD V-Twin shocks.
Make sure to torque all bolts to your Harley's factory specifications. Undertightened or overtightened bolts can cause handling issues or damage.
Here is a quick and dirty step-by-step guide to making the installation.
Step-by-Step Shock Replacement:
- Park your bike on level ground and ensure it's stable
- Place a jack or lift under the frame to support the bike's weight
- Remove the lower shock mounting bolt from each shock
- Remove the upper shock mounting bolt from each shock
- Pull out the old shocks and set them aside
- Install your new RWD V-Twin shocks, starting with the upper mounting bolts
- Install the lower mounting bolts and hand-tighten
- Torque all mounting bolts to factory specifications (typically 45-50 ft-lbs)
- Lower the bike carefully and remove the jack
- Test the suspension by bouncing the rear end—it should settle quickly without excessive bouncing
Replacing Harley Davidson Shocks in Conclusion
Replacing your Harley Davidson shocks doesn't have to be intimidating.
With the right aftermarket shocks and a little mechanical know-how, you can transform your ride quality in under an hour. Whether you're dealing with worn-out factory shocks that are compromising your safety or simply want to upgrade to a smoother, more controlled ride, a fresh suspension makes a dramatic difference in how your bike handles.
At RWD V-Twin, we've engineered our shocks specifically for Harley riders who demand better performance and adjustability than stock. Don't let degraded suspension hold you back from enjoying the ride you deserve.
Grab your tools, follow this guide, and get back to experiencing your Harley the way it was meant to be ridden!


