


Harley Rear Fender Replacement Guide: Step-by-Step Instructions
Swapping out the rear fender on your Harley isn't just a repair job. It is one of the most impactful ways to change the overall stance, style, and functionality of your bike. Whether you are upgrading to a sleeker RWD V-Twin full length replacement fender, repairing crash damage, or making room for a wider rear tire, the process goes beyond simply unbolting sheet metal.
Done right, a rear fender replacement can clean up your lines, improve fitment around the wheel and suspension, and create a solid foundation for lighting, seats, and luggage setups that actually work on the road.
This step-by-step Harley rear fender replacement guide walks through the entire process from teardown to final fitment so you can tackle the job in your own garage with confidence. It covers tools, prep, safe disassembly, test-fitting your new RWD fender, wiring considerations for turn signals and brake lights, and final torque and alignment checks to avoid rubbing or paint damage down the line.
Whether you are working on a Dyna, FXR, Softail, or Touring model, the same core principles apply, and this guide is designed to save you time, frustration, and guesswork.
First, let's cover some basics to know before you get started.

Things to Know Before Replacing Your Harley Rear Fender
Before you pull the first bolt or commit to buying a new fender, you need to understand what you are working with. Not all Harley rear fenders swap the same way, and overlooking key compatibility and prep details can lead to poor fitment, wasted hours, and unnecessary part returns.
This section covers the essential things you should verify, measure, and plan for before you start the replacement process.
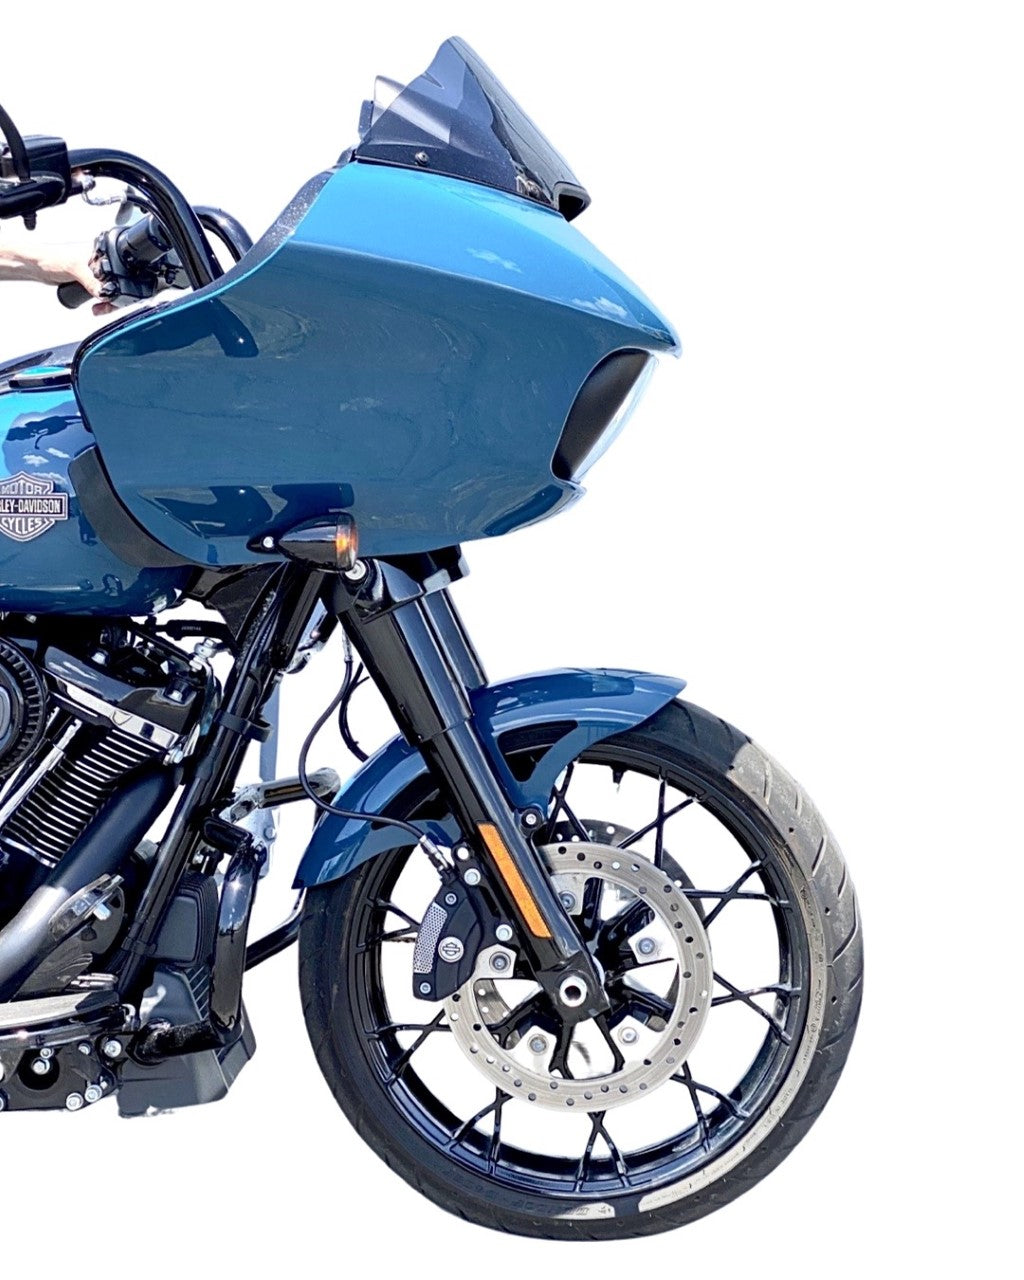
- Model-Specific Fender Compatibility: Harley rear fenders are not universal across all platforms. Dyna, Softail, FXR, and Touring models each have different mounting points, frame geometry, and fender strut configurations. Confirm that your replacement RWD fender is built specifically for your bike's year and model, or be prepared to modify mounting hardware and strut brackets during installation.
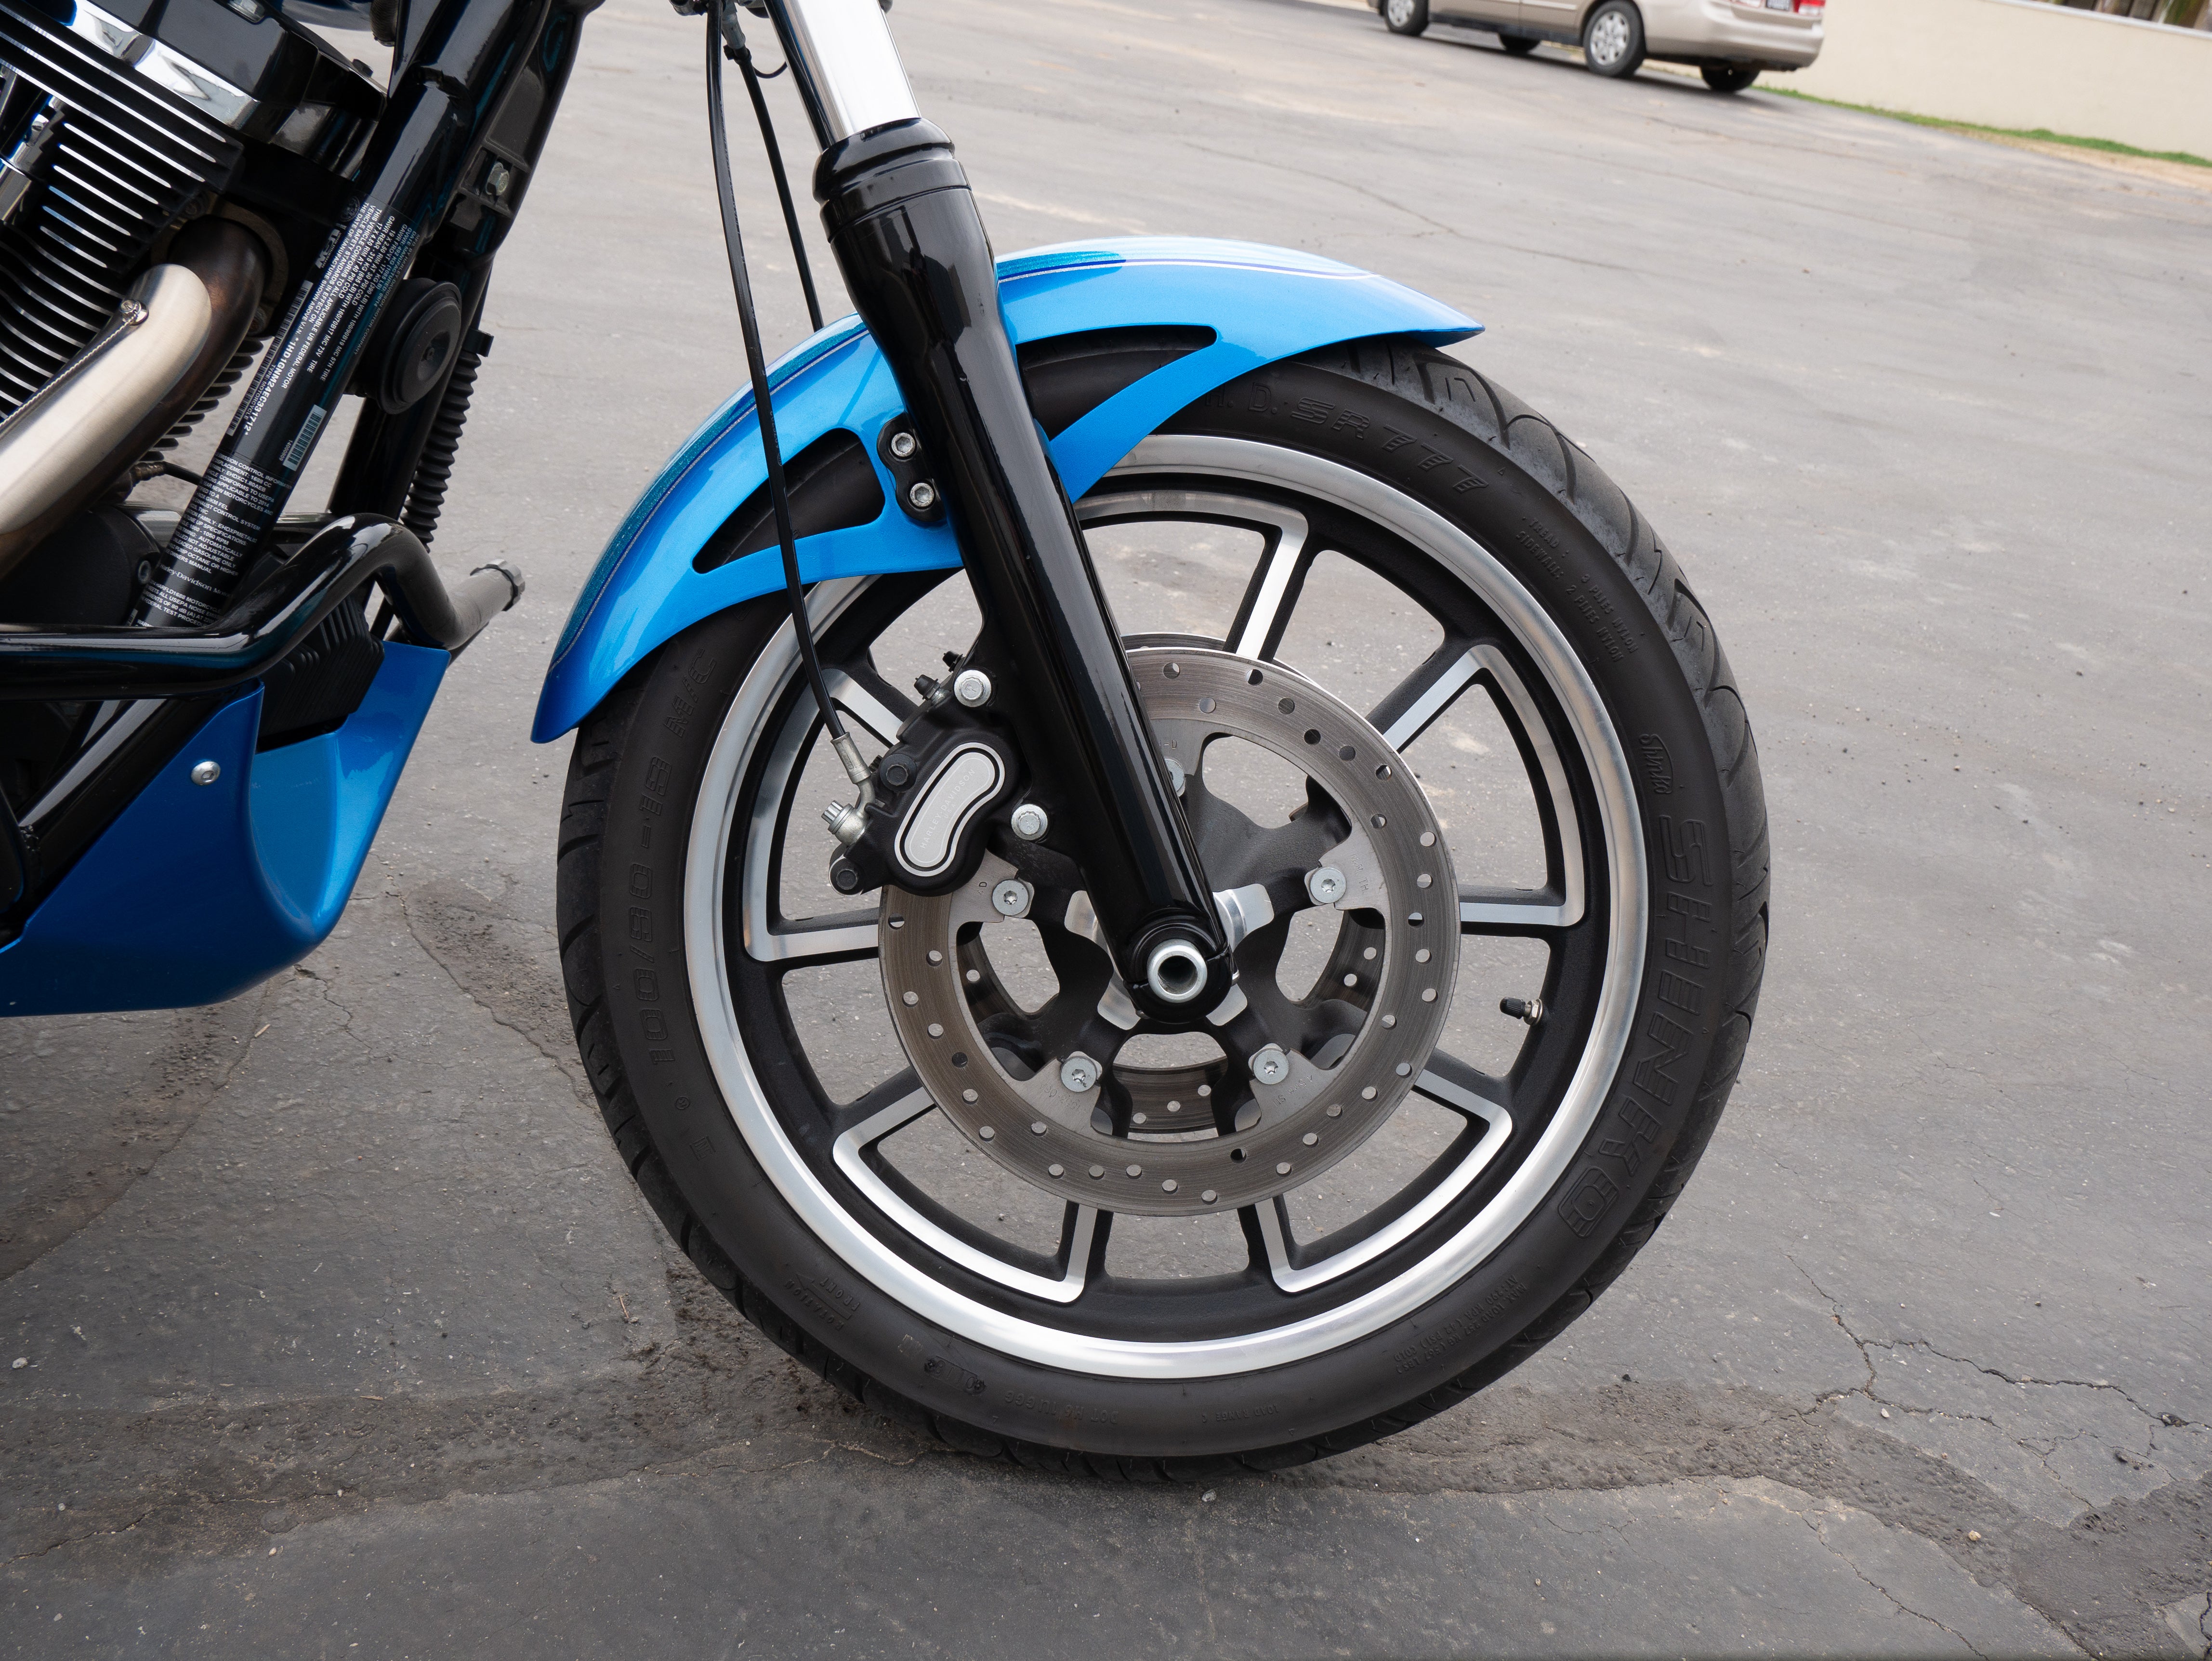
- Tire Clearance and Width Considerations: Wider rear tires require more inner fender clearance. Measure your current tire width and profile, then verify the inner width of your new fender. Our fenders list maximum tire width compatibility in the product specs. Leave at least half an inch of clearance on each side to account for suspension travel, tire flex under load, and chain or belt alignment.
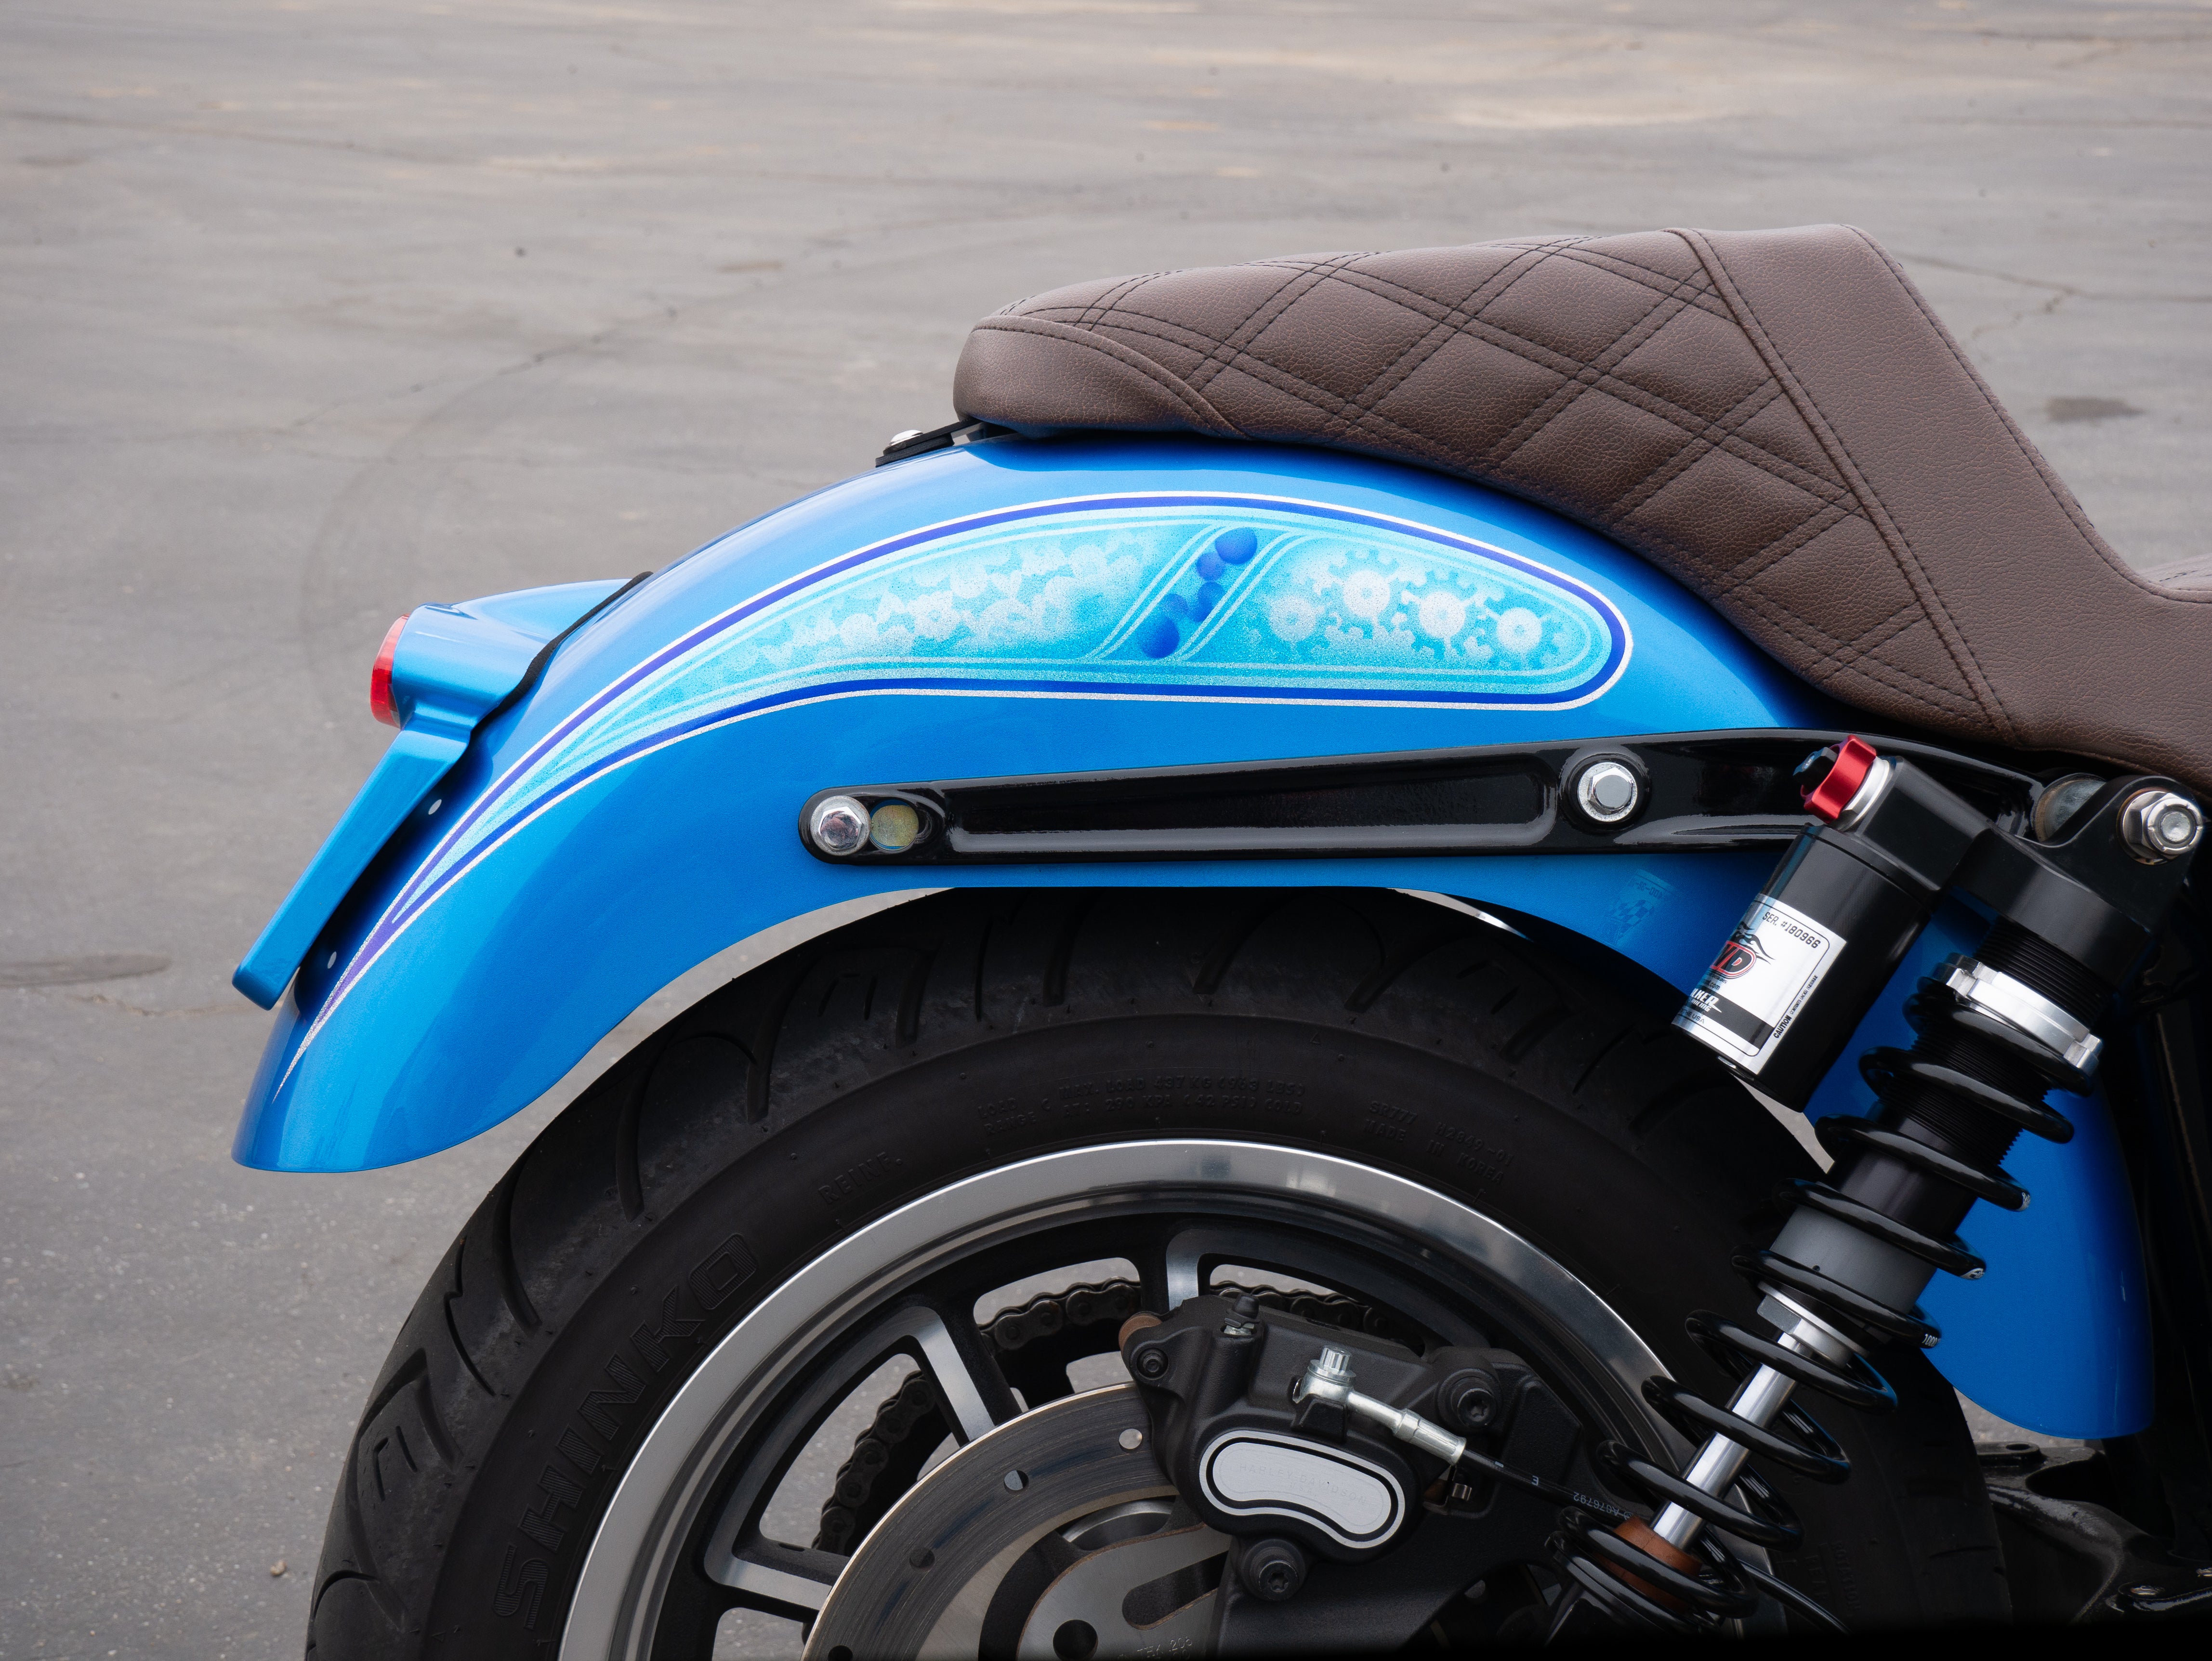
- Wiring and Lighting Integration: Your rear fender houses turn signals, brake lights, and sometimes license plate illumination. Check whether your new RWD fender includes integrated light mounts or if you need to source separate brackets. Plan your wire routing before you start disassembly so you know where wires will run, where connectors need to be spliced or extended, and how to seal entry points to prevent water intrusion.
- Strut and Mounting Hardware Requirements: Fender struts connect the fender to the frame or swingarm and handle vibration and road shock. Verify what is included with your fender kit and inspect your existing struts for cracks, rust, or stripped threads before attempting reuse.
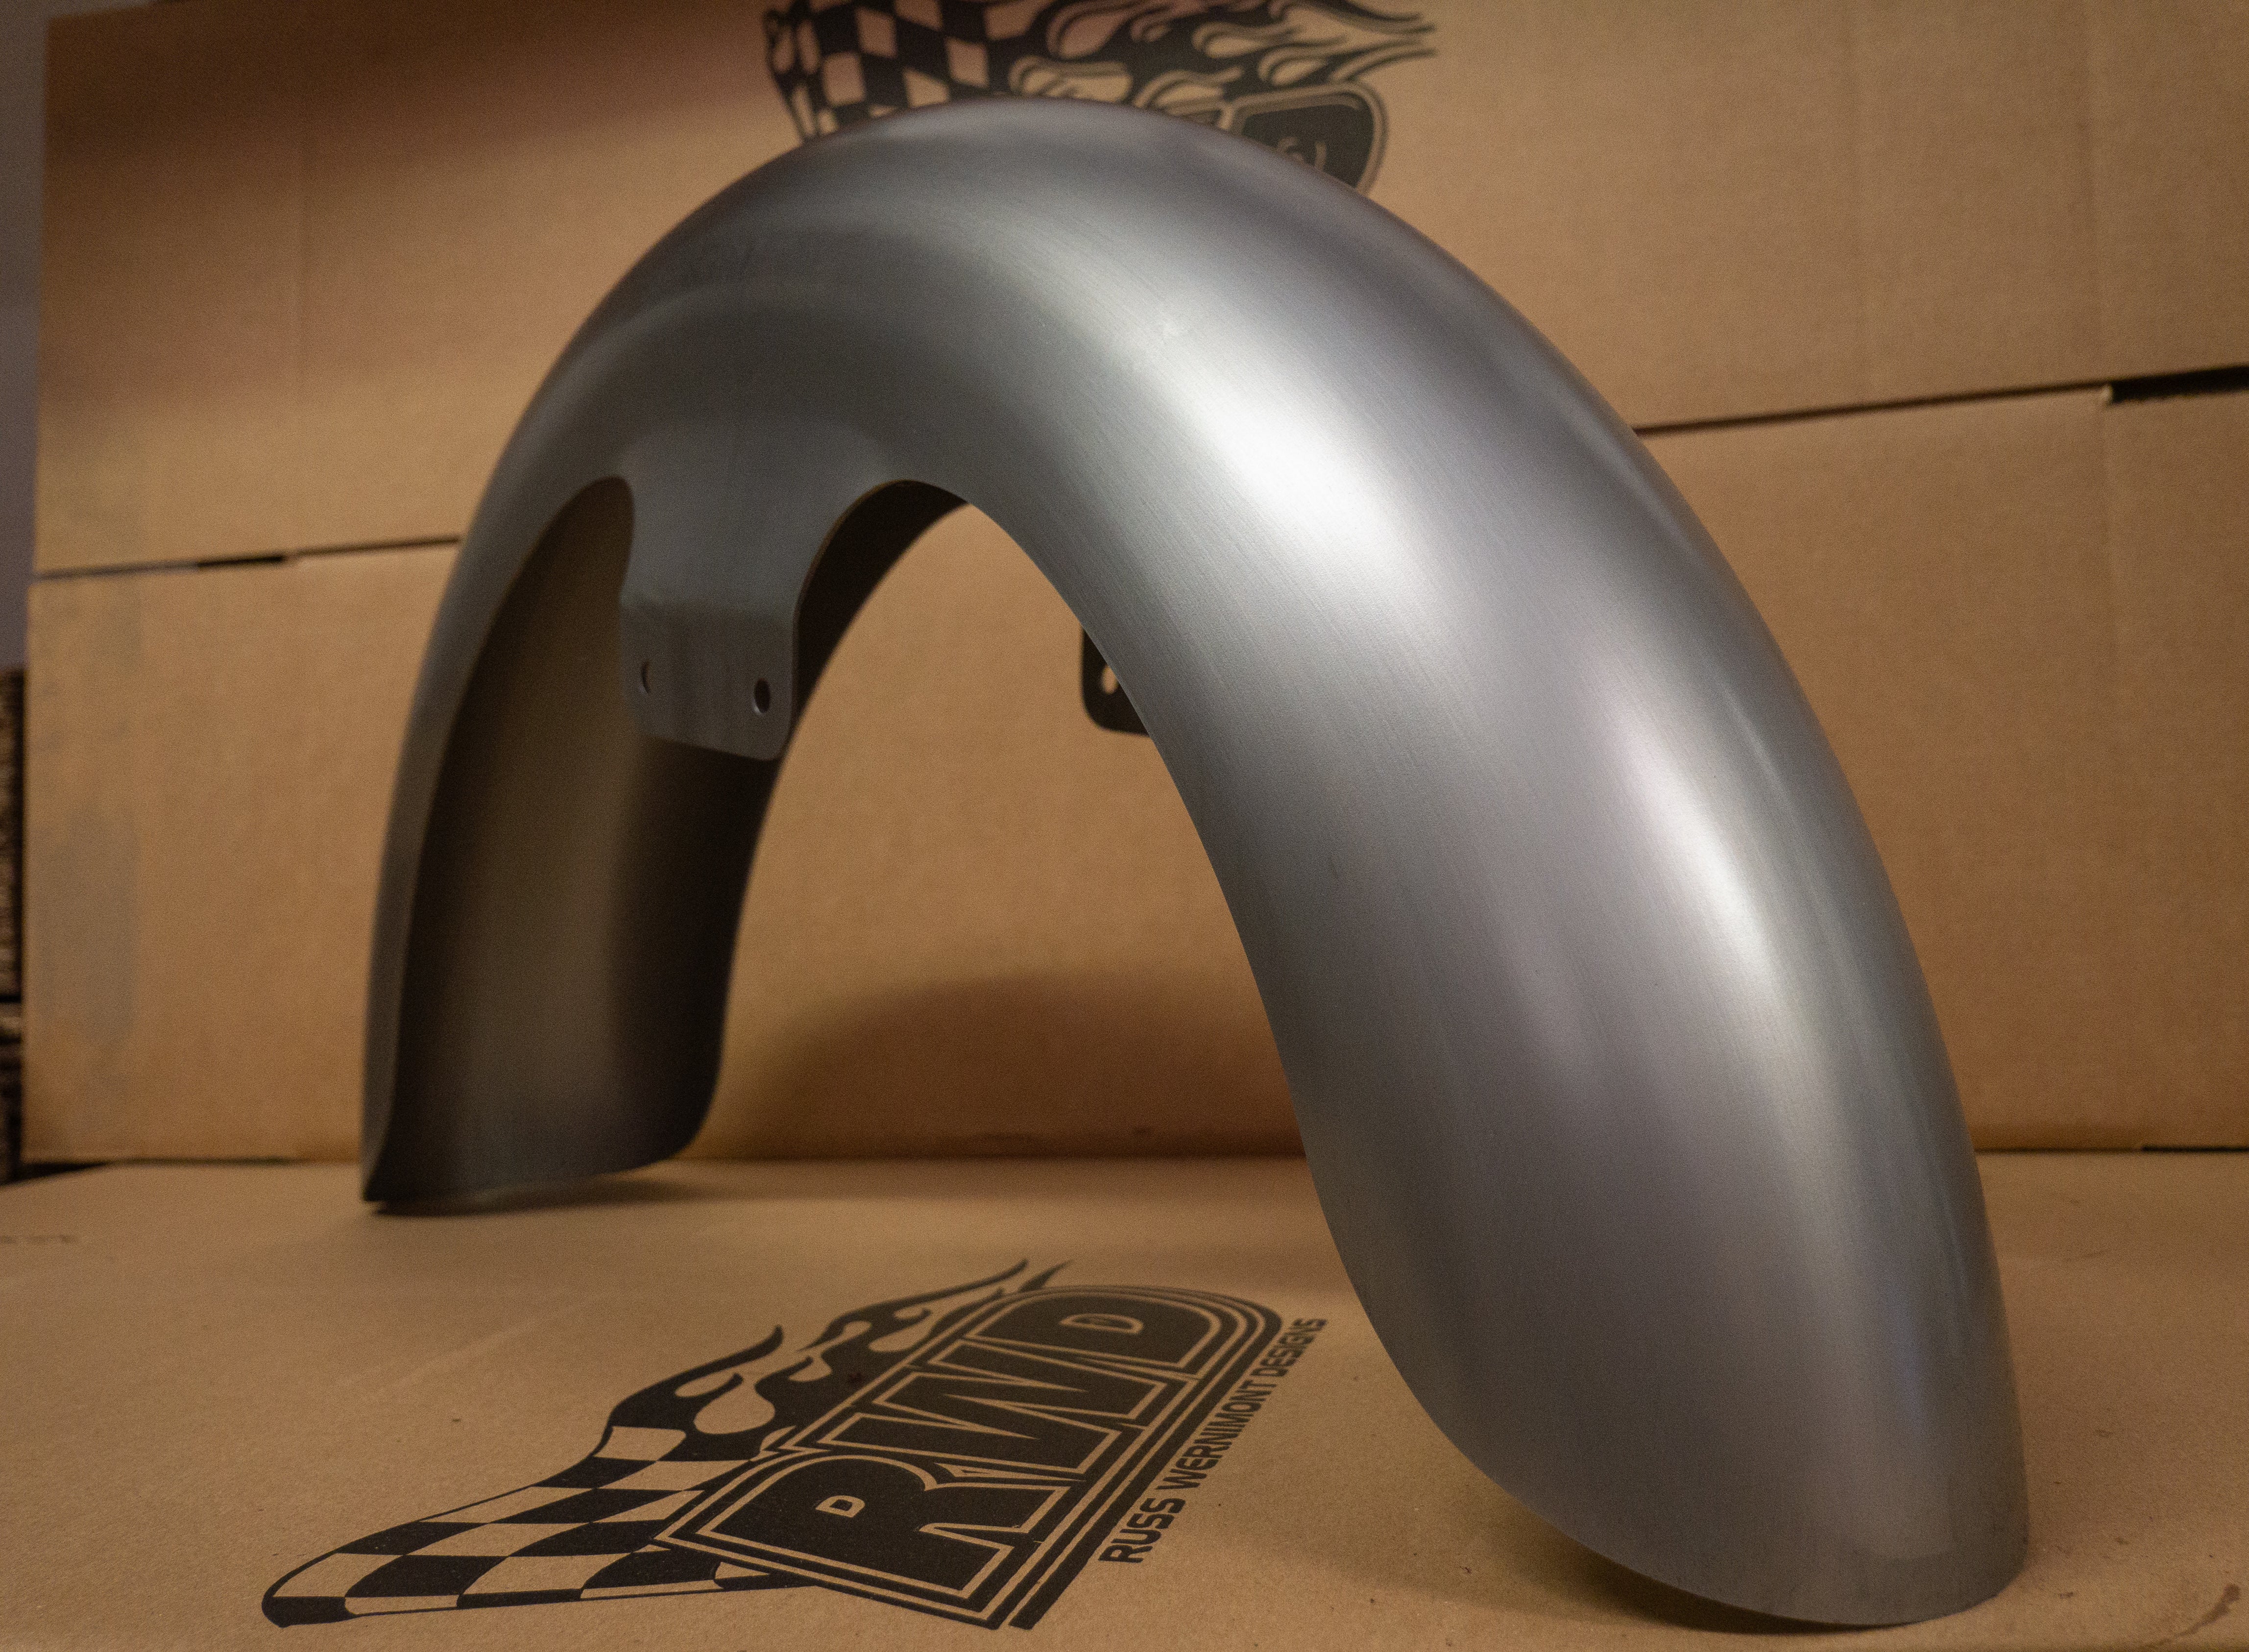
- Paint and Finish Prep: Most aftermarket fenders ship in raw steel that require additional prep and paint, including RWD V-Twin fenders. If you are installing a painted fender, confirm it matches your bike's color code or plan time and budget for custom paint. Raw fenders need to be sanded, primed, and sealed before installation to prevent rust.
- Tools and Workspace Setup: Rear fender replacement requires metric sockets, Allen keys, wire strippers, electrical tape or heat shrink, torque wrench, and penetrating oil for stuck bolts. Work in a well-lit garage with enough room to maneuver around the bike. A service manual for your specific model will provide torque specs and wiring diagrams, both of which are critical for safe and correct reassembly.
Finally, let's dive into the installation process.
How to Replace a Rear Fender on a Harley
Once you have verified compatibility, gathered your tools, and prepped your workspace, you are ready to begin the actual fender replacement. This process involves careful disassembly of the old fender and its components, followed by precise installation and alignment of your new RWD fender.
Work methodically and refer to your service manual for model-specific torque specs and routing details. Take photos during disassembly to reference later during reassembly.
Here's how to replace your Harley rear fender.
- Disconnect the Battery: Start by disconnecting the negative terminal on your battery to prevent electrical shorts while working with wiring. Use a socket or wrench to loosen the terminal clamp and move the cable away from the battery post. This is a critical safety step anytime you are working with lighting or electrical components on your bike.
- Remove the Seat and Side Covers: Most Harley models require seat and side cover removal to access fender mounting bolts and wiring connectors. Remove the seat by loosening the mounting bolt (usually located under the rear of the seat) and lifting it off. Side covers typically unclip or unbolt from the frame. Set all fasteners aside in a labeled container so nothing gets lost.
- Disconnect Rear Lighting and Wiring: Locate the connectors for your tail light, brake light, turn signals, and license plate light. Unplug each connector carefully, noting which wire harness goes to which light. If connectors are corroded or stuck, use electrical contact cleaner and gentle wiggling to free them. Take a photo of the wiring layout before disconnecting anything to make reinstallation easier.
- Unbolt the Fender Struts: Fender struts attach to the frame or swingarm at the bottom and to the fender at the top. Use a socket set or Allen key to remove the lower strut bolts first, then support the fender by hand as you remove the upper bolts. Strut bolts can be tight or rusted, so apply penetrating oil and let it soak if needed. Keep all hardware organized by location.
- Remove Fender Mounting Hardware: With the struts disconnected, locate and remove any additional bolts or brackets securing the fender to the rear frame or seat mount. Some models have hidden fasteners under rubber grommets or trim pieces. Work slowly and check all edges of the fender for remaining attachment points before attempting to lift it off the bike.
- Lift Off the Old Fender: Once all bolts and struts are removed, carefully lift the old fender straight up and away from the rear wheel and tire. Watch for any wiring still routed through or clipped to the fender. Set the old fender aside and inspect the exposed frame, swingarm, and mounting points for rust, cracks, or damaged threads that need attention before installing the new fender.
- Clean and Prep Mounting Surfaces: Use a wire brush, degreaser, and shop towels to clean all mounting points, bolt holes, and frame surfaces where the new fender will attach. Remove any rust, old paint, or debris that could prevent proper fitment or cause misalignment. Check all threaded holes and use a tap to clean out damaged threads if necessary.
- Test Fit the New RWD Fender: Before final installation, hold the new fender in place and check for clearance around the tire, belt or chain, and suspension travel. Spin the rear wheel and compress the suspension to verify nothing rubs. Confirm that all mounting holes line up with the frame and that strut attachment points are accessible. Make any necessary adjustments or trimming before proceeding.
- Install Fender Struts and Hardware: Begin reassembly by loosely attaching the fender struts to the frame or swingarm using the lower mounting bolts. Then position the new fender over the rear wheel and align it with the upper strut mounts. Thread the upper strut bolts by hand first to avoid cross-threading. Leave all bolts loose until everything is aligned and positioned correctly.
- Align and Torque All Fasteners: With the fender and struts loosely installed, check alignment from multiple angles. The fender should sit centered over the tire with even gaps on both sides. Adjust as needed, then torque all mounting bolts and strut fasteners to the specifications listed in your service manual. Use a torque wrench to ensure proper clamping force without over-tightening and cracking the fender or stripping threads.
- Route and Connect Wiring: Feed your lighting wiring through the fender and frame according to the routing you documented during disassembly. Use zip ties or OEM clips to secure wires away from moving parts, sharp edges, and hot exhaust components. Reconnect all lighting connectors, ensuring each plug clicks fully into place. Seal any new entry points through the fender with rubber grommets to prevent water intrusion.
- Reinstall Lights and Test Function: Mount your tail light, turn signals, and license plate light to the new fender using the appropriate brackets and hardware. Reconnect the battery negative terminal and turn on the ignition to test all lights. Check running lights, brake lights, and turn signals on both sides. Fix any wiring issues before reinstalling body panels.
- Reinstall Seat and Side Covers: Once all lighting is confirmed working and the fender is securely mounted, reinstall the side covers and seat. Make sure all clips and fasteners are properly seated and that nothing is pinching wires or rubbing against the tire. Do a final visual inspection to confirm everything is aligned and secure.
- Final Check and Test Ride: Before heading out on the road, do a final walk-around to check for any loose bolts, hanging wires, or clearance issues. Bounce the rear suspension and spin the wheel to confirm nothing contacts the fender. Take a short test ride at low speed to verify handling, braking, and lighting function. Listen for any unusual sounds and recheck torque on all fasteners after the first ride.
Replacing a Harley Rear Fender Overview
Replacing your Harley rear fender is a straightforward job that can dramatically improve your bike's appearance, functionality, and overall ride quality when done correctly. By taking time to verify compatibility before you buy, preparing your workspace with the right tools, and working through each step methodically from disassembly to final torque checks, you can achieve professional results in your own garage.
Whether you are installing a sleek RWD V-Twin replacement fender for custom styling, upgrading to accommodate a wider tire, or simply repairing damaged sheet metal, this guide provides the technical foundation and practical tips needed to complete the job with confidence and precision.
The key to successful fender replacement is attention to detail at every stage.


