


How to Install a Harley Bagger Rear Fender: Complete Guide
Installing a Harley bagger rear fender is one of the most impactful upgrades you can make to your touring motorcycle. Whether you're replacing a damaged OEM fender, looking to refresh your bike's appearance, or upgrading to a premium aftermarket option, a quality rear fender transforms both the functionality and aesthetics of your bagger.
This comprehensive guide walks you through the entire installation process, from removing your old fender to securing your new one, ensuring a professional-quality finish that looks like factory work.
Preparing for a Harley Bagger Rear Fender Installation
Proper preparation is the foundation of a successful fender installation. Taking the time to set up your workspace, gather the right tools, and review your specific bike model's requirements will make the installation process smoother and help you avoid common mistakes.
Before you start removing any parts, follow these preparation steps to ensure you're ready for a professional-quality installation.
- Clean your work area. Ensure you have adequate space around your motorcycle and a clean, well-lit garage or workspace free from debris.
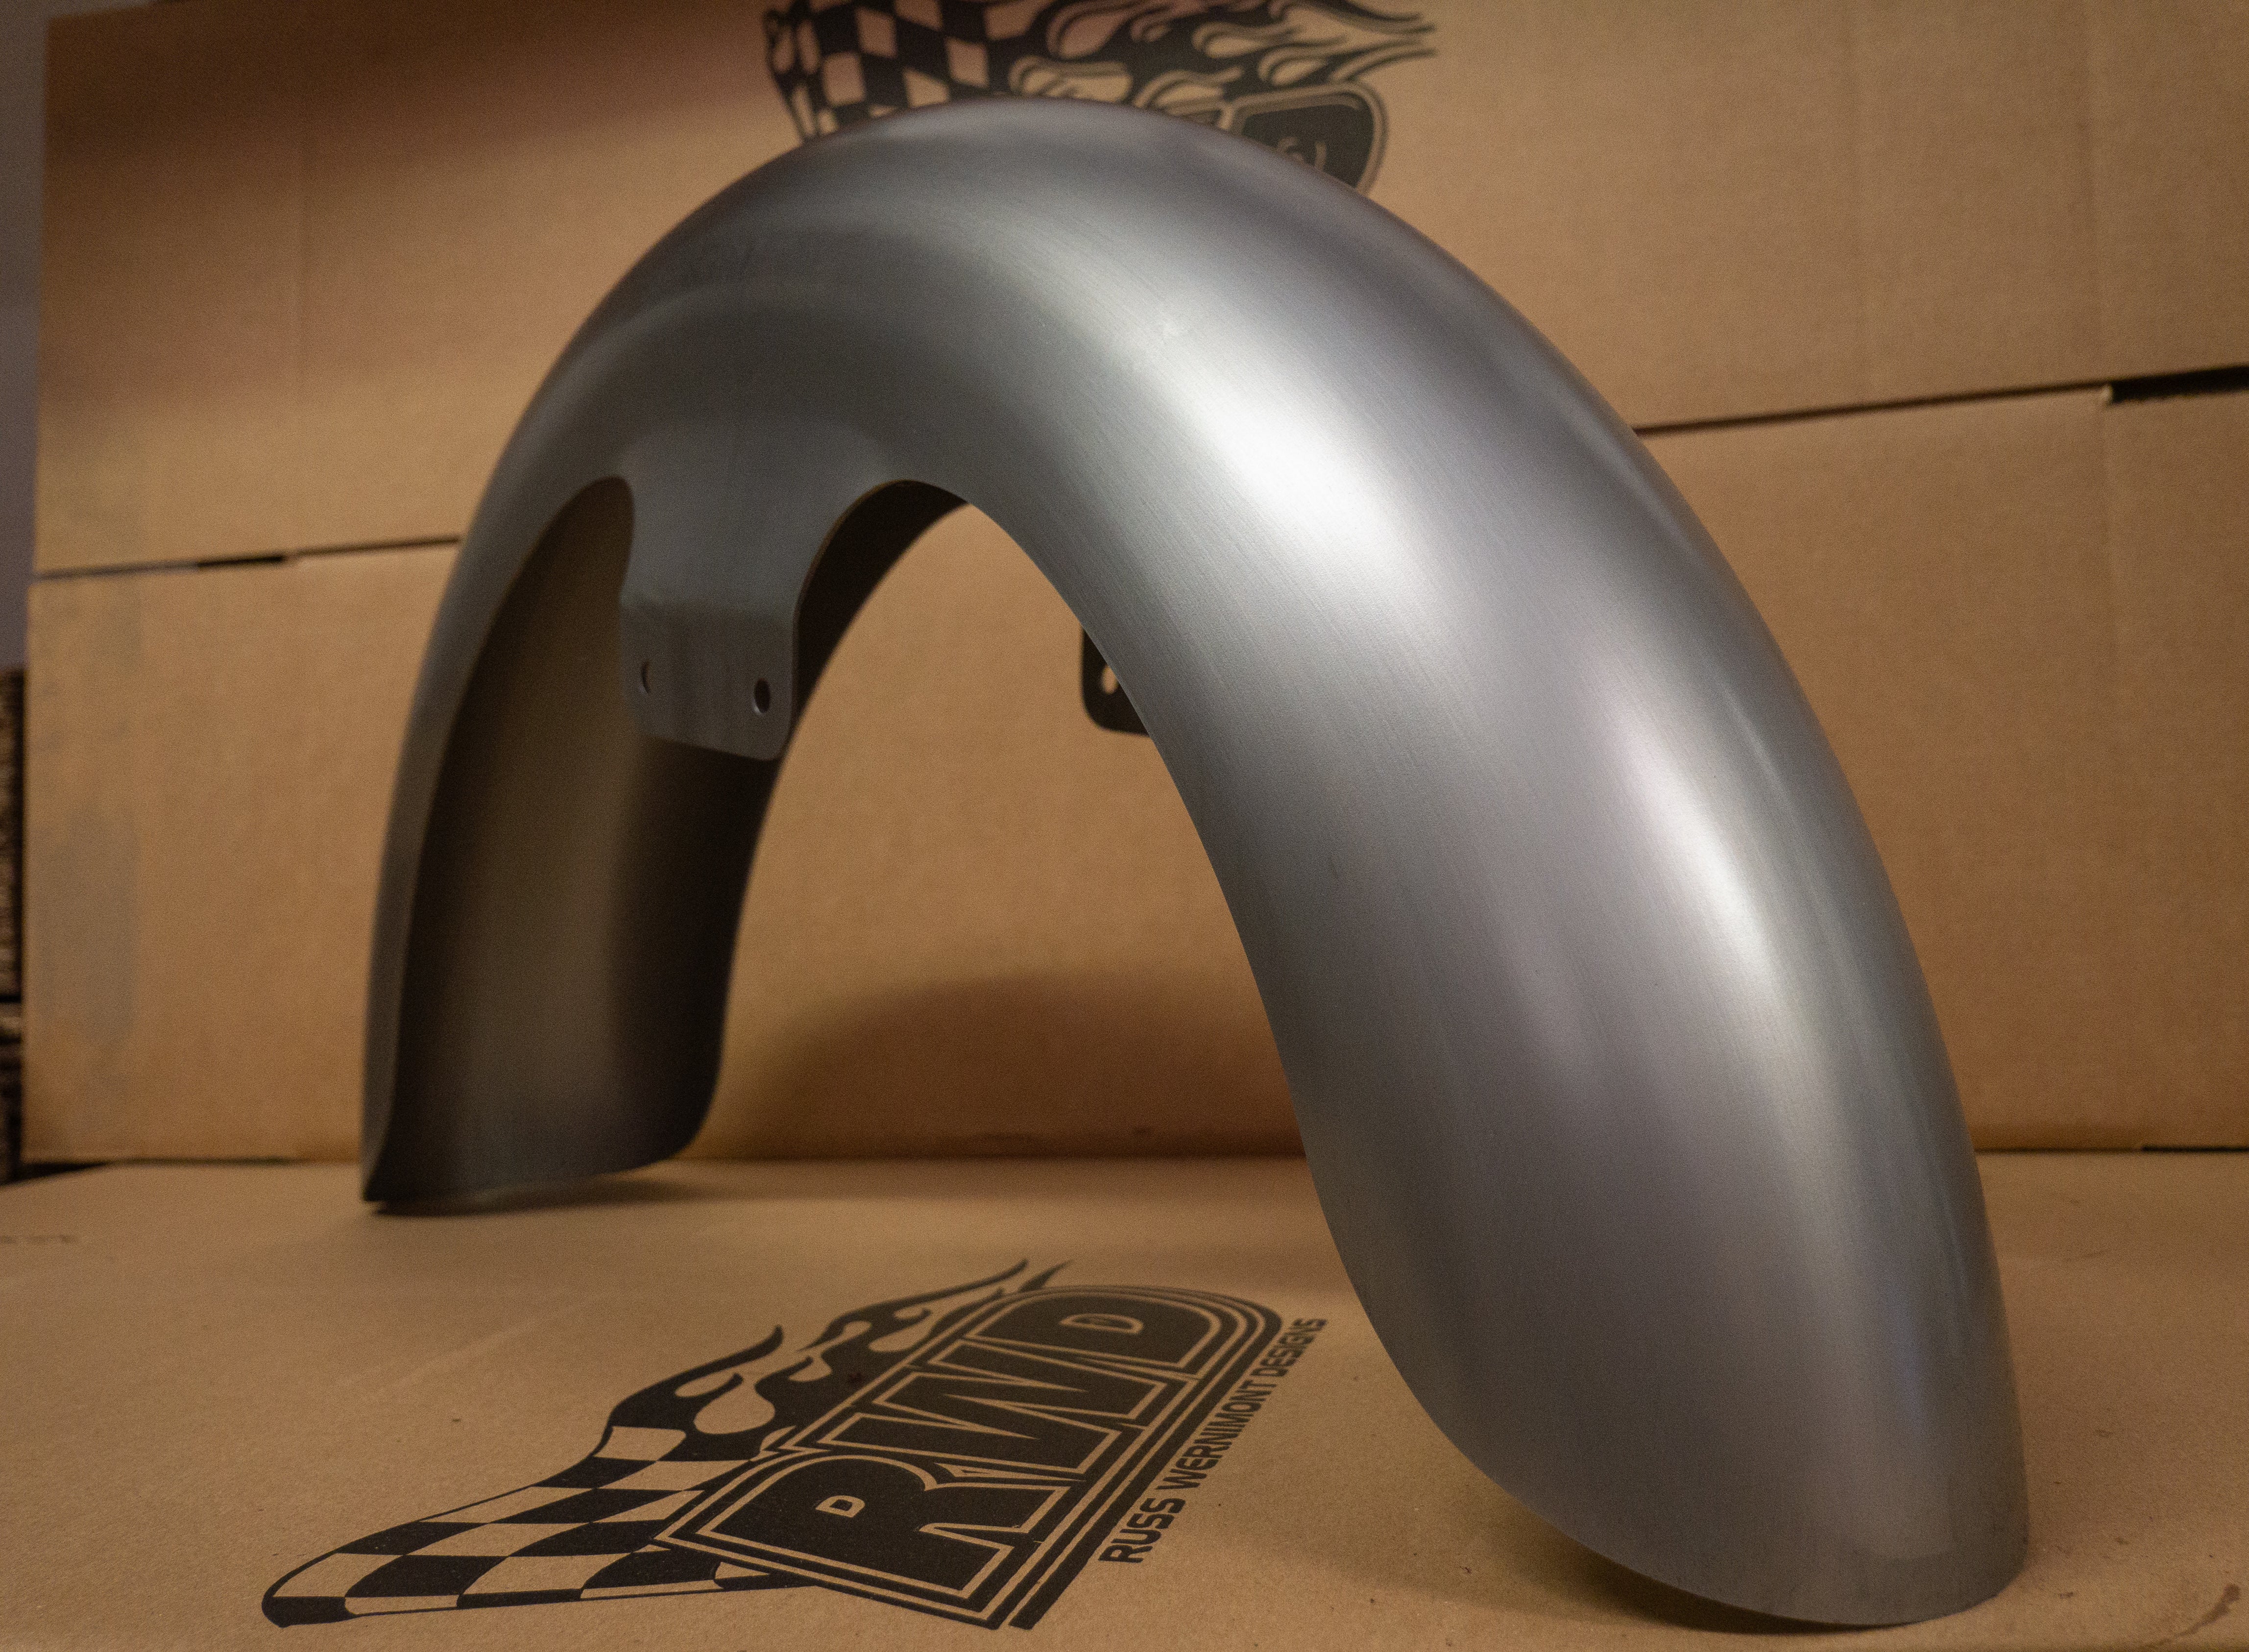
- Verify fender compatibility. Confirm your new RWD V-Twin fender is designed for your specific Harley model year and trim (Street Glide, Road Glide, Ultra Limited, etc.).
- Read manufacturer instructions. Review all documentation that came with your fender, including torque specifications and any model-specific notes.
- Disconnect the battery. Always disconnect the negative terminal first to prevent electrical shorts when working around wiring and lighting components.
- Take reference photos. Use your phone to photograph the existing fender setup from multiple angles, including wiring connections and mounting points.
- Organize small parts. Have magnetic trays or small containers ready to keep bolts, washers, and fasteners organized during removal.
- Check weather conditions. If working outdoors, choose a day with mild weather and no rain to prevent rust on exposed components.
- Lay out your tools. Pre-arrange all necessary tools within easy reach, including socket sets, torque wrench, trim tools, and wire connectors.
- Inspect the new fender. Before starting, examine your RWD V-Twin fender for any shipping damage and ensure all mounting hardware is included.
- Plan for saddlebag removal. Many bagger fender installations require temporary saddlebag removal, so clear a safe place to set them aside.
Next, let's get into the process.
How to Install a New Harley Davidson Bagger Rear Fender
Now that your workspace is prepared and you've gathered all necessary tools, it's time to walk through the actual installation process. This step-by-step guide covers everything from removing your old fender to properly mounting and aligning your new RWD V-Twin fender on your Harley.
- Remove the saddlebags. Unbolt and carefully remove both saddlebags from the bike, setting them in a safe, clean location away from your work area.
- Disconnect lighting and wiring. As mentioned in the above list, locate all electrical connections for the taillight, brake light, and turn signals. Carefully disconnect each connector, taking photos or labeling wires for easy reconnection.
- Remove fender mounting hardware. Using the appropriate socket or wrench, remove all bolts securing the rear fender to the frame rails and rear struts. Keep all hardware organized. You may reuse OEM bolts or use new hardware provided with your RWD V-Twin fender.
- Carefully lift off the old fender. With all fasteners removed, gently lift the old fender away from the motorcycle. You may need a helper for this step, as fenders can be awkward to maneuver around the rear tire and frame.
- Clean mounting surfaces. Wipe down all mounting points on the frame and struts with a clean rag. Remove any dirt, rust, or old thread-locker compound to ensure a secure fit for your new fender.
- Test-fit the new RWD V-Twin fender. Before final installation, loosely position the new fender on the bike to verify proper fitment and identify any clearance issues. Check that all mounting holes align correctly with the frame.
- Install mounting hardware loosely. Begin threading bolts through the fender and into the frame mounting points by hand. Do not fully tighten yet. Keeping hardware loose allows for alignment adjustments.
- Align the fender for proper fitment. Step back and visually inspect the fender from multiple angles. Ensure even gaps on both sides of the rear tire and that the fender sits level. Make small adjustments as needed before tightening.
- Torque bolts to specification. Using a torque wrench, tighten all mounting bolts to your motorcycle manufacturer's specifications (typically found in the service manual). Work in a cross-pattern to ensure even pressure and proper seating.
- Reconnect all wiring and lighting. Route wiring through the fender as needed and reconnect all electrical connections for the taillight, brake light, and turn signals. Use your reference photos to ensure correct connections.
- Test all lights and signals. Before reinstalling saddlebags, turn on your ignition and test all rear lighting functions. Verify that the taillight, brake light, and both turn signals are working correctly.
- Reinstall the saddlebags. Once you've confirmed proper fender alignment and lighting function, carefully reinstall both saddlebags, ensuring all mounting hardware is properly tightened.
- Perform a final inspection. Walk around your motorcycle and inspect the completed installation. Check for any gaps, misalignments, or loose hardware. Ensure the fender doesn't contact the tire at any point in the suspension travel.
- Take a test ride. After completing the installation, take a short test ride in a safe area to ensure everything feels solid and secure. Listen for any unusual noises or vibrations that might indicate a loose connection.
Conclusion
Installing a Harley bagger rear fender is a rewarding DIY project that enhances both the appearance and functionality of your touring motorcycle. By following the preparation steps outlined in this guide, you set yourself up for success before you even begin the installation.
The step-by-step process, from removing your old fender to properly torquing bolts and testing all electrical connections, ensures a professional-quality result that rivals dealership work.
With quality RWD V-Twin parts and attention to detail during alignment and fitment, your Harley will look showroom-fresh while you gain valuable mechanical experience and save on labor costs. Remember, taking your time and following torque specifications are key to a secure, long-lasting installation that you can be proud of for years to come.


