


How to Dial In Your Harley Softail Suspension Settings
Most Softail riders focus on power, exhaust and style, but the real secret to a bike that feels planted and confident in every corner is properly dialed suspension. When your front and rear suspension are set up for your weight, riding style and local roads, the bike tracks smoother through sweepers, soaks up potholes with less drama and gives you more feedback when you are pushing it a little harder.
The right settings can transform a harsh, wallowy or vague Softail into a ride that feels more controlled, predictable and comfortable on long days in the saddle. On a performance build with upgraded RWD V-Twin components, getting those adjustments right is just as important as the parts you bolt on.
This guide will walk you through how to adjust your Harley Davidson Softail suspension step by step so you can make smart, repeatable changes instead of guessing.
Understanding Suspension Components and Terms
Before you start turning adjusters and changing settings, it helps to know what each term actually means and how the adjustments affect your ride. Suspension tuning is not complicated once you understand the basics, and knowing the difference between preload, compression and rebound will make the rest of this process much easier.
Here are the key components and terms you need to know.
- Preload: The initial tension or load on the suspension spring before you even sit on the bike. Adding preload makes the suspension stiffer and raises ride height. Reducing it softens the feel and lowers the bike.
- Compression Damping: Controls how fast the suspension compresses when you hit a bump or brake hard. More compression damping slows down how quickly the suspension compresses, which can prevent bottoming out but may feel harsh on small bumps.
- Sag: The amount the suspension compresses under the weight of the rider and gear. Sag is measured in inches or millimeters and is the foundation of a good suspension setup. Setting sag correctly ensures your suspension operates in the right part of its travel. RWD shocks perform best with between 1/2" and 3/4" of Sag.
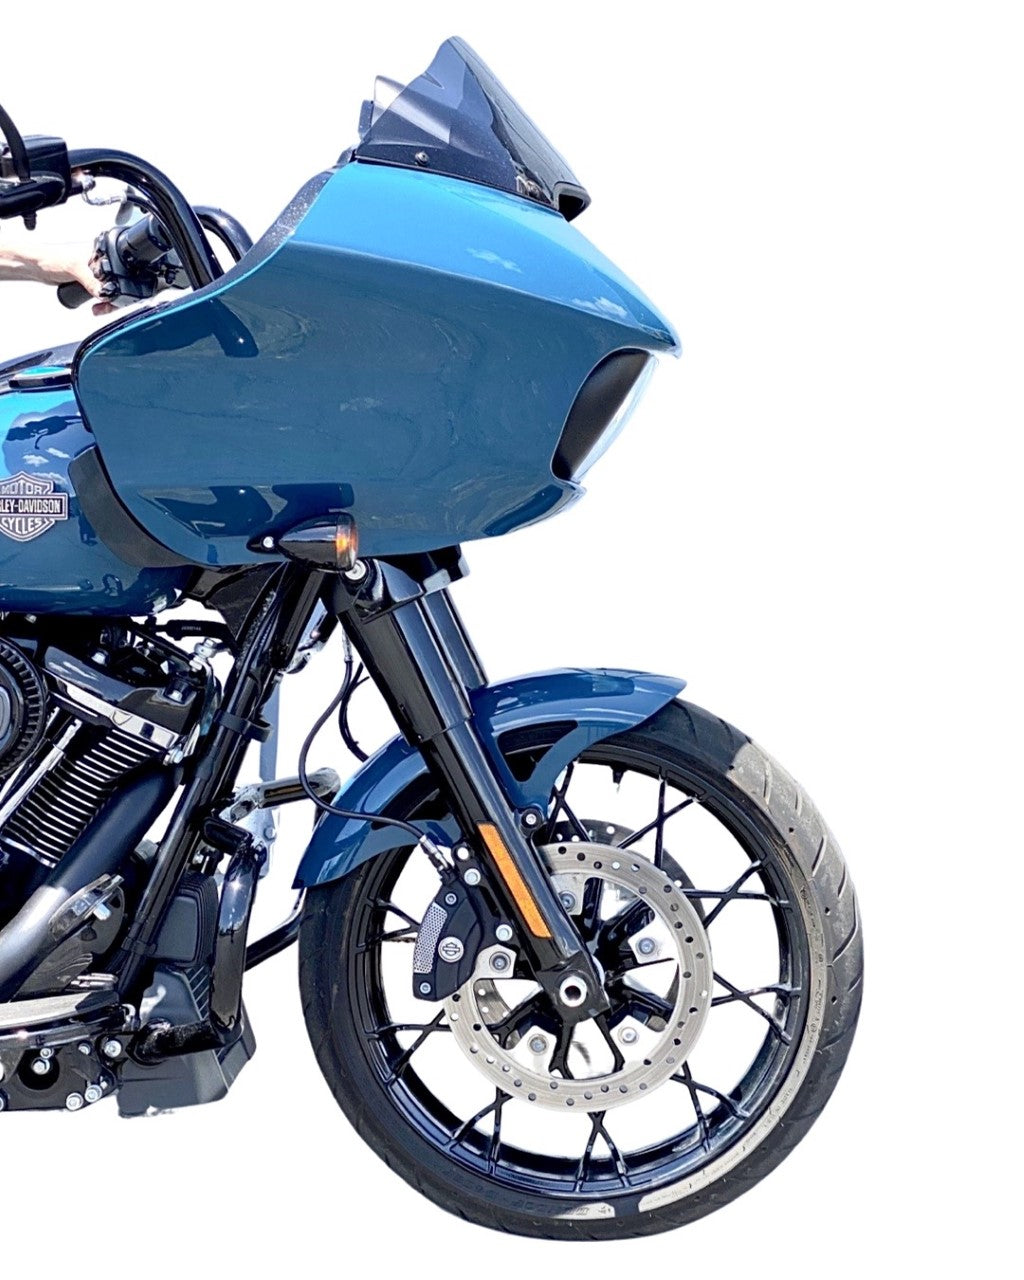
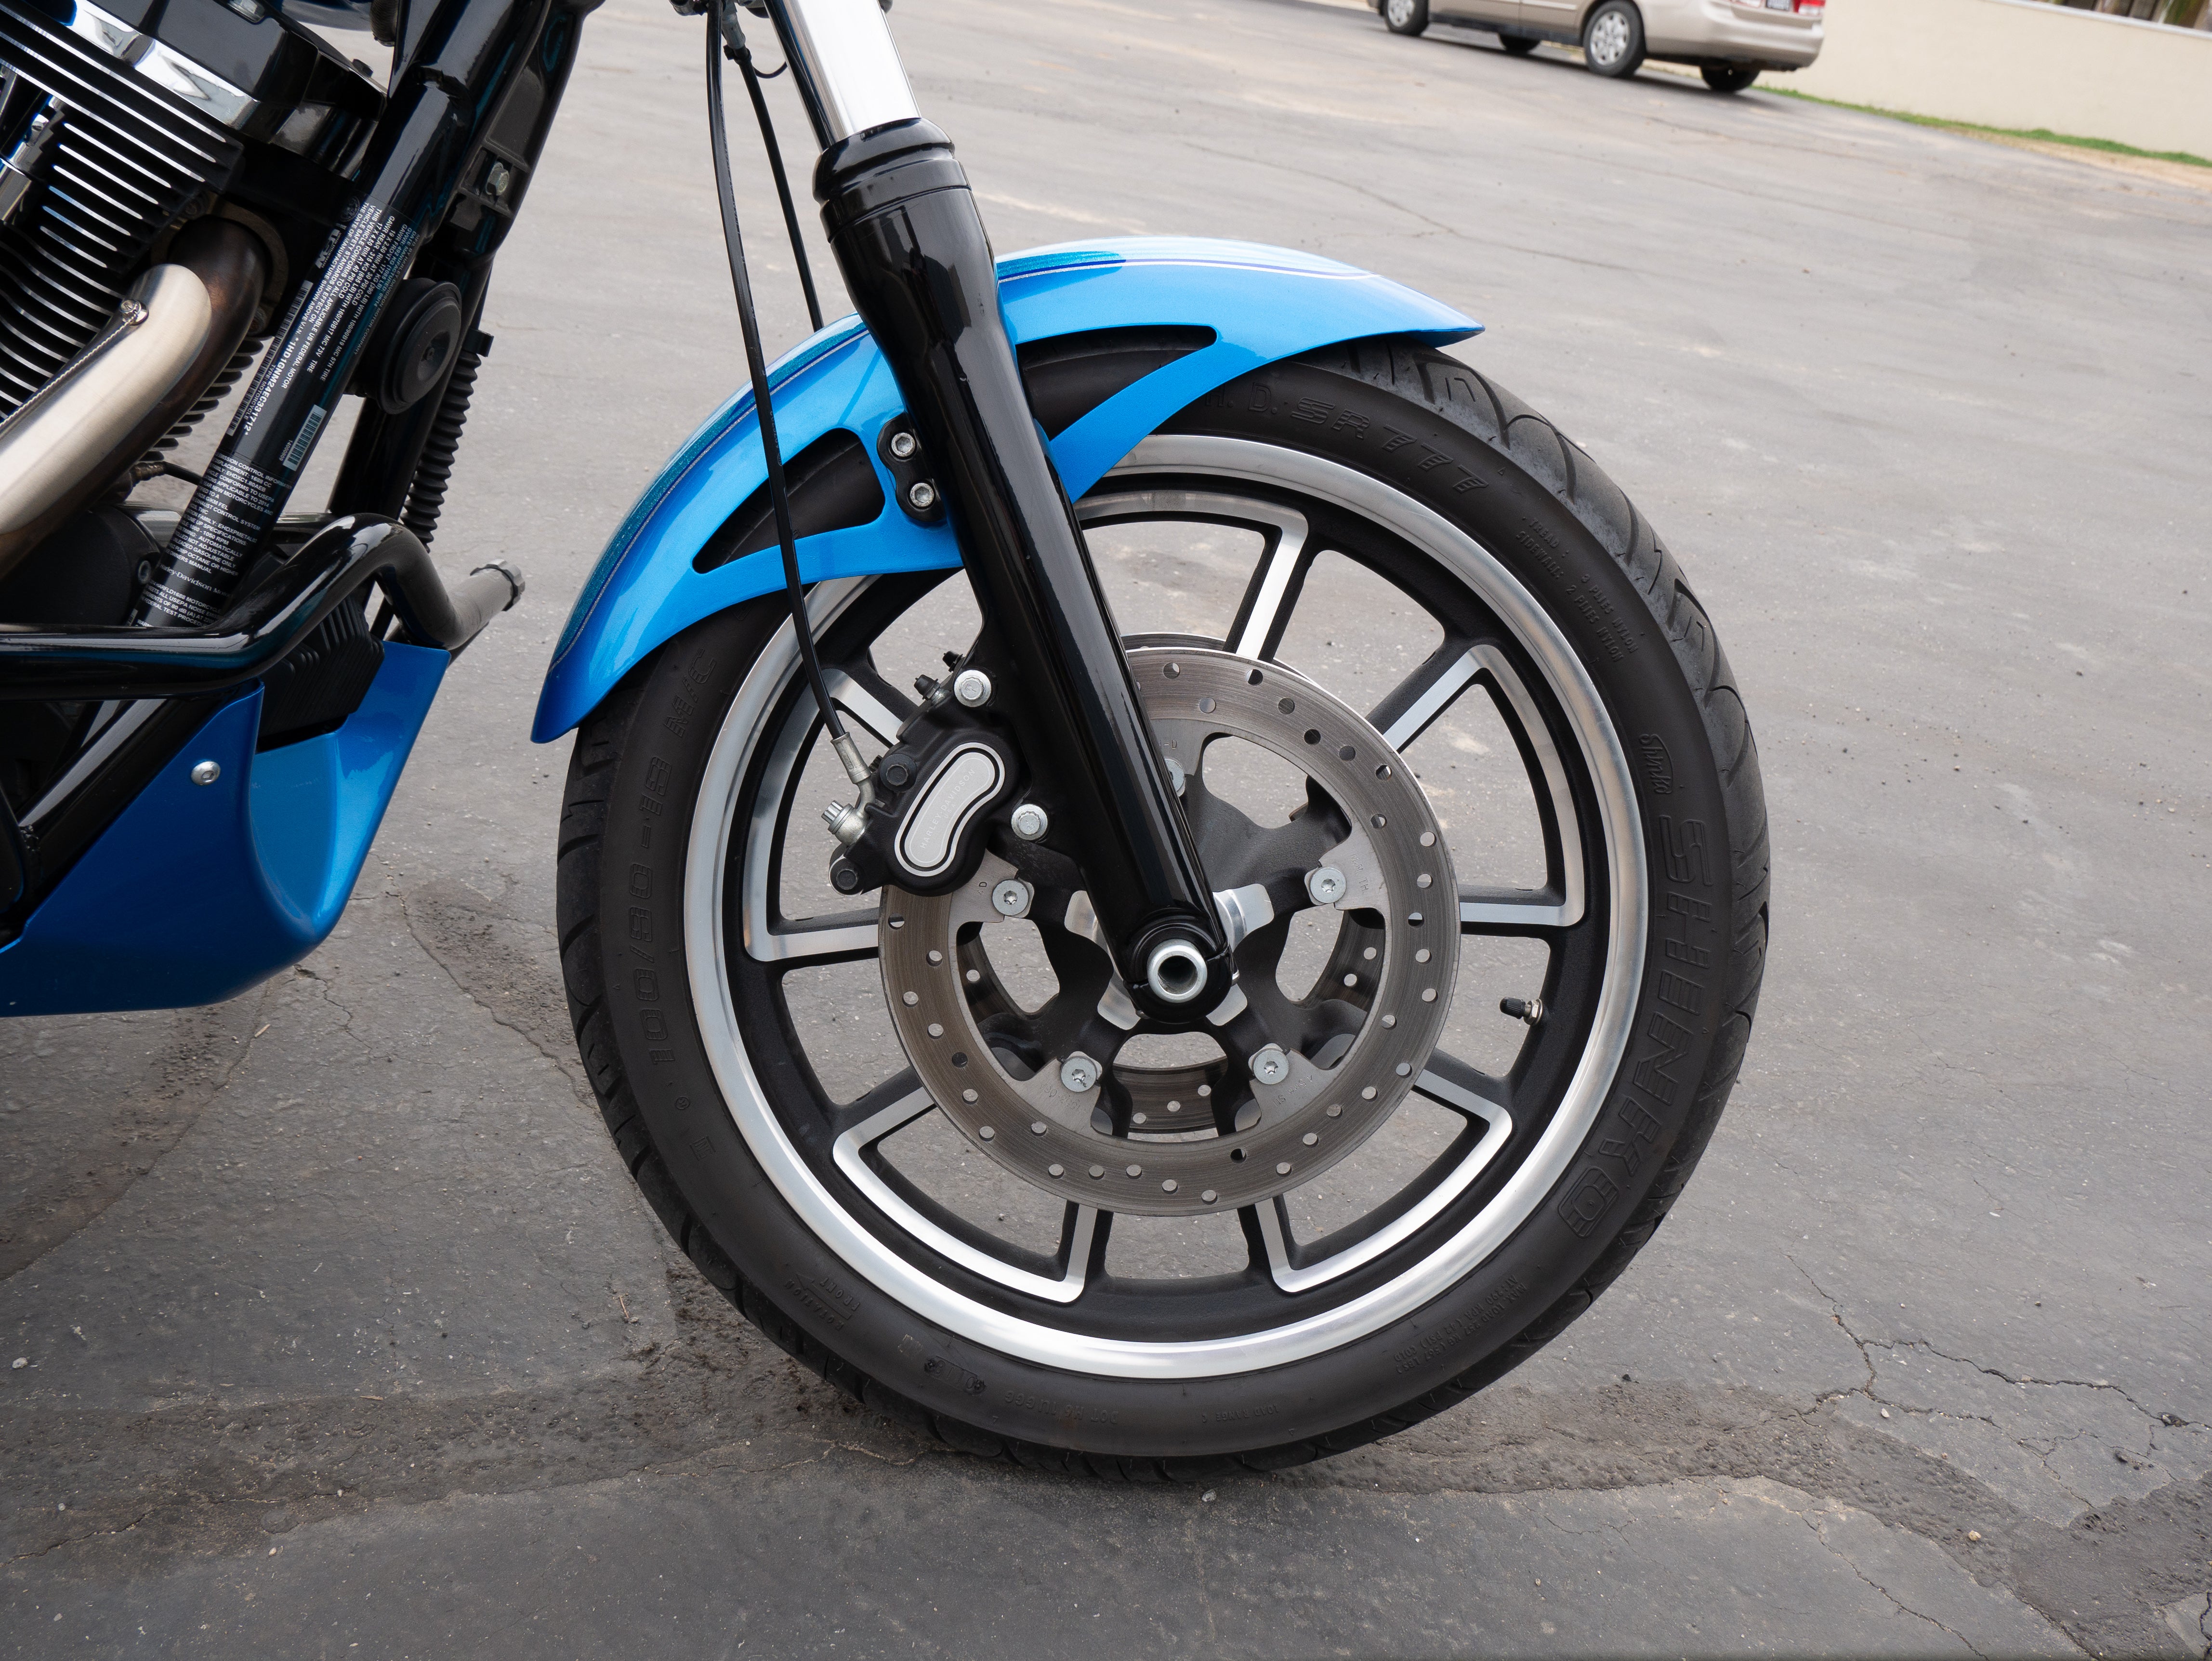
- Front Fork: The telescopic suspension at the front of the bike that handles steering loads and absorbs bumps. On Softails, the front fork is where most of your damping adjustments will be made if you have adjustable cartridges or emulators installed.
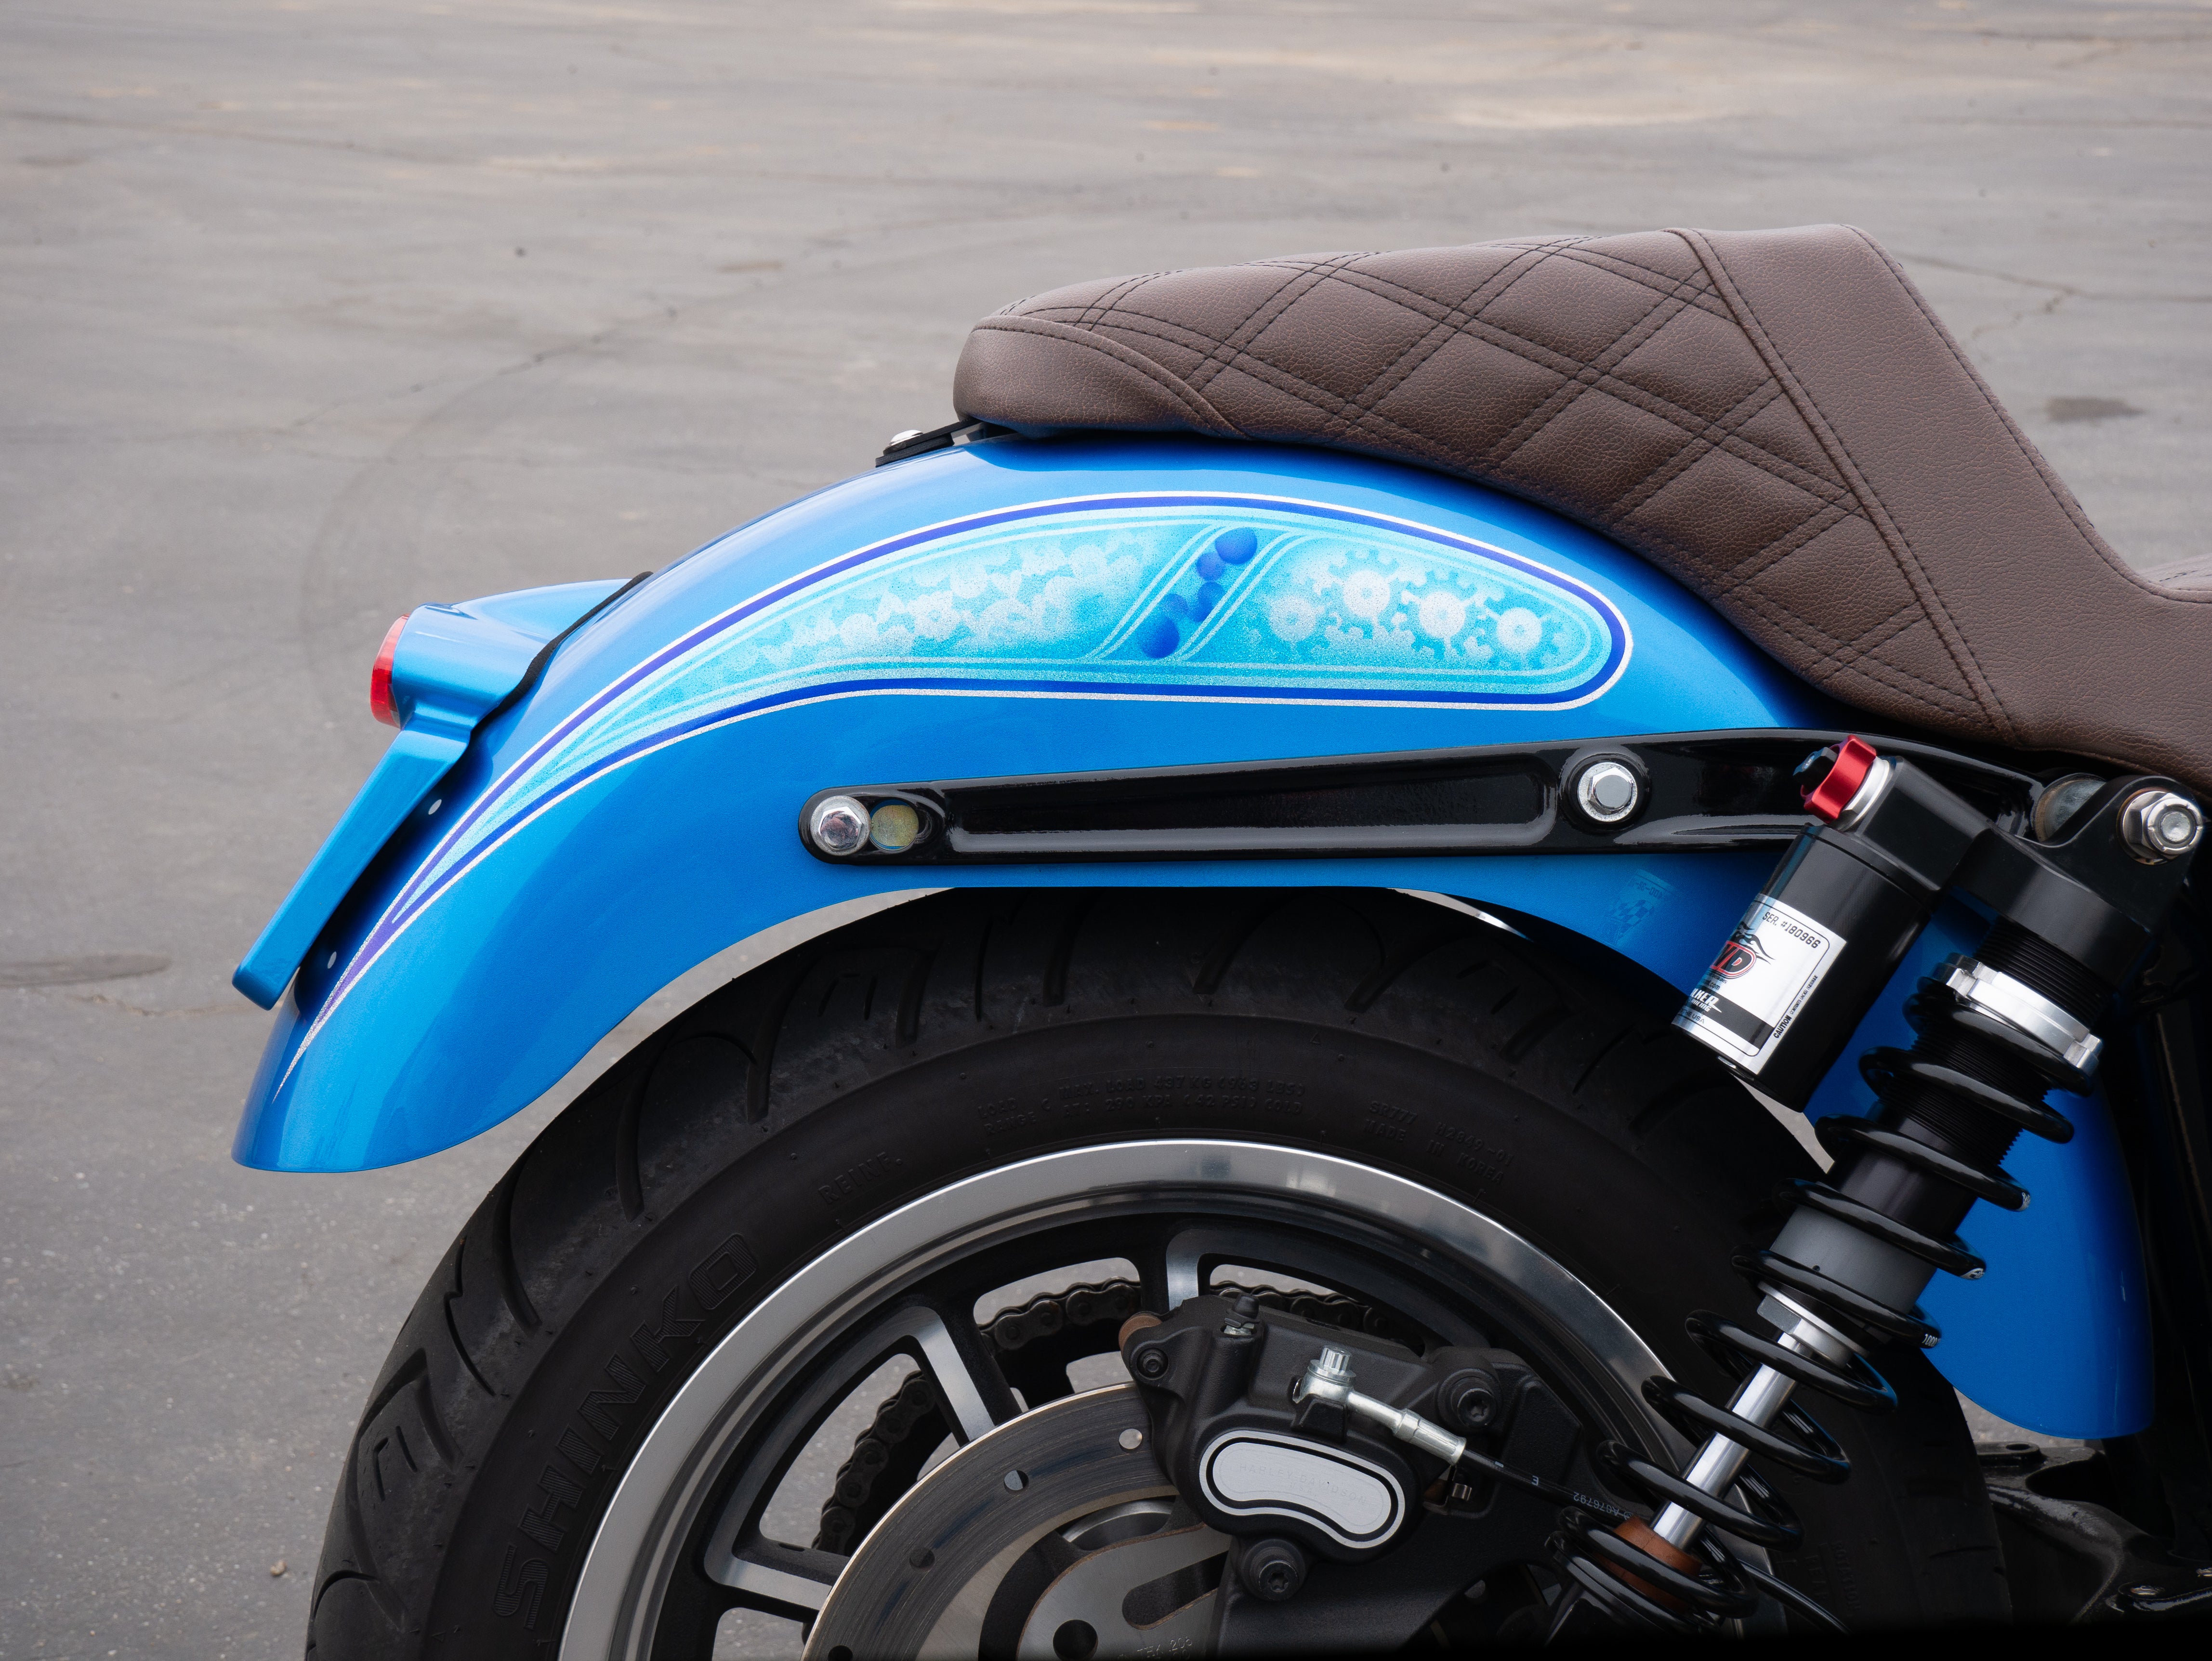
- Rear Shock: The hidden monoshock mounted under the frame on Softails. It handles the rear suspension travel and weight transfer. Many aftermarket RWD V-Twin rear shocks offer more adjustability than the stock Harley unit.
Now, let's get into the reason you're here: how to dial in your Harley Softail suspension.
How to Properly Adjust Harley Softail Suspension Settings
Now that you understand the key suspension terms, it is time to get your hands dirty and start making adjustments. The process is methodical and repeatable, so follow these steps in order for the best results. Start with sag, move to preload, then fine tune your damping settings based on how the bike feels on your typical roads.
- Gather Your Tools and Prep the Bike: You will need a tape measure or ruler, a friend to help with measurements, and your bike on level ground. Make sure your tire pressures are correct before you start, as tire pressure affects suspension feel. Have your owner's manual handy to locate adjustment points.
- Measure Static Sag: With the bike on its side stand and no rider, measure from a fixed point on the frame to the axle on both front and rear. Write these numbers down. This is your static sag measurement and shows how much the suspension compresses under the weight of the bike alone.
- Measure Rider Sag: Sit on the bike in your normal riding position with your gear on. Have a friend measure from the same fixed points to the axles. The difference between static and rider sag is your loaded sag number. For most Softails, target around 25-30mm of sag in the rear and 30-35mm in the front.
- Adjust Preload to Hit Your Target Sag: If your sag numbers are too high, add preload by tightening the adjustment collars or turning the preload adjuster clockwise. If sag is too low, reduce preload. Make small changes, remeasure, and repeat until you hit your target numbers. This is your baseline.
- Test Ride and Evaluate: Take a 15-20 minute ride on roads you know well. Pay attention to how the bike feels over bumps, through corners, and under braking. Does it feel harsh, soft, bouncy or planted? Take mental notes of what needs improvement.
- Adjust Compression Damping if Needed: If the bike feels harsh over small bumps or bottoms out on big hits, adjust your compression damping. Less compression damping for a softer feel, more for a firmer feel that resists bottoming. Most adjusters are marked with clicks, so make changes two clicks at a time and retest.
- Fine Tune for Different Conditions: Once you have a baseline setup you like, write down all your settings. You can tweak from there for solo riding, two-up with a passenger, or loaded touring with bags. Small adjustments make a big difference, so keep notes on what works.
- Recheck Sag Periodically: Suspension settles over time and springs can sag. Check your sag numbers every few months or after installing new suspension components like RWD V-Twin shocks or cartridges. Keeping sag in the correct range ensures consistent performance.
Harley Softail Suspensions from RWD V-Twin
If you are serious about upgrading your Softail suspension beyond just adjusting the stock setup, we offer some of the best performance suspension components available for Harley riders. With over 40 years of experience in off-road suspension design, we bring that same engineering expertise to the street with American-made shocks and fork cartridges built specifically for Softail models. Our products are designed for riders who want more comfort, better control and the ability to fine tune every aspect of their suspension.

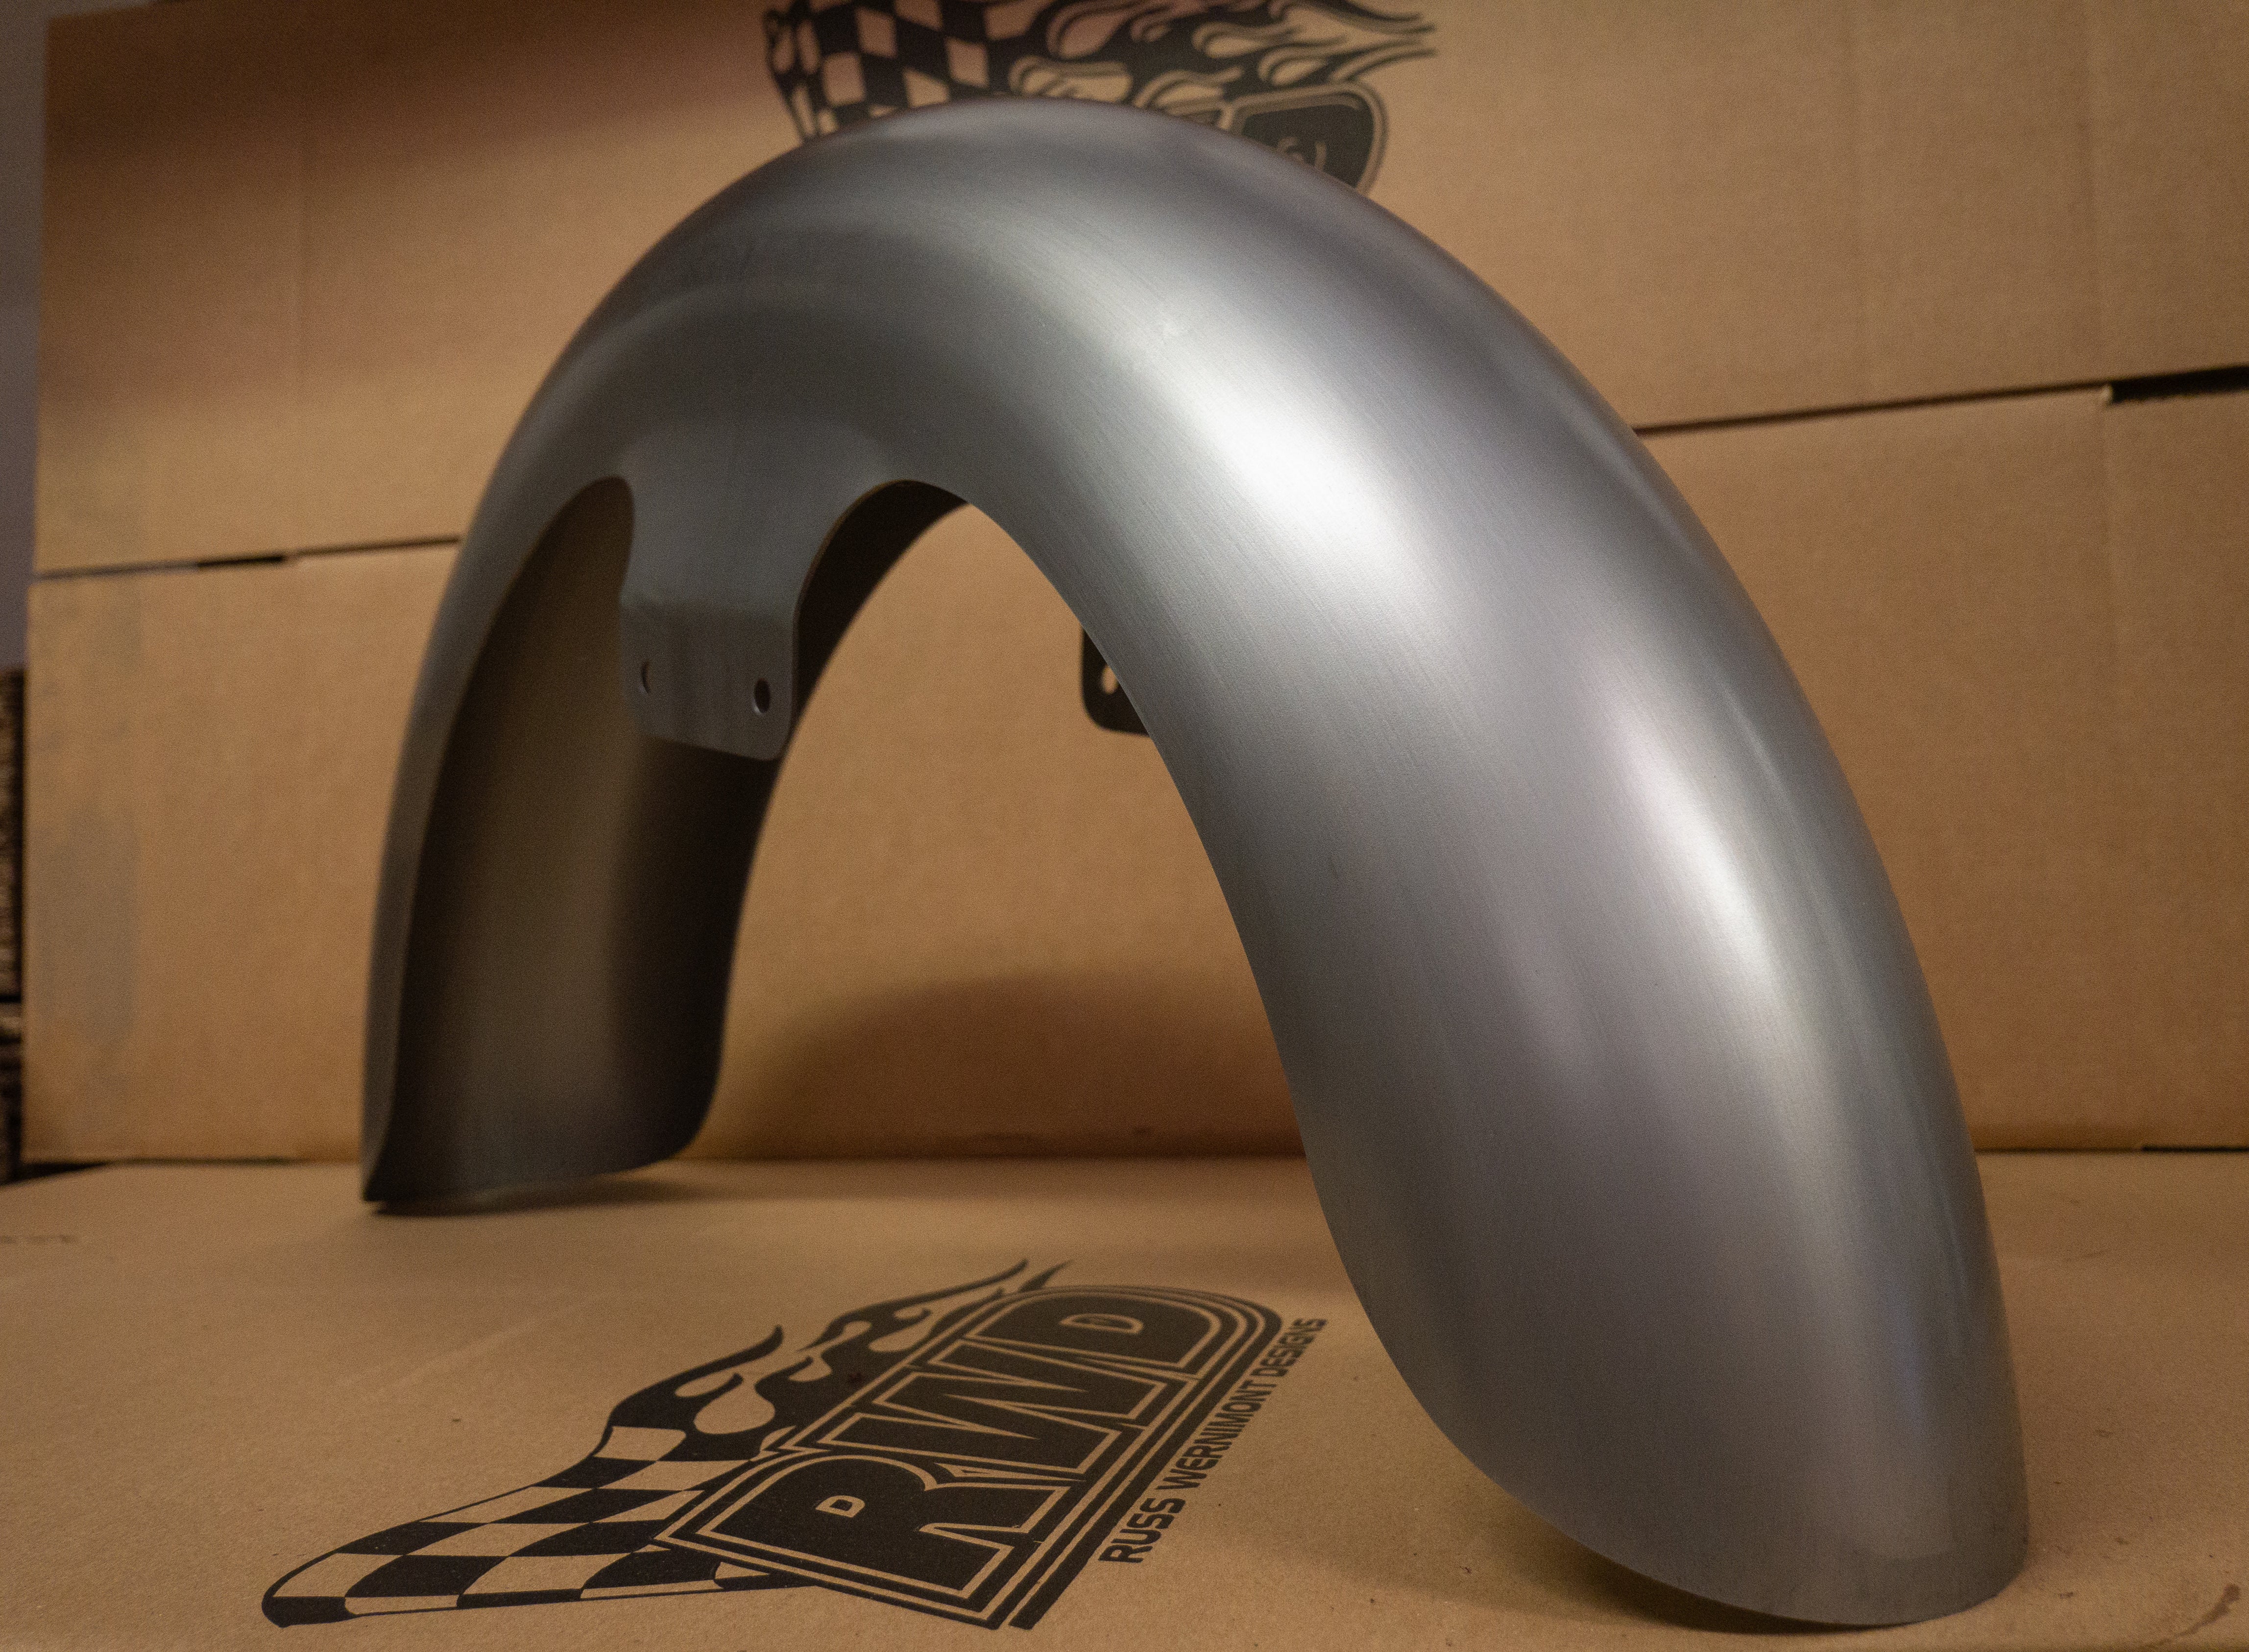
RWD V-Twin Softail rear shocks like the RS-2 offer features you will not find on most stock Harley suspension. These include 12-click external compression adjusters for easy tuning without tools, internal bypass valving that stays smooth over small bumps while staying firm when you need it, and preload-adjustable Eibach springs that can be tailored for solo or two-up riding. The shocks are available in multiple lengths to raise your ride height and improve cornering clearance, and they are built in-house in the USA with stainless steel shafts and black anodized bodies that resist corrosion and look great doing it.

For the front end, we offer fork cartridge systems like the RS-1F that replace the internals of your stock Softail forks with high-performance damping technology. These cartridges give you adjustable compression and rebound damping so you can dial in front end feel just like the rear. The result is a balanced suspension setup that transforms how your Softail handles everything from commuting to aggressive canyon rides. If you have been fighting with stock suspension that feels harsh or wallowy no matter how much you adjust it, RWD V-Twin components give you the adjustability and performance to actually get your Softail feeling the way you want it.
Harley Softail Suspension Settings in Conclusion
Dialing in your Harley Softail suspension does not have to be guesswork or mystery. By understanding the key terms like preload, compression and rebound damping, and following a methodical process to set your sag and make adjustments based on real-world riding, you can transform how your bike feels on the road.
Start with measuring sag to establish your baseline, then fine tune your compression and rebound settings two clicks at a time while testing on roads you know well.
Whether you are working with stock suspension or upgrading to high-performance components like RWD V-Twin shocks and fork cartridges, the same principles apply and the results are worth the effort. A properly dialed suspension makes every ride more confident, more comfortable and more fun, and once you have your settings locked in and written down, you will have a setup you can trust and adjust for any riding condition.


