


How to Install a Front Fender on Your Harley Dyna
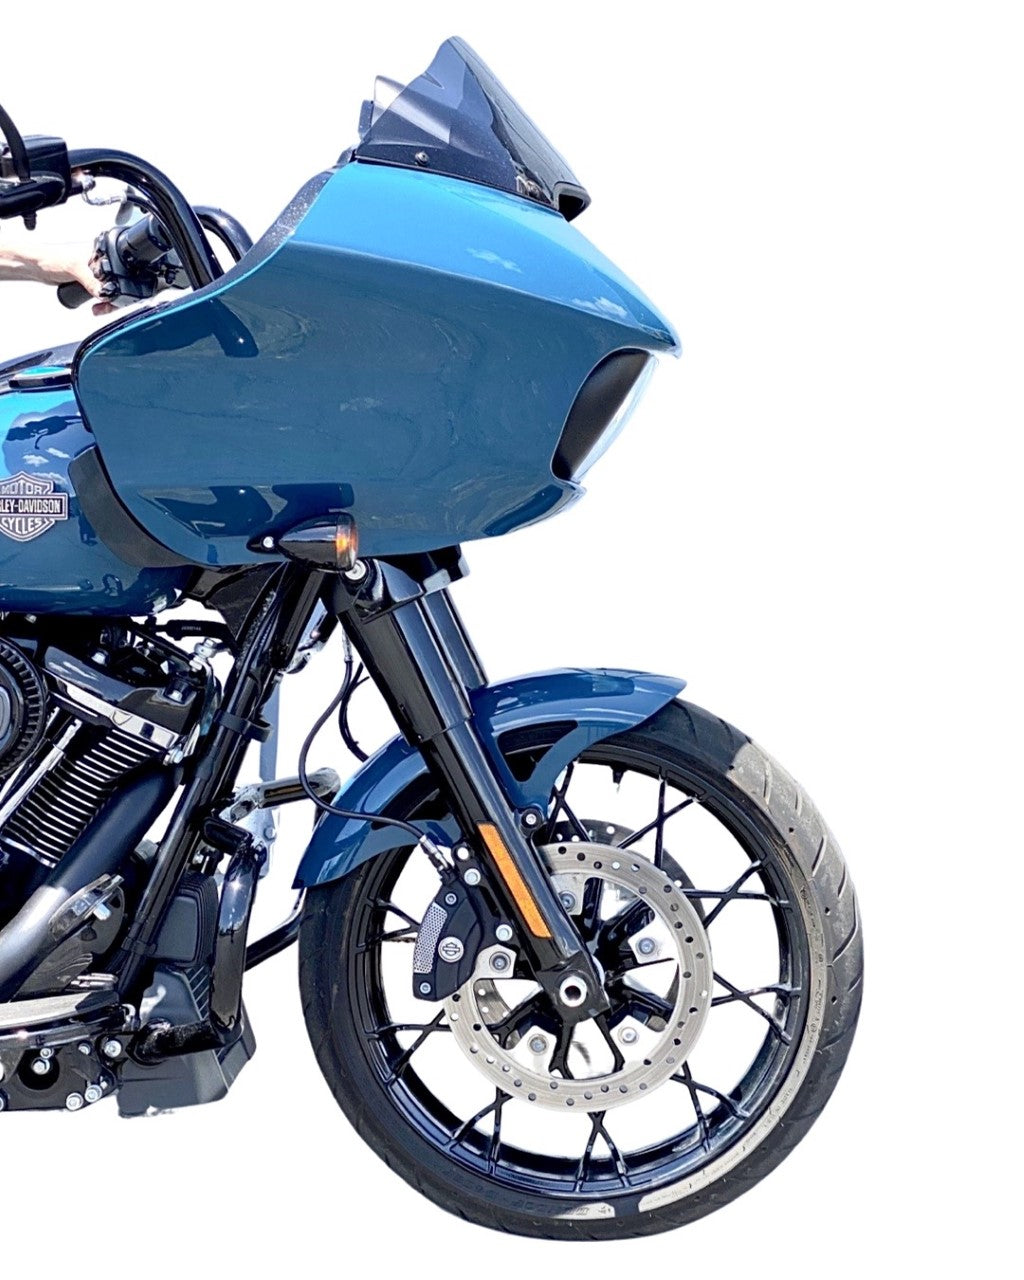
Swapping out the stock front fender on your Harley Dyna is one of the cleanest ways to change the bike's entire attitude without tearing it down to the frame. A properly fit front fender not only tightens up the look around your front wheel, it also helps control road spray and debris so you are not sandblasting your lower legs and exhaust every time you ride through grime.
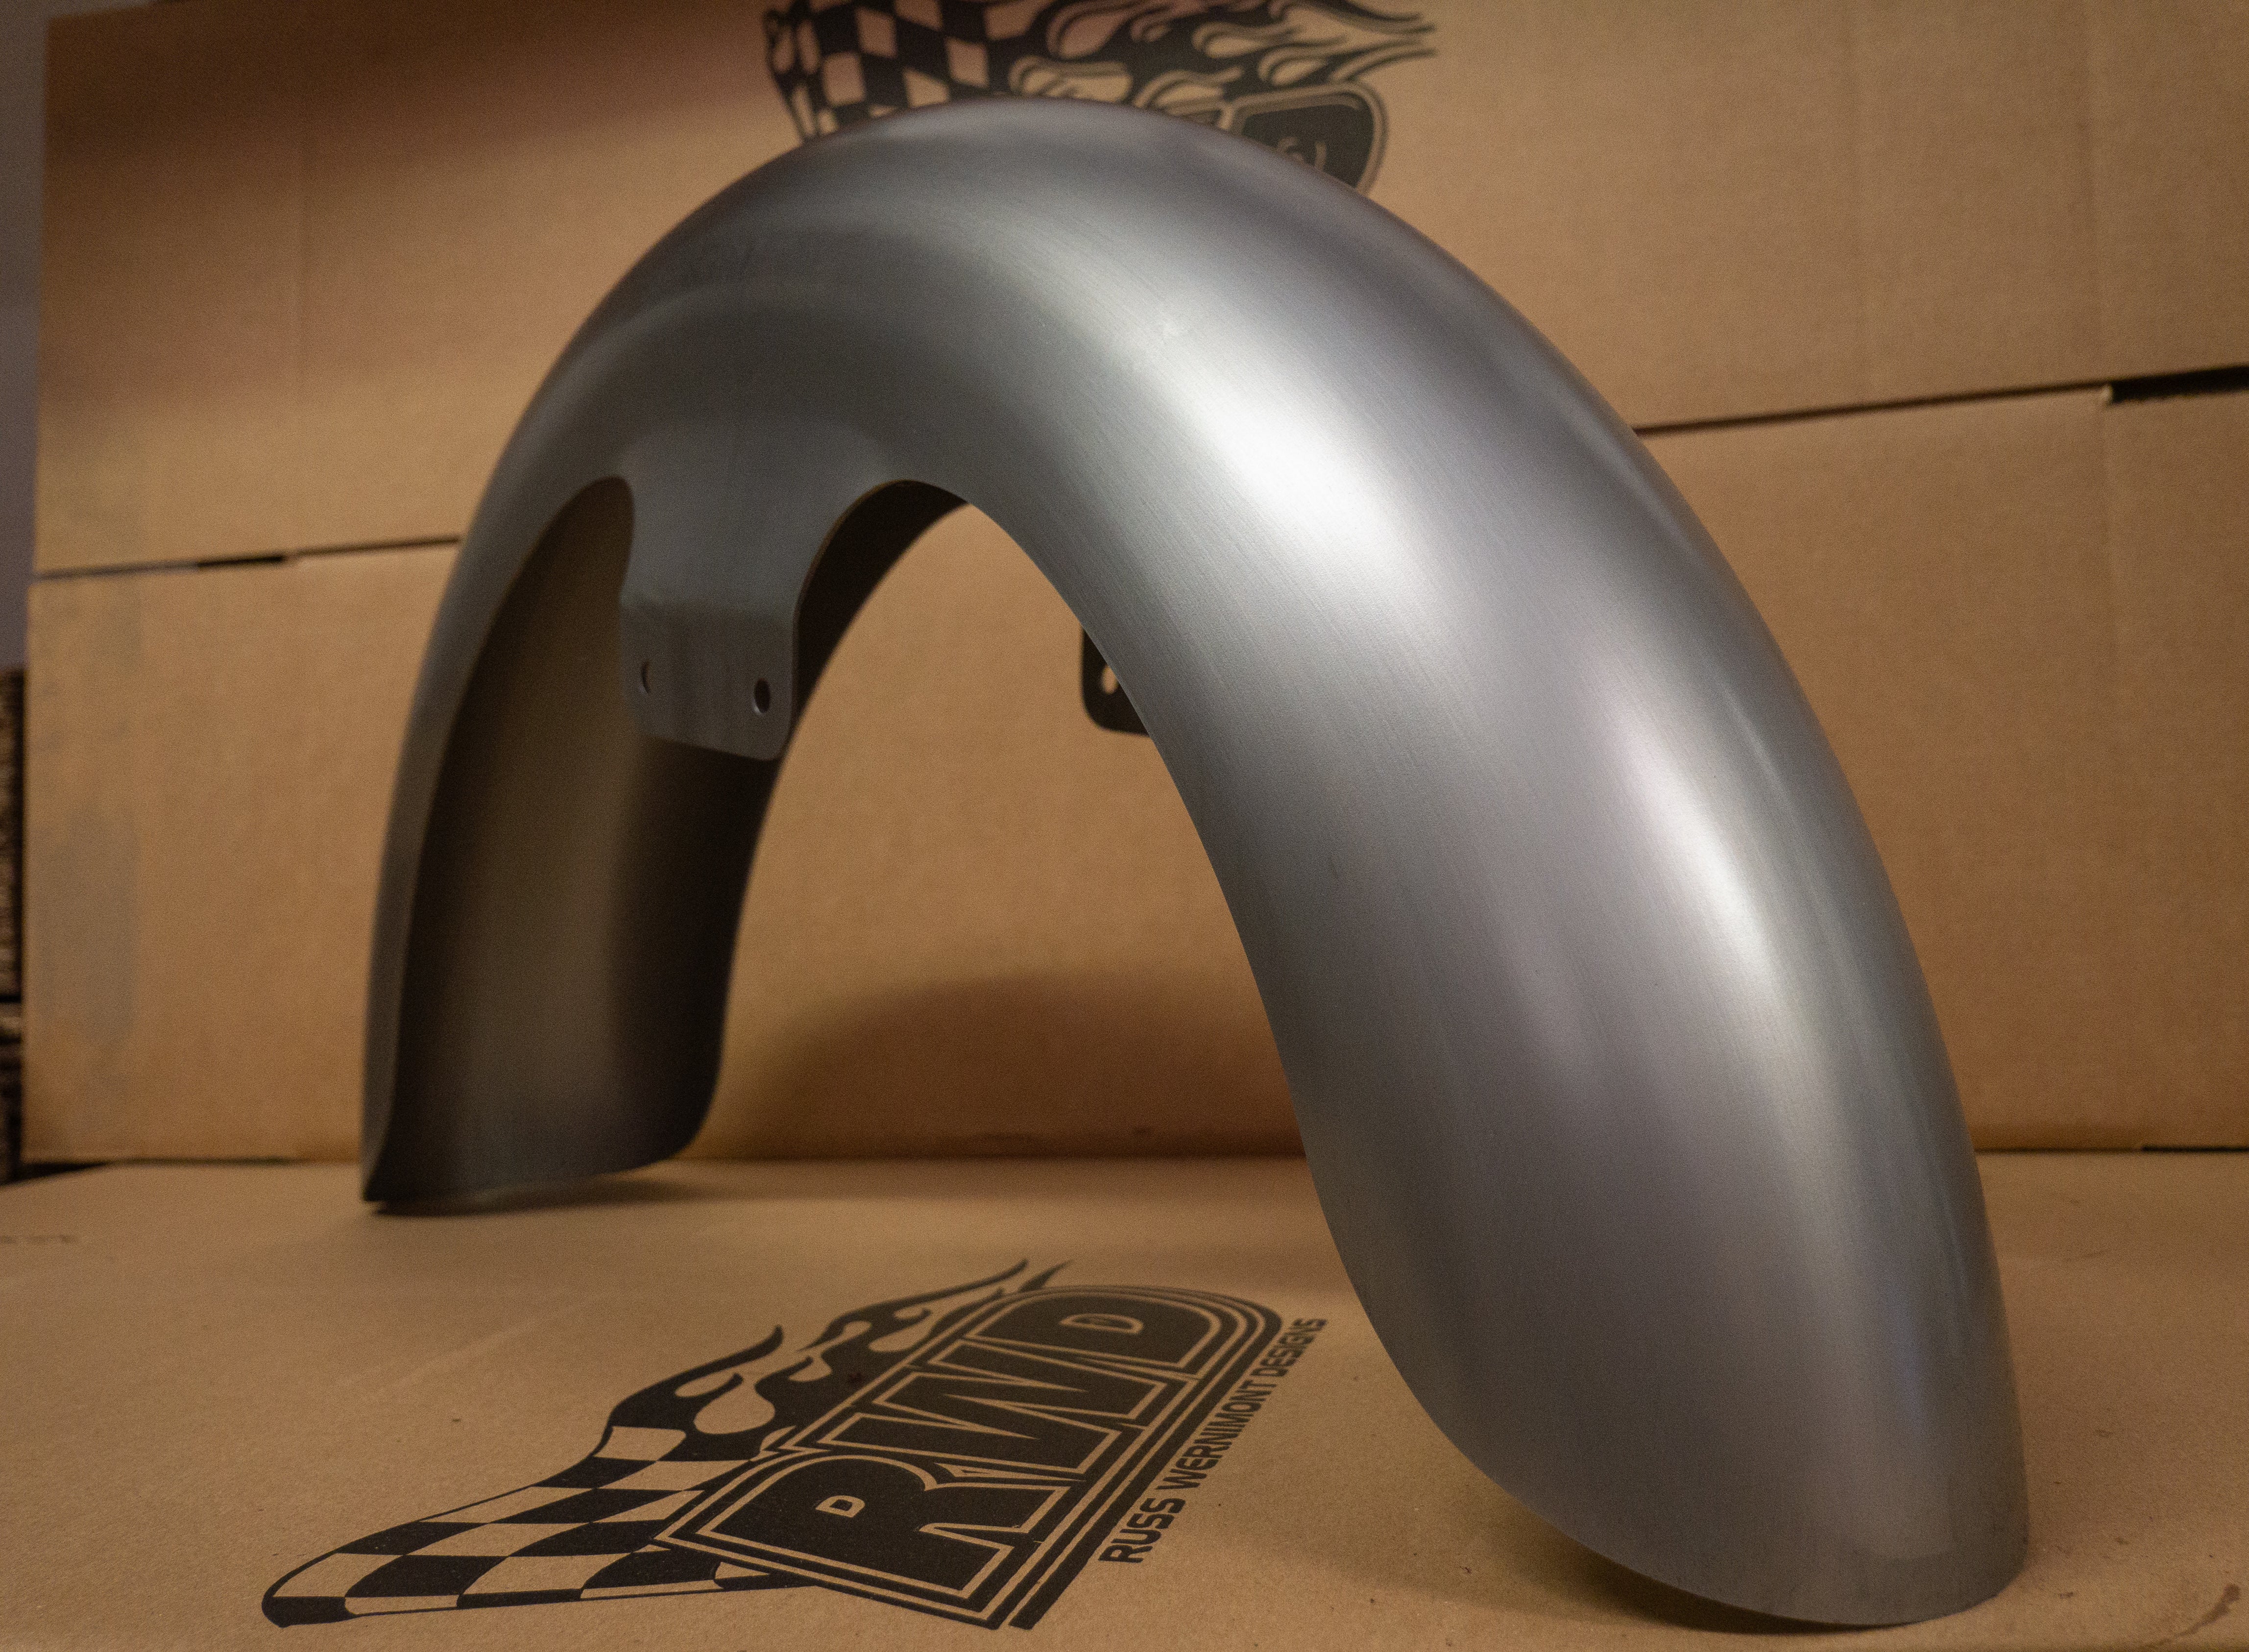
RWD V-Twin front fenders for Dyna models are built from heavy gauge steel and laser trimmed for precise fitment, which makes the installation process more straightforward and gives you a solid foundation for paint and long term durability.
This guide walks through the basic steps to remove your stock Harley Dyna front fender and bolt on a new RWD V-Twin fender using common hand tools and simple best practices from the shop.
Let's get into it. First, the basics.
Things to Know Before Installing a Harley Dyna Front Fender
Before you start loosening bolts and pulling parts off your front end, taking a few minutes to prep and gather the right tools will save you time and keep you from forcing hardware or scratching fresh paint.
A Dyna front fender swap is straightforward, but knowing what to look for and what to have on hand makes the job cleaner and faster.
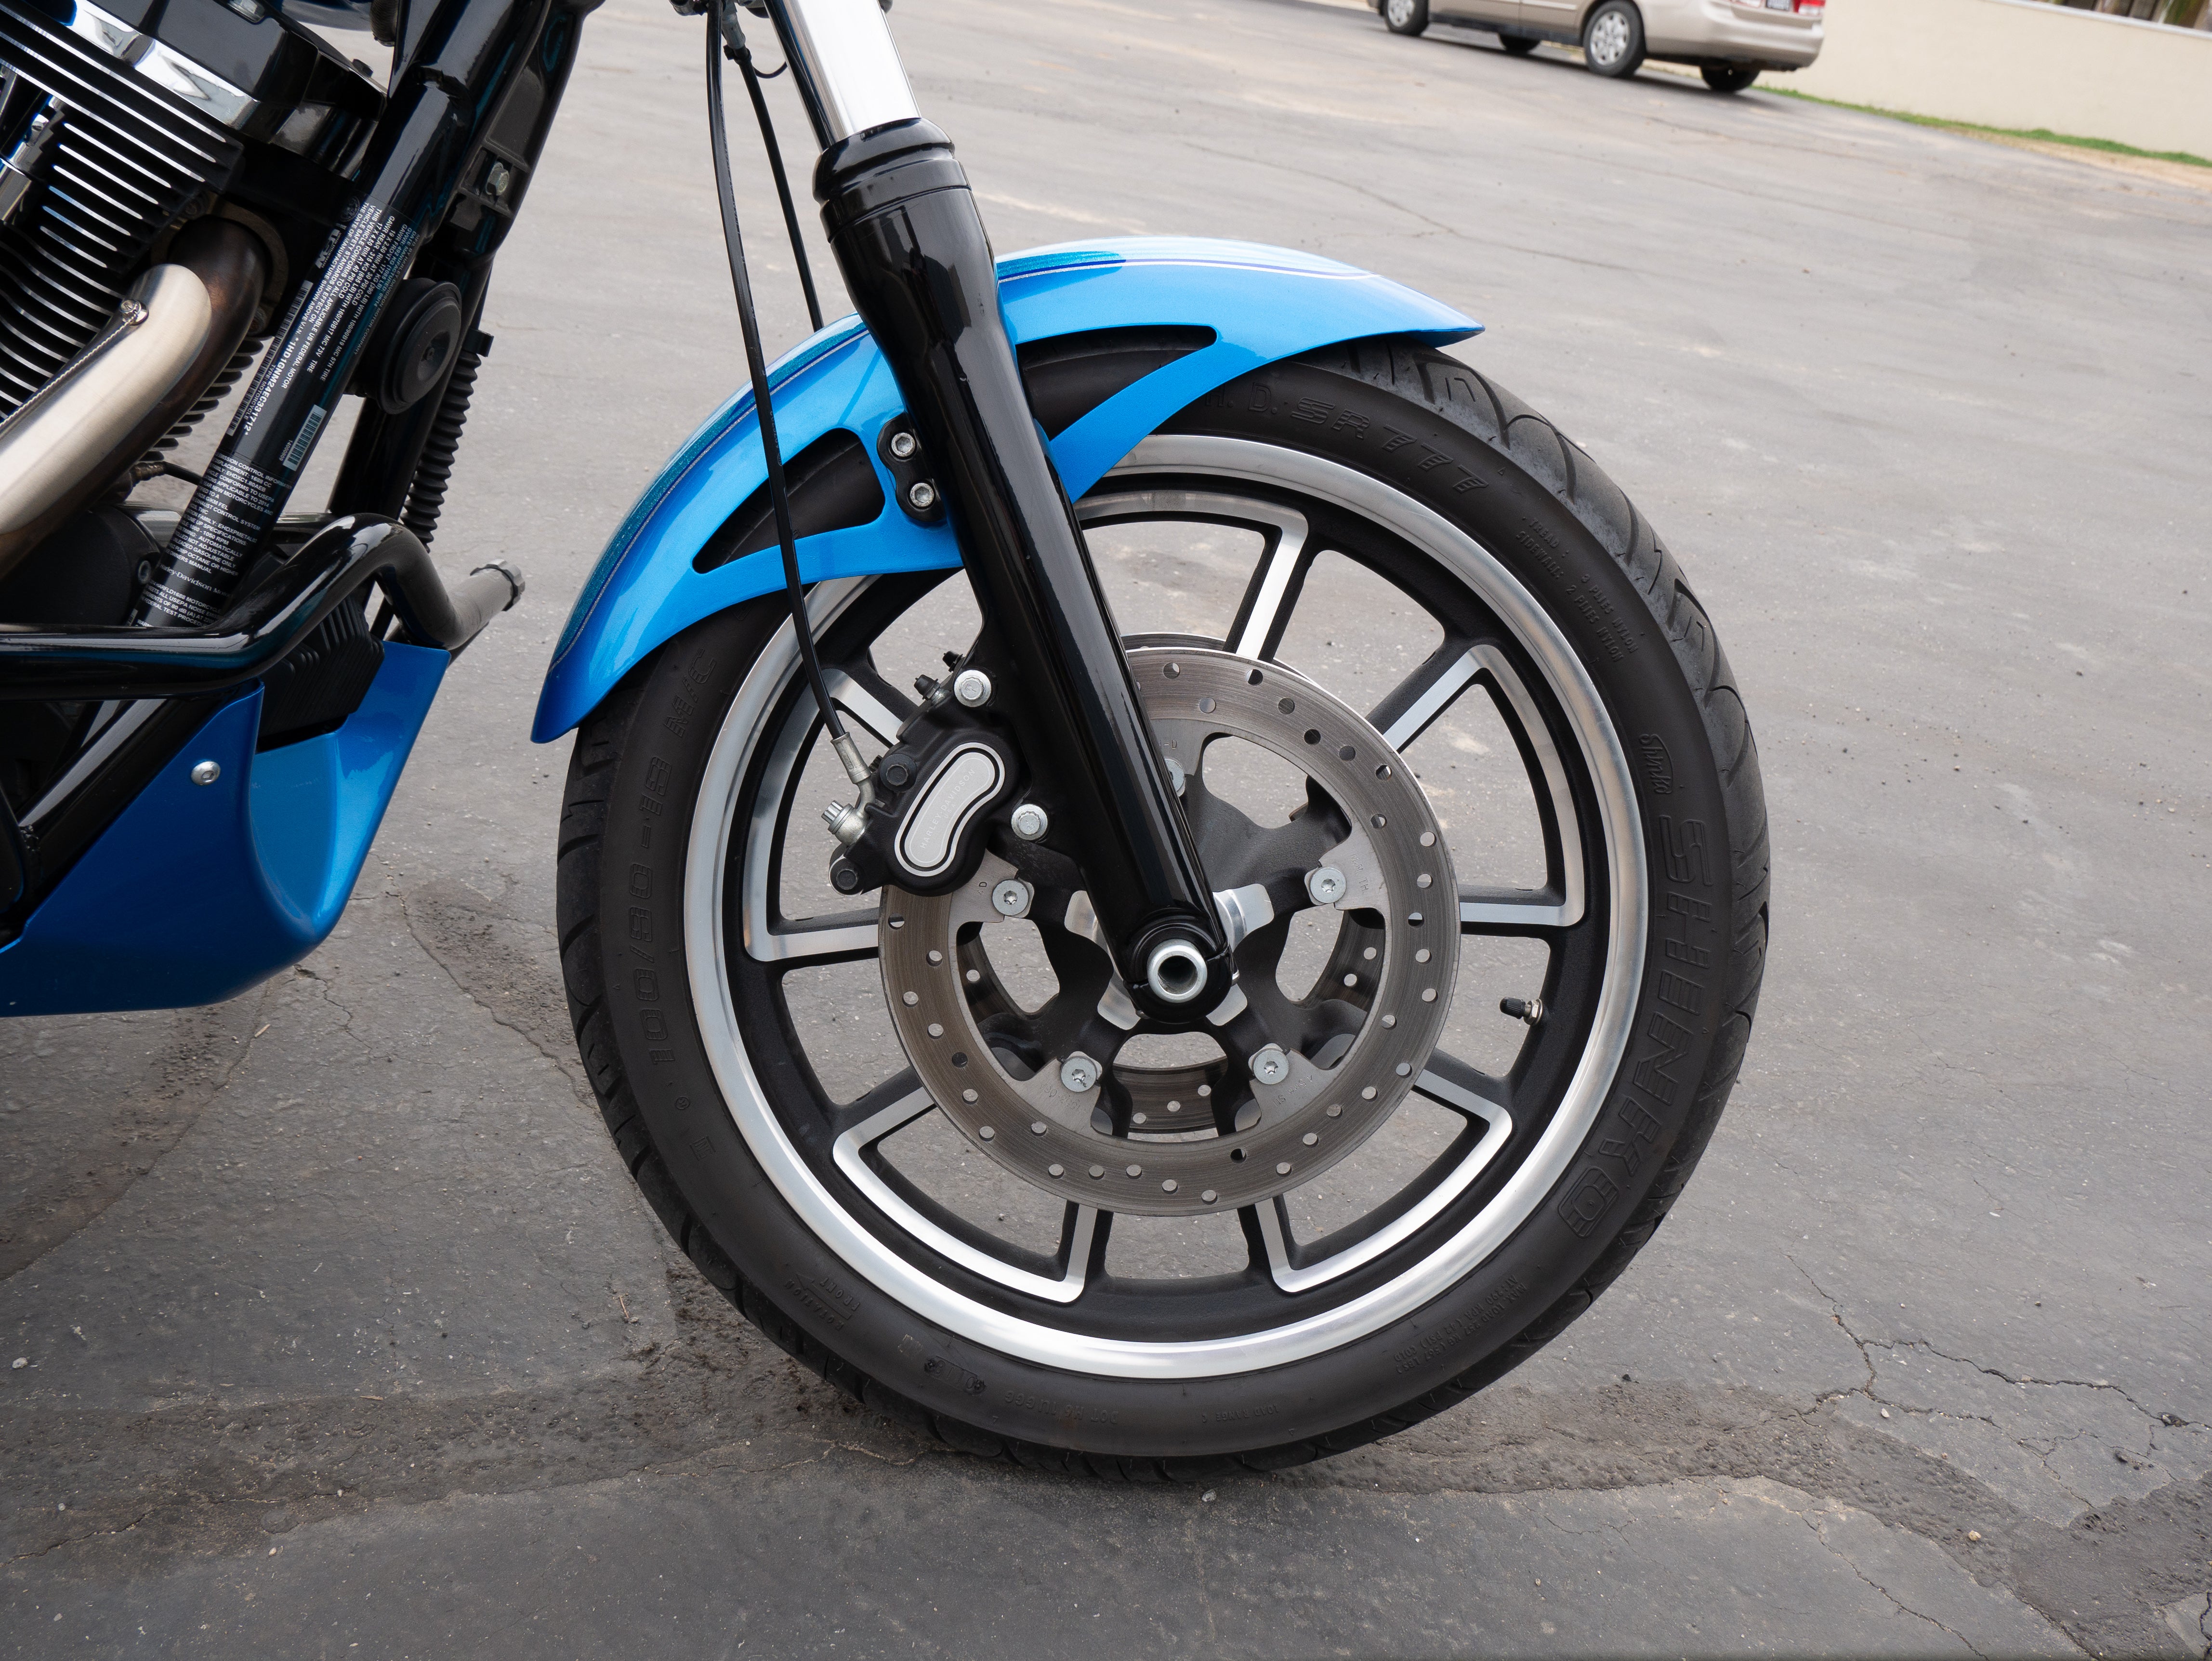
- Check tire clearance first. Measure the gap between your tire sidewall and the inside edge of the fender at full compression (push down on the handlebars with the front brake locked). You need at least 1/2 inch of clearance to avoid contact when you hit a bump or load the front end hard.
- Confirm your model year and front end setup. Dyna fenders changed slightly across model years and front end configurations. Wide Glide front ends use different mounting points than narrow glide setups, so verify your bike's specs before ordering.
- Gather the right tools before you start. You will need a 3/8 or 1/2 inch socket set, Allen wrenches (typically 5mm and 6mm), a torque wrench for final installation, blue threadlocker, and shop rags. Having everything within reach keeps the job moving.
- Plan for paint or powder coat time. Most aftermarket fenders ship in raw steel and need finishing before installation. Factor in a week or two for paint or coating if you are not doing it yourself. RWD fenders come paint-ready.
- Inspect mounting hardware and brackets. Check the condition of your existing fender struts, spacers, and mounting bolts. If the hardware is corroded or stripped, replace it before installing the new fender to avoid rework.
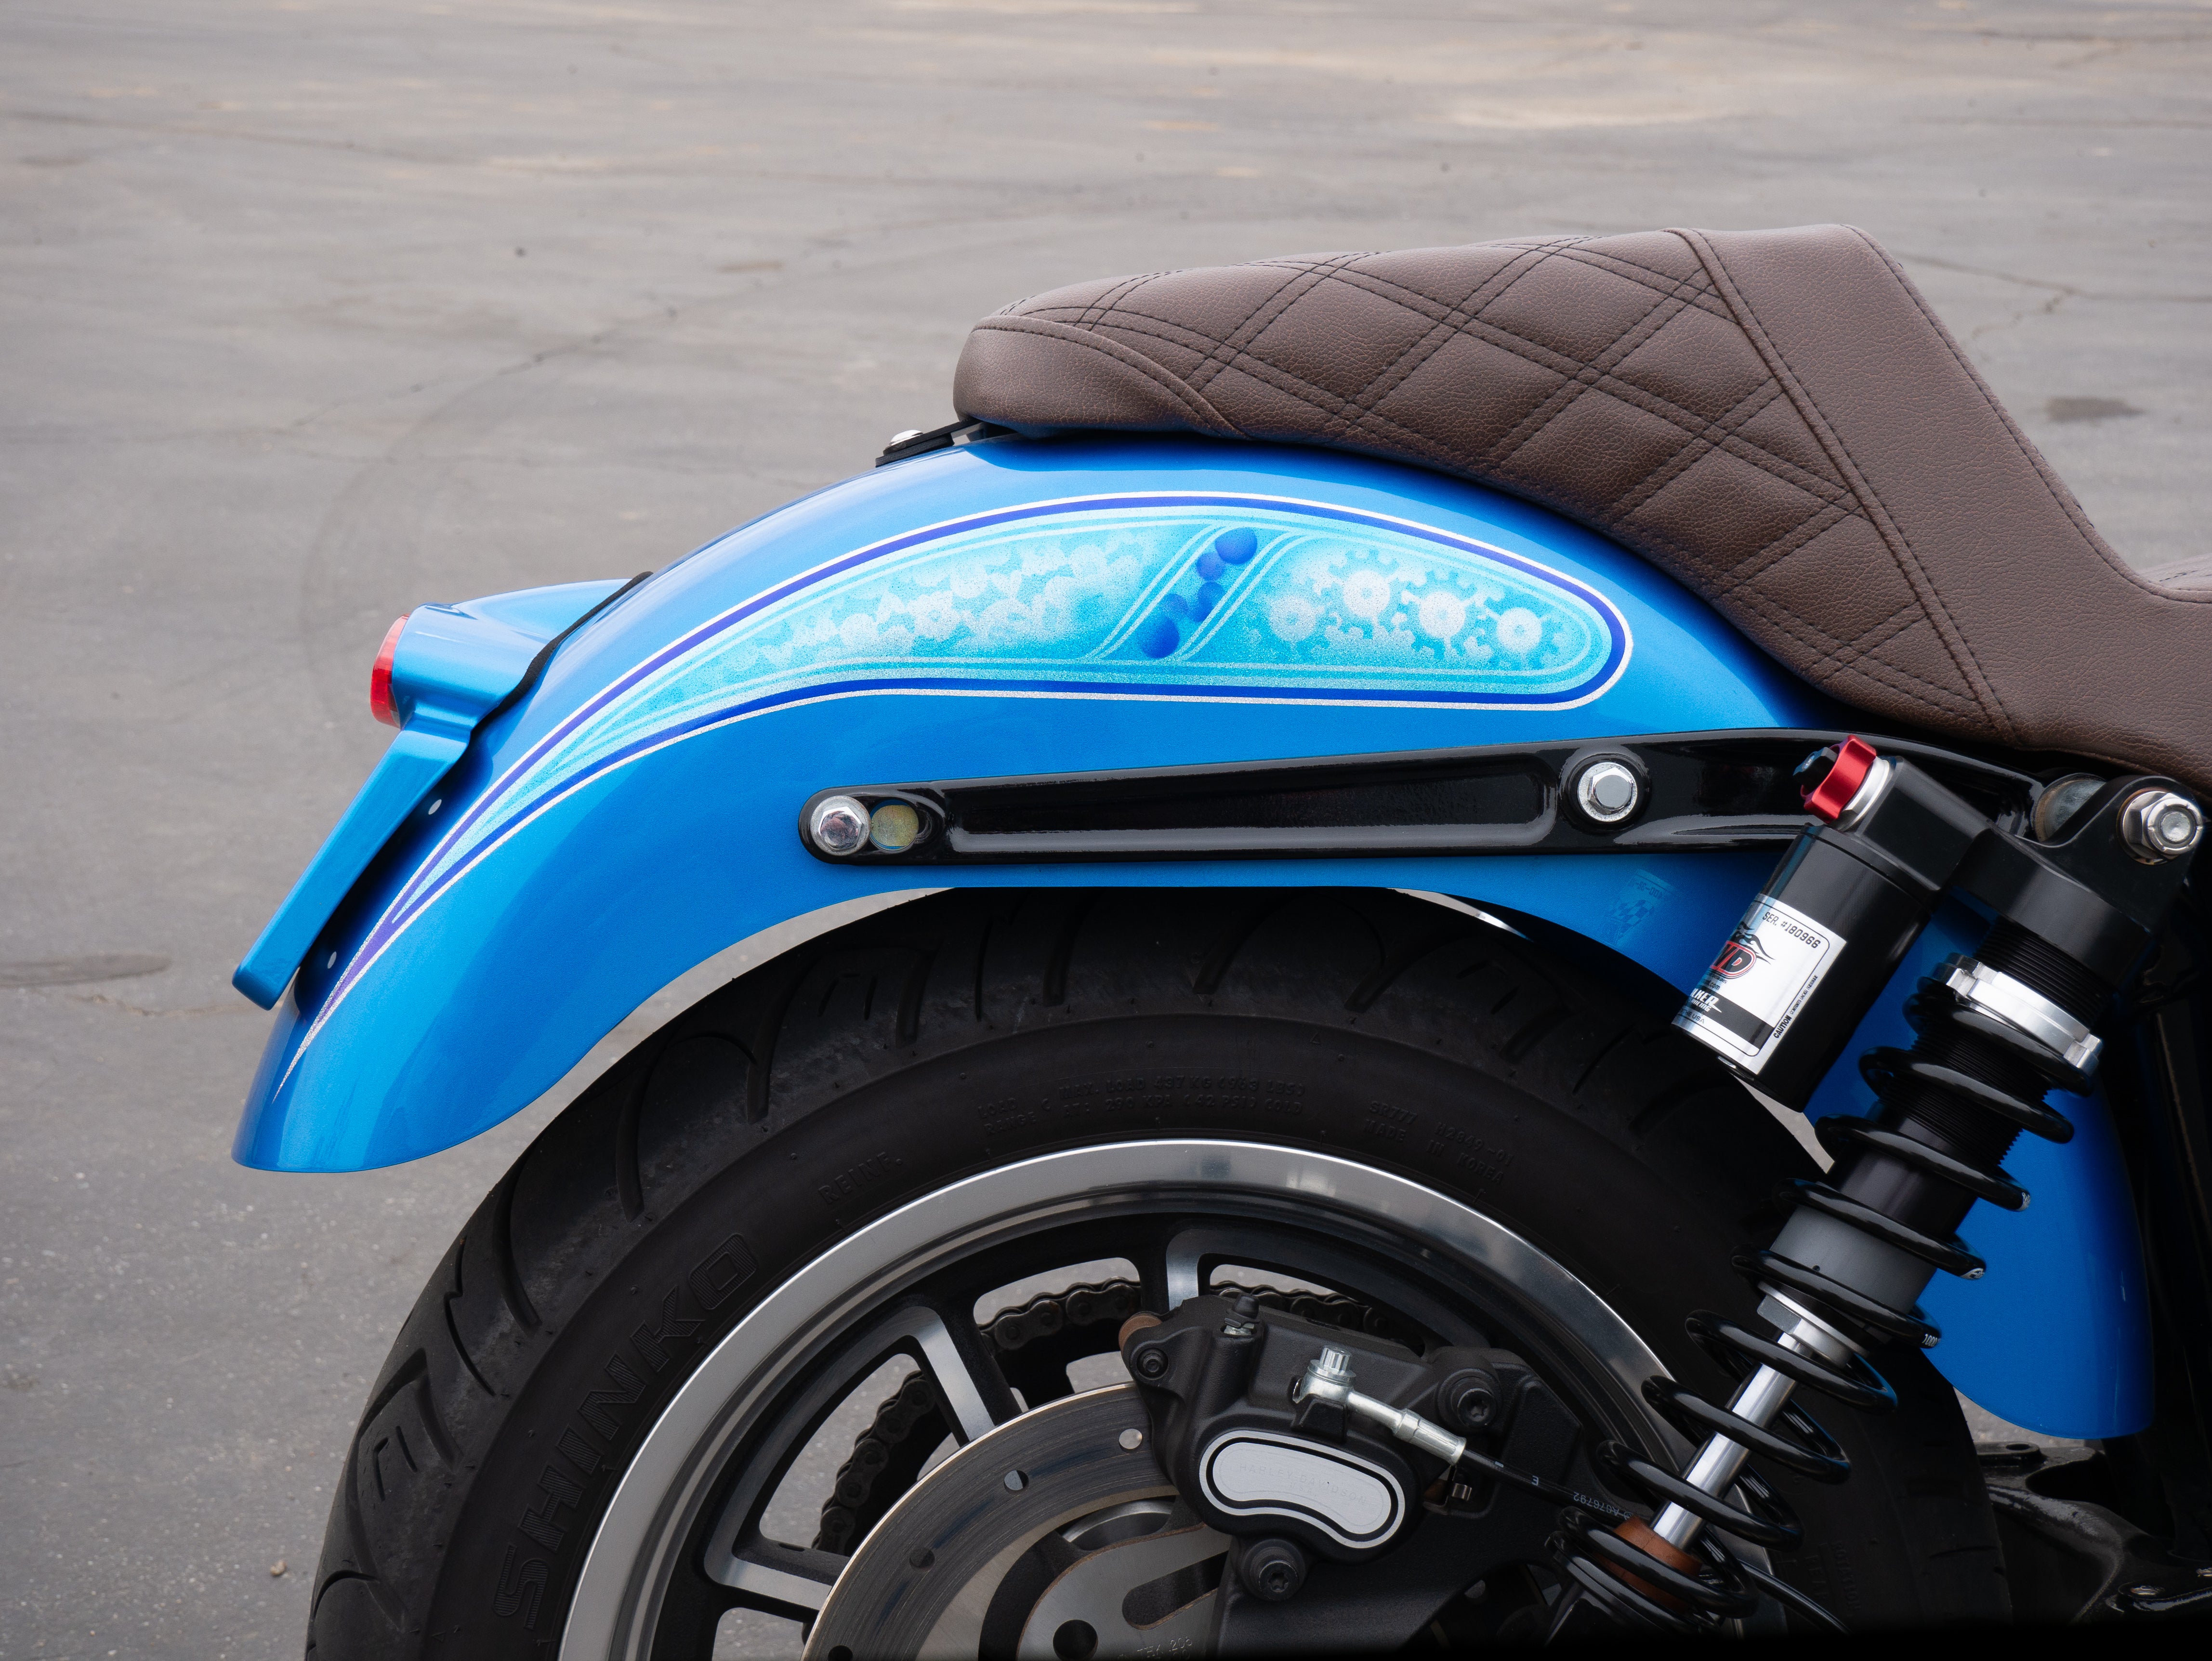
- Consider front brake line routing. Depending on your setup, the new fender may affect how your brake line sits. Check that the line has clearance and is not pinched or rubbing after installation.
- Work on a stable surface. Use a motorcycle jack or lift to stabilize the bike and take weight off the front suspension. This makes it easier to access mounting bolts and check clearance without fighting the bike's balance.
Next, let's get into the actual installation process.

How to Install a Harley Dyna Front Fender
Once you have your tools ready and your workspace set up, the actual installation is a methodical process of removing old hardware, fitting the new fender, and torquing everything down to spec. Take your time with alignment and check clearance at each step to avoid having to loosen bolts and start over.
Follow these steps to get your new RWD V-Twin front fender mounted properly.
- Secure the bike and prep the work area. Use a motorcycle jack or center stand to stabilize the bike and take weight off the front suspension. Make sure you have enough clearance around the front wheel to access all mounting points without reaching over the tire.
- Remove the front wheel (optional but recommended). While you can swap a fender with the wheel on, removing it gives you better access to the fender struts and mounting hardware, and lets you inspect your tire and brakes while you are in there. Loosen the axle pinch bolts, remove the axle nut, and slide the axle out. Support the caliper with a bungee or wire so it does not hang from the brake line.
- Locate and remove the stock fender mounting bolts. Most Dyna front fenders mount with bolts at the front axle area and along the fork legs or fender struts. Start with the lower mounts near the axle, then work your way up to the upper mounting points. Keep track of any spacers, washers, or shims that come off with the bolts.
- Detach the fender from the fender struts or brackets. Once the mounting bolts are out, carefully pull the old fender away from the front end. Check the struts for damage or excessive wear. If the struts are bent or corroded, now is the time to replace them.
- Clean the mounting surfaces and inspect hardware. Wipe down the fork legs, struts, and any mounting tabs with a clean rag and degreaser. Look for stripped threads, cracks, or corrosion on the mounting points. Replace any damaged hardware before installing the new fender.
- Test fit the new RWD V-Twin fender. Hold the fender in place against the struts and check alignment with the wheel. Make sure the fender sits centered over the tire and that the mounting holes line up with the brackets. This is the time to spot any fitment issues before you start threading bolts.
- Install the fender loosely at all mounting points. Start threading the mounting bolts by hand, beginning with the lower mounts and working upward. Do not fully tighten any bolts yet. You want the fender to have some freedom to shift so you can align it properly in the next step.
- Align the fender and check clearance. With all bolts loose, center the fender over the tire and make sure there is even spacing on both sides. Visually check that the fender follows the contour of the wheel and does not favor one side. Push down on the handlebars (front brake locked) to compress the forks and verify you still have at least 1/2 inch of clearance between the tire and fender at full travel.
- Torque the mounting bolts to spec. Once the fender is aligned, torque the bolts in stages, working from the bottom up. Consult your service manual for the correct torque specs (typically 15 to 25 ft-lbs for most Dyna fender mounts, but verify your specific model). Torque in a cross pattern if multiple bolts share a mounting area to distribute the clamping force evenly.
- Reinstall the front wheel (if removed). Slide the front axle back through the wheel and fork legs, making sure any spacers go back in their original positions. Torque the axle nut to spec (typically around 50 to 60 ft-lbs for Dyna models) and tighten the axle pinch bolts on the left fork leg.
- Double check brake line and cable routing. Make sure the front brake line is not pinched, kinked, or rubbing against the new fender. Check that any cables or wires near the fender have clearance and are secured with zip ties or clips if needed.
- Final clearance check and test ride prep. Bounce the front end a few times and visually confirm the fender does not contact the tire at any point in the suspension travel. Spin the front wheel by hand to make sure nothing rubs. Once you are satisfied, take a short test ride at low speed to verify there are no clearance issues under real riding conditions.
Installing a Harley Dyna Front Fender in Review
Installing a front fender on your Harley Dyna is a straightforward project that delivers both form and function without requiring you to tear into major components. The key to a successful swap is preparation and attention to detail.
RWD V-Twin fenders are laser cut for precise fitment on Dyna models, which takes the guesswork out of alignment and gives you a durable platform that looks clean and holds up to regular use.
Whether you are refreshing a tired front end or building a custom club bike, following these steps will help you achieve professional results in your home garage.


