


Custom Harley-Davidson Suspension Kits: Installation Guide for Beginners
Custom Harley-Davidson suspension kits are one of the most impactful upgrades you can make to your bike, especially if you care about ride quality, control and overall confidence on the road.
Whether you are chasing a smoother highway cruise, sharper handling in the canyons or a more aggressive stance, the right suspension setup helps your Harley feel more planted, predictable and comfortable in real-world riding. For many riders, the idea of installing a custom kit can feel intimidating at first, but with the right guidance, tools and a clear step-by-step process, it becomes a very approachable garage project.
This beginner-friendly guide walks through the fundamentals of Harley suspension kits, what to consider before you start wrenching and how to handle a basic installation safely at home. While every model and kit has its own nuances, the goal here is to give you a solid foundation so you know what to expect, what to watch out for and when it makes sense to lean on a professional for support.
First, let's start with what to know before you start.

What to Know Before Beginning a Harley Suspension Installation
Before you dive into swapping out your stock shocks or forks, it helps to understand what you are working with and what kind of preparation sets you up for success.
Taking time to review these key considerations can save you headaches, prevent mistakes and make the entire process smoother and more confident.
- Verify Kit Compatibility with Your Model. Not all suspension kits fit every Harley model or year, so double check the manufacturer specs against your bike's model details. Using the wrong kit can lead to poor fitment, safety issues or wasted time and money.
- Gather All Required Tools Before You Start. A typical suspension install calls for basic hand tools like wrenches, sockets, a torque wrench and potentially a jack or lift to safely support the bike. Missing a critical tool midway through the job can bring everything to a frustrating halt.
- Read the Installation Instructions Thoroughly. Every kit comes with its own specific steps, torque specs and diagrams that matter for safe installation. Skimming or skipping the manual is one of the fastest ways to make costly errors or compromise your safety.
- Plan for Adequate Workspace and Lighting. You need enough room to maneuver around your bike comfortably, plus solid lighting to see hardware, alignment marks and small components clearly. A cramped or dim workspace makes even simple tasks harder and increases the chance of mistakes.
- Understand Basic Suspension Terminology. Terms like preload, compression damping, rebound and sag all refer to how your suspension behaves and adjusts. Knowing what these mean helps you follow instructions accurately and fine-tune your setup later.
- Set Realistic Time Expectations. A basic rear shock swap might take an hour, while a full front fork rebuild can take several hours or more depending on your experience level. Rushing through the process increases mistakes, so give yourself plenty of time to work carefully.
Next, let's get into the process.
How to Install a Harley Davidson Suspension
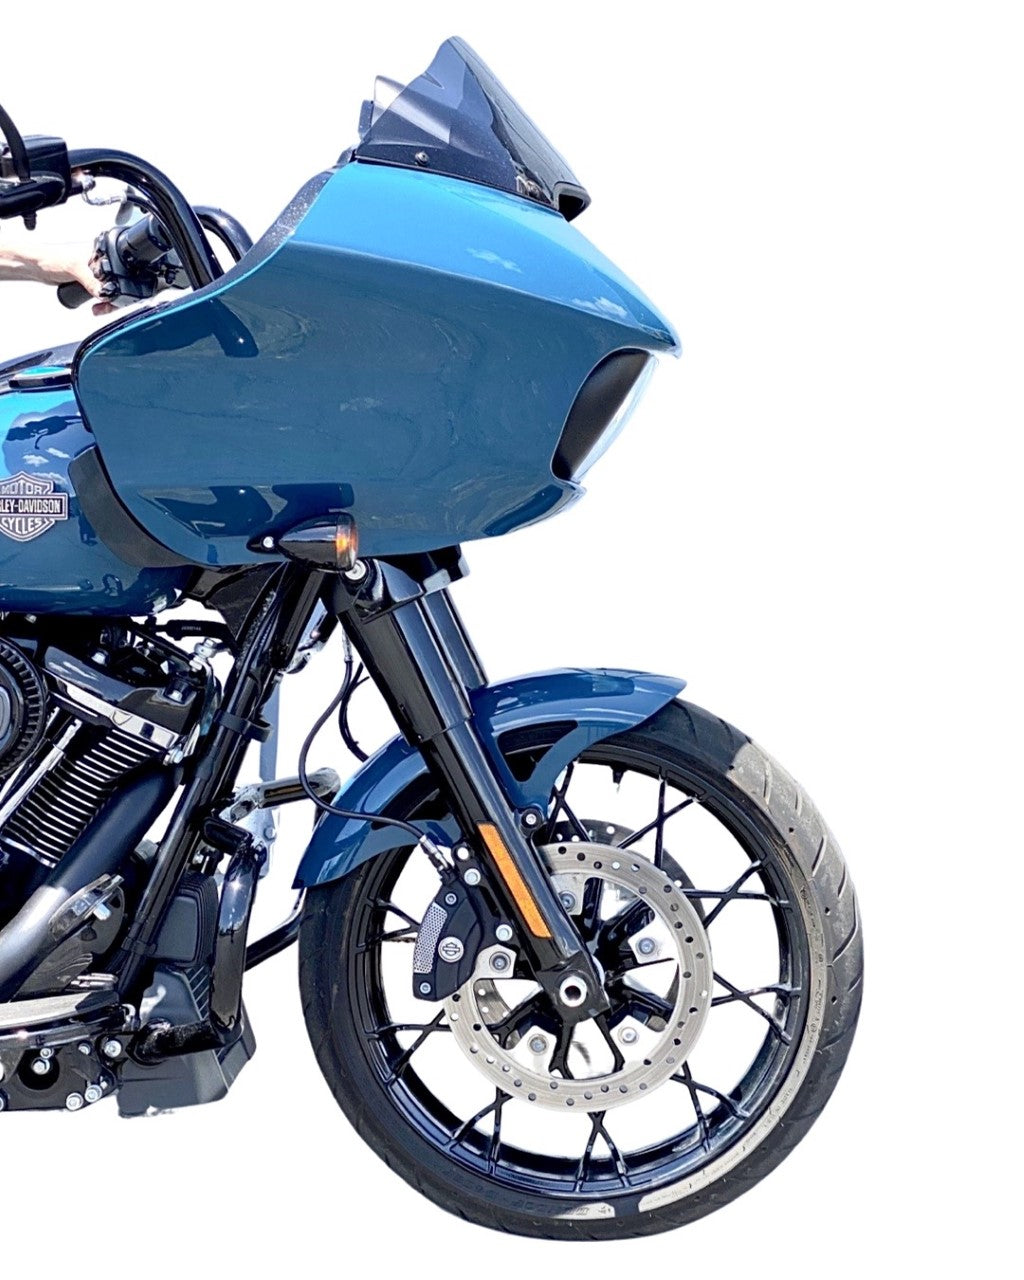
Now that you understand what to prepare and what to expect, it's time to walk through the actual installation process. While the exact steps can vary depending on whether you are installing rear shocks or front forks, and whether your bike is a Softail, Dyna, Touring or Sportster model, the general workflow remains fairly consistent.
Follow these steps carefully and refer to your specific kit instructions for torque specs, hardware details and any model-specific notes.
- Prepare Your Workspace and Secure the Bike. Clear a flat, stable area with good lighting and lay out all your tools, parts and the installation manual where you can easily reference them. Use a quality motorcycle jack, lift or center stand to support the bike securely and ensure it won't tip or shift during the installation.
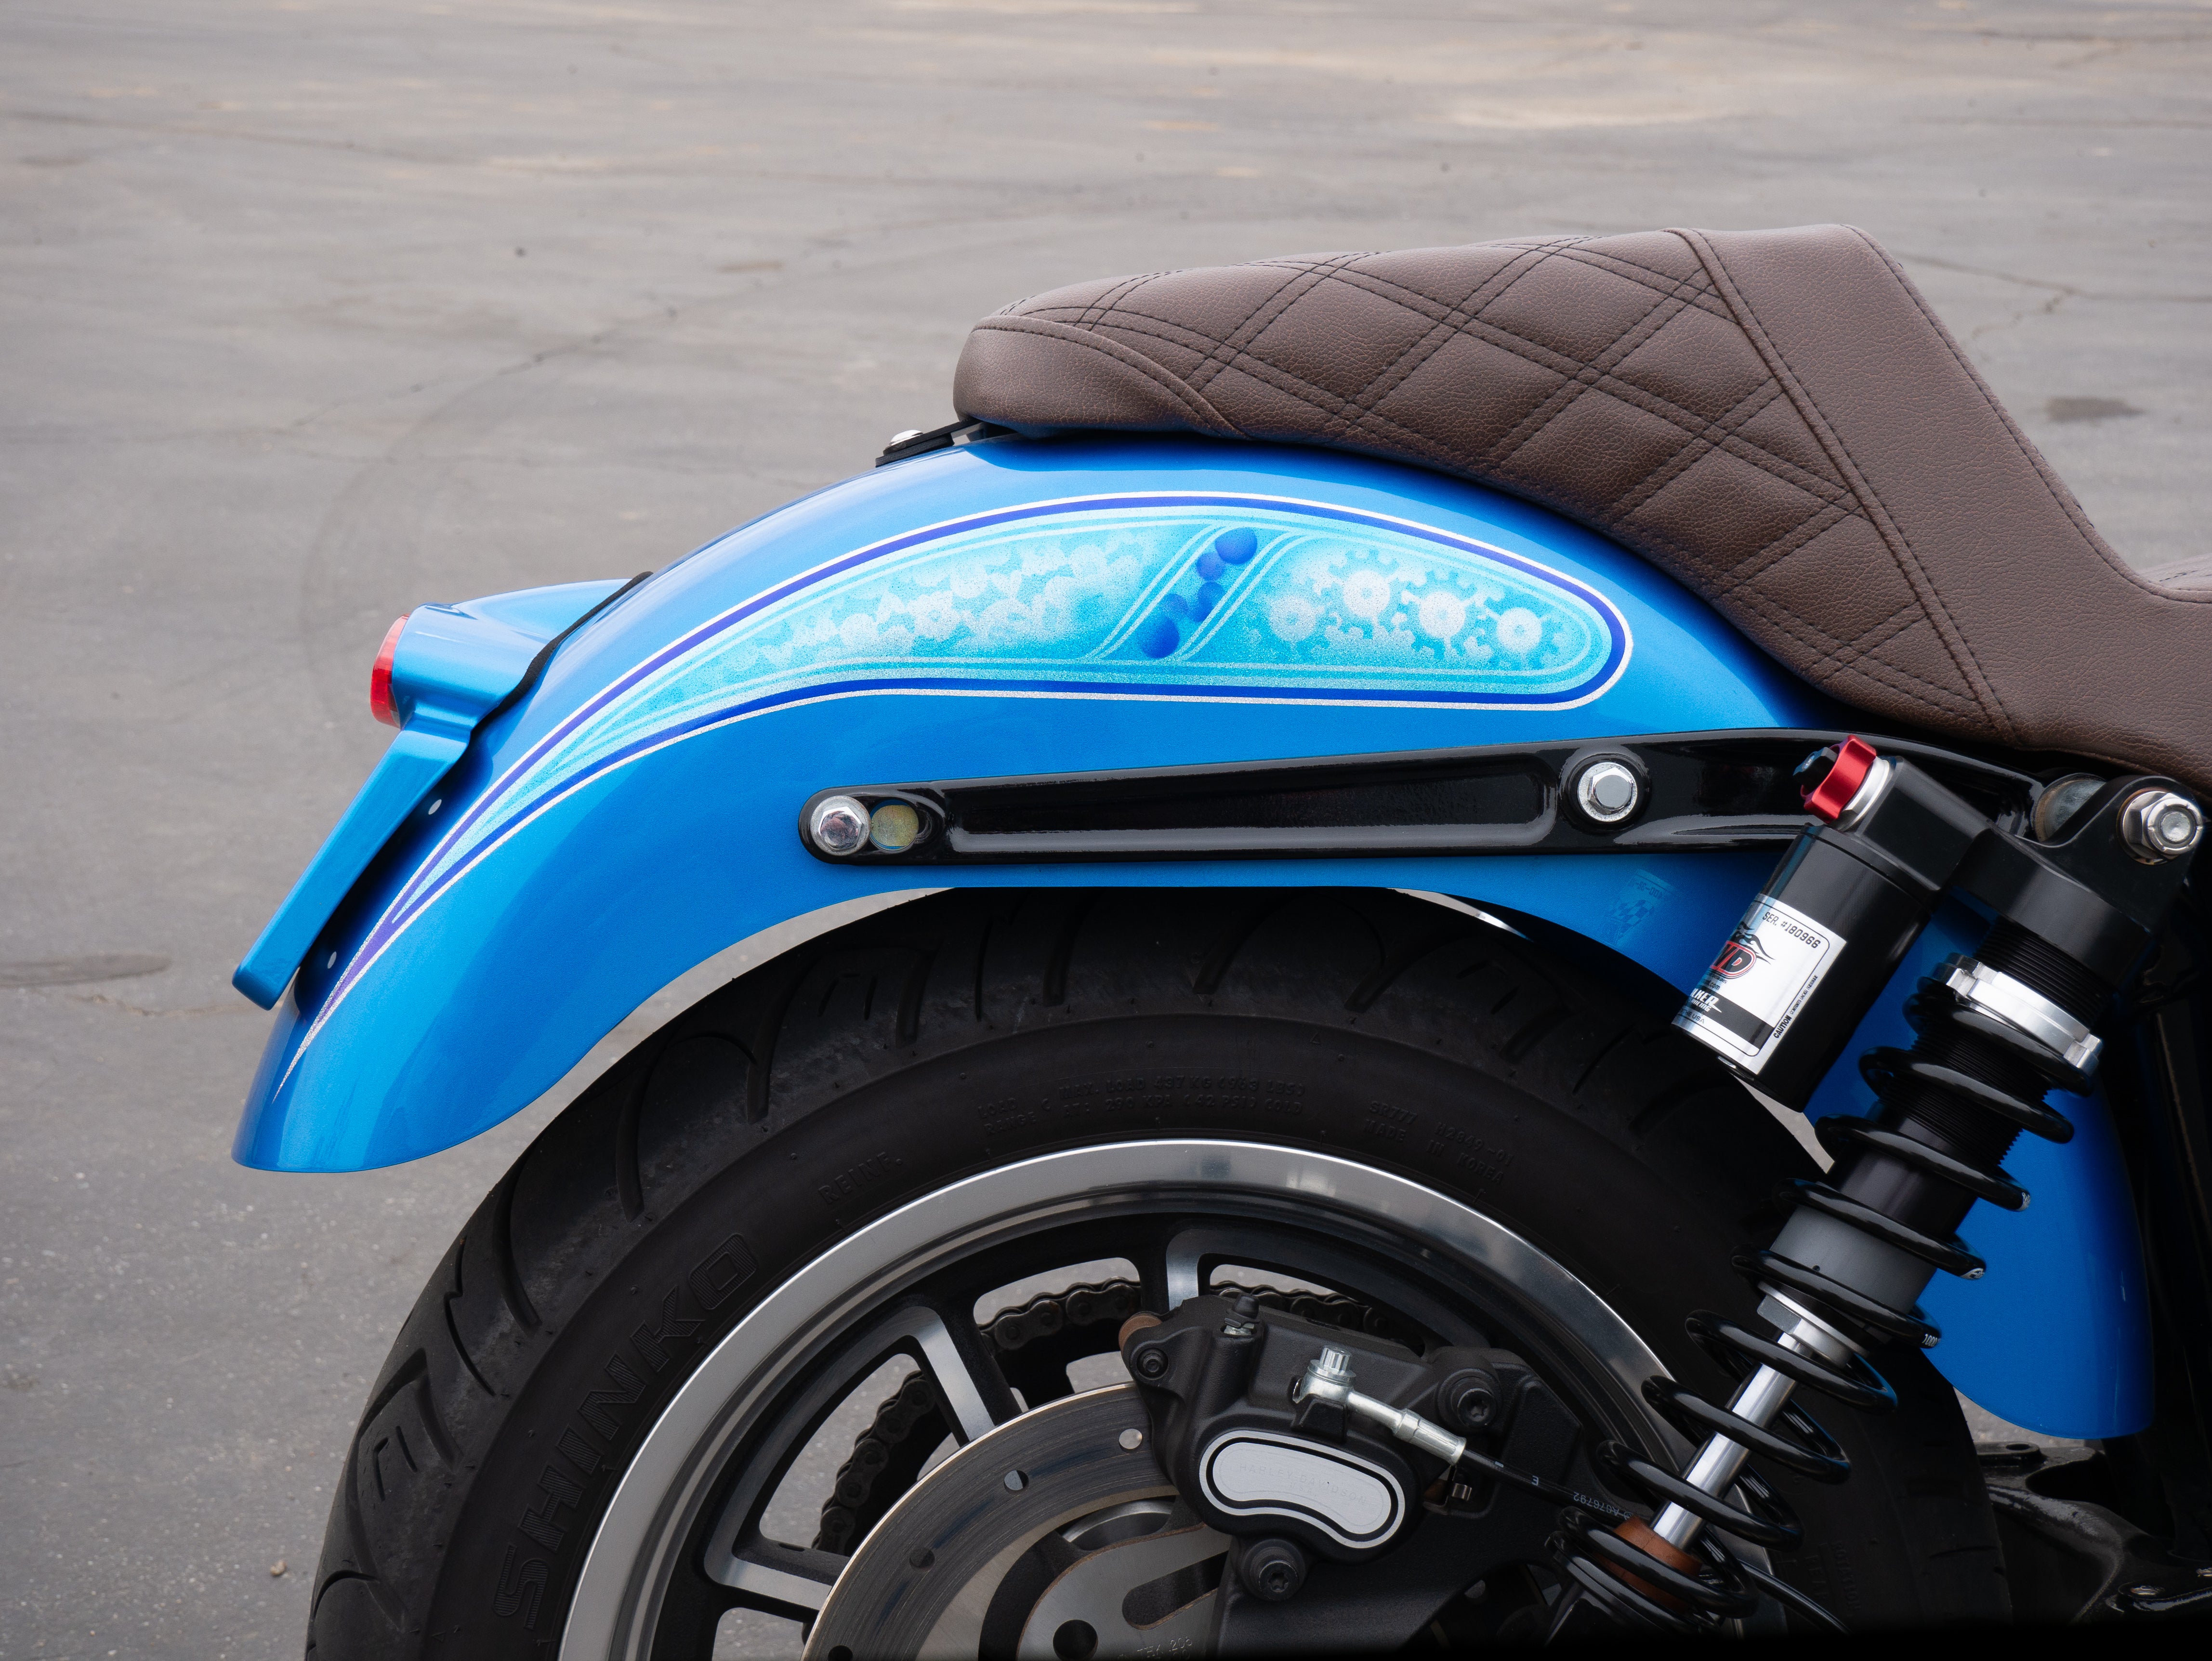
- Remove Any Components Blocking Access. Depending on your model and which suspension components you are replacing, you may need to remove saddlebags, exhaust shields, fender struts or other parts that block access to the mounting bolts. Take photos as you disassemble to help with reassembly later.
- Loosen and Remove the Old Suspension Components. Start by loosening the upper and lower mounting bolts on your stock shocks or forks, following your service manual for proper sequence and any special precautions. Support the component as you remove the final bolt to prevent it from falling or damaging other parts.
- Inspect Mounting Points and Hardware. Before installing the new components, check all mounting points, bushings and hardware for wear, corrosion or damage. Clean any dirt or debris from the mounting areas and replace any worn bushings or hardware as needed.
- Install the New Suspension Components. Position your new shocks or forks into place and hand thread the mounting bolts to ensure proper alignment before tightening. Follow the kit instructions carefully for the correct installation order and orientation.
- Torque All Fasteners to Specification. Using a calibrated torque wrench, tighten all mounting bolts to the exact specifications listed in your installation manual. Proper torque is critical for both safety and performance, so never skip this step or guess at the values.
Installing a Harley-Davidson Suspension in Review
Installing custom suspension on your Harley Davidson is a rewarding upgrade that can transform your riding experience with better handling, comfort and overall confidence on the road. While it may seem complex at first, breaking the process down into clear steps makes it manageable for most home mechanics with basic tools and attention to detail. The key is taking your time, following the manufacturer instructions carefully and never skipping critical steps like torque specifications or safety checks.
Before you start wrenching, make sure you verify kit compatibility with your specific Harley model, gather all necessary tools and prepare a clean, well-lit workspace where you can work safely. During installation, focus on proper sequence, cleanliness of mounting points and precise torque values for all fasteners. Once the new components are in place, take the time to set proper preload and sag according to your weight and riding style, then test everything carefully with a short ride before hitting the highway.
Remember that suspension setup is not a one-time task. As you ride your bike and get familiar with the new components, you may want to make small adjustments to dial in the perfect feel for your needs. Whether you are cruising long distances, carving canyons or simply want a more planted feel around town, custom suspension gives you the control to optimize your Harley exactly the way you want it.
If at any point you feel uncertain or encounter unexpected issues, there is no shame in consulting a professional mechanic who specializes in Harley Davidson motorcycles.


