


Essential Harley-Davidson Suspension Maintenance Tips for Long-Term Performance
Your Harley-Davidson's suspension is more than just a comfort feature - it's a critical safety system that directly impacts handling, stability, and overall ride quality.
Whether you're cruising the Pacific Coast Highway or tackling twisty canyon roads, a well-maintained suspension absorbs impacts, keeps your tires planted on the pavement, and gives you confidence in every corner. Yet many riders overlook suspension maintenance until problems become impossible to ignore: harsh ride quality, bottoming out, uneven tire wear, or worse, compromised handling in emergency situations.
The truth is, preventive suspension care is far more cost-effective than dealing with damaged components or safety issues down the road.
Harley Davidson suspension systems (whether you're running stock components, progressive shocks, or a completely customized setup) require regular attention to perform optimally. From oil levels and spring preload adjustments to bearing lubrication and damping checks, suspension maintenance involves both simple inspections you can do at home and specialized work best left to experienced technicians.
In this guide, we'll walk you through everything you need to know about Harley suspension maintenance, including which checks to perform regularly, when to upgrade your components for better performance, and how proper setup directly affects your bike's longevity and your riding experience.
How Harley Suspension Systems Work: The Basics
Understanding how your Harley's suspension functions is the first step toward proper maintenance and setup. Your motorcycle's suspension system is a sophisticated arrangement of components working together to absorb road impacts, maintain tire contact with the pavement, and provide controlled handling through corners and during braking.
Unlike car suspensions, motorcycle suspension must work in three dimensions:
- Managing not just vertical movement, but also the dynamic weight transfer that occurs during acceleration.
- Braking.
- Leaning.
Whether you're riding a Softail with a hidden rear shock, a Touring model with adjustable air suspension, or a Sportster with traditional twin shock setup, the fundamental principles remain consistent.
Every Harley suspension system consists of several key components that require regular attention:
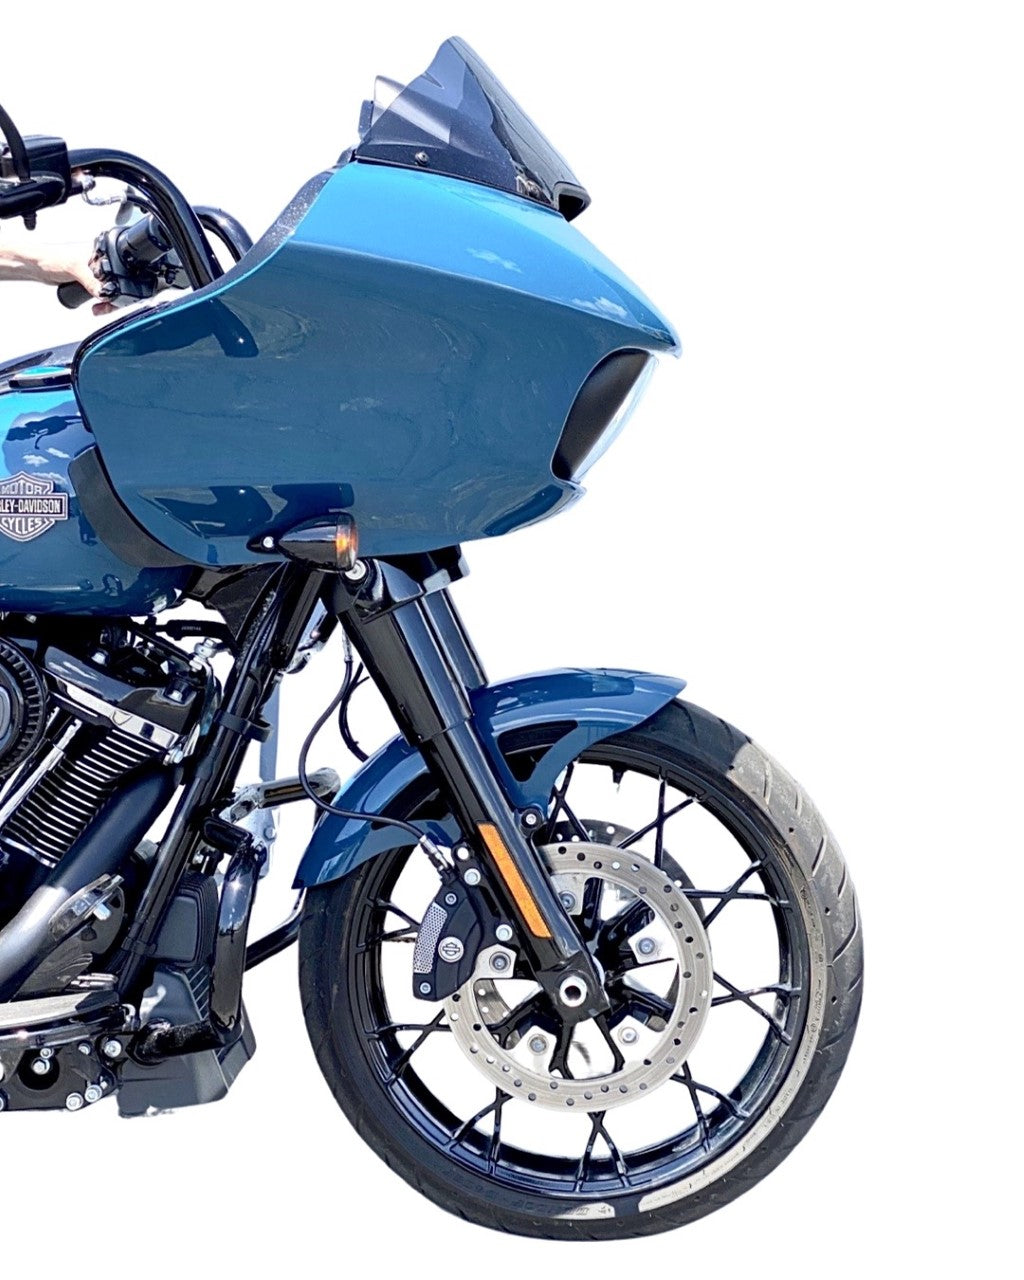
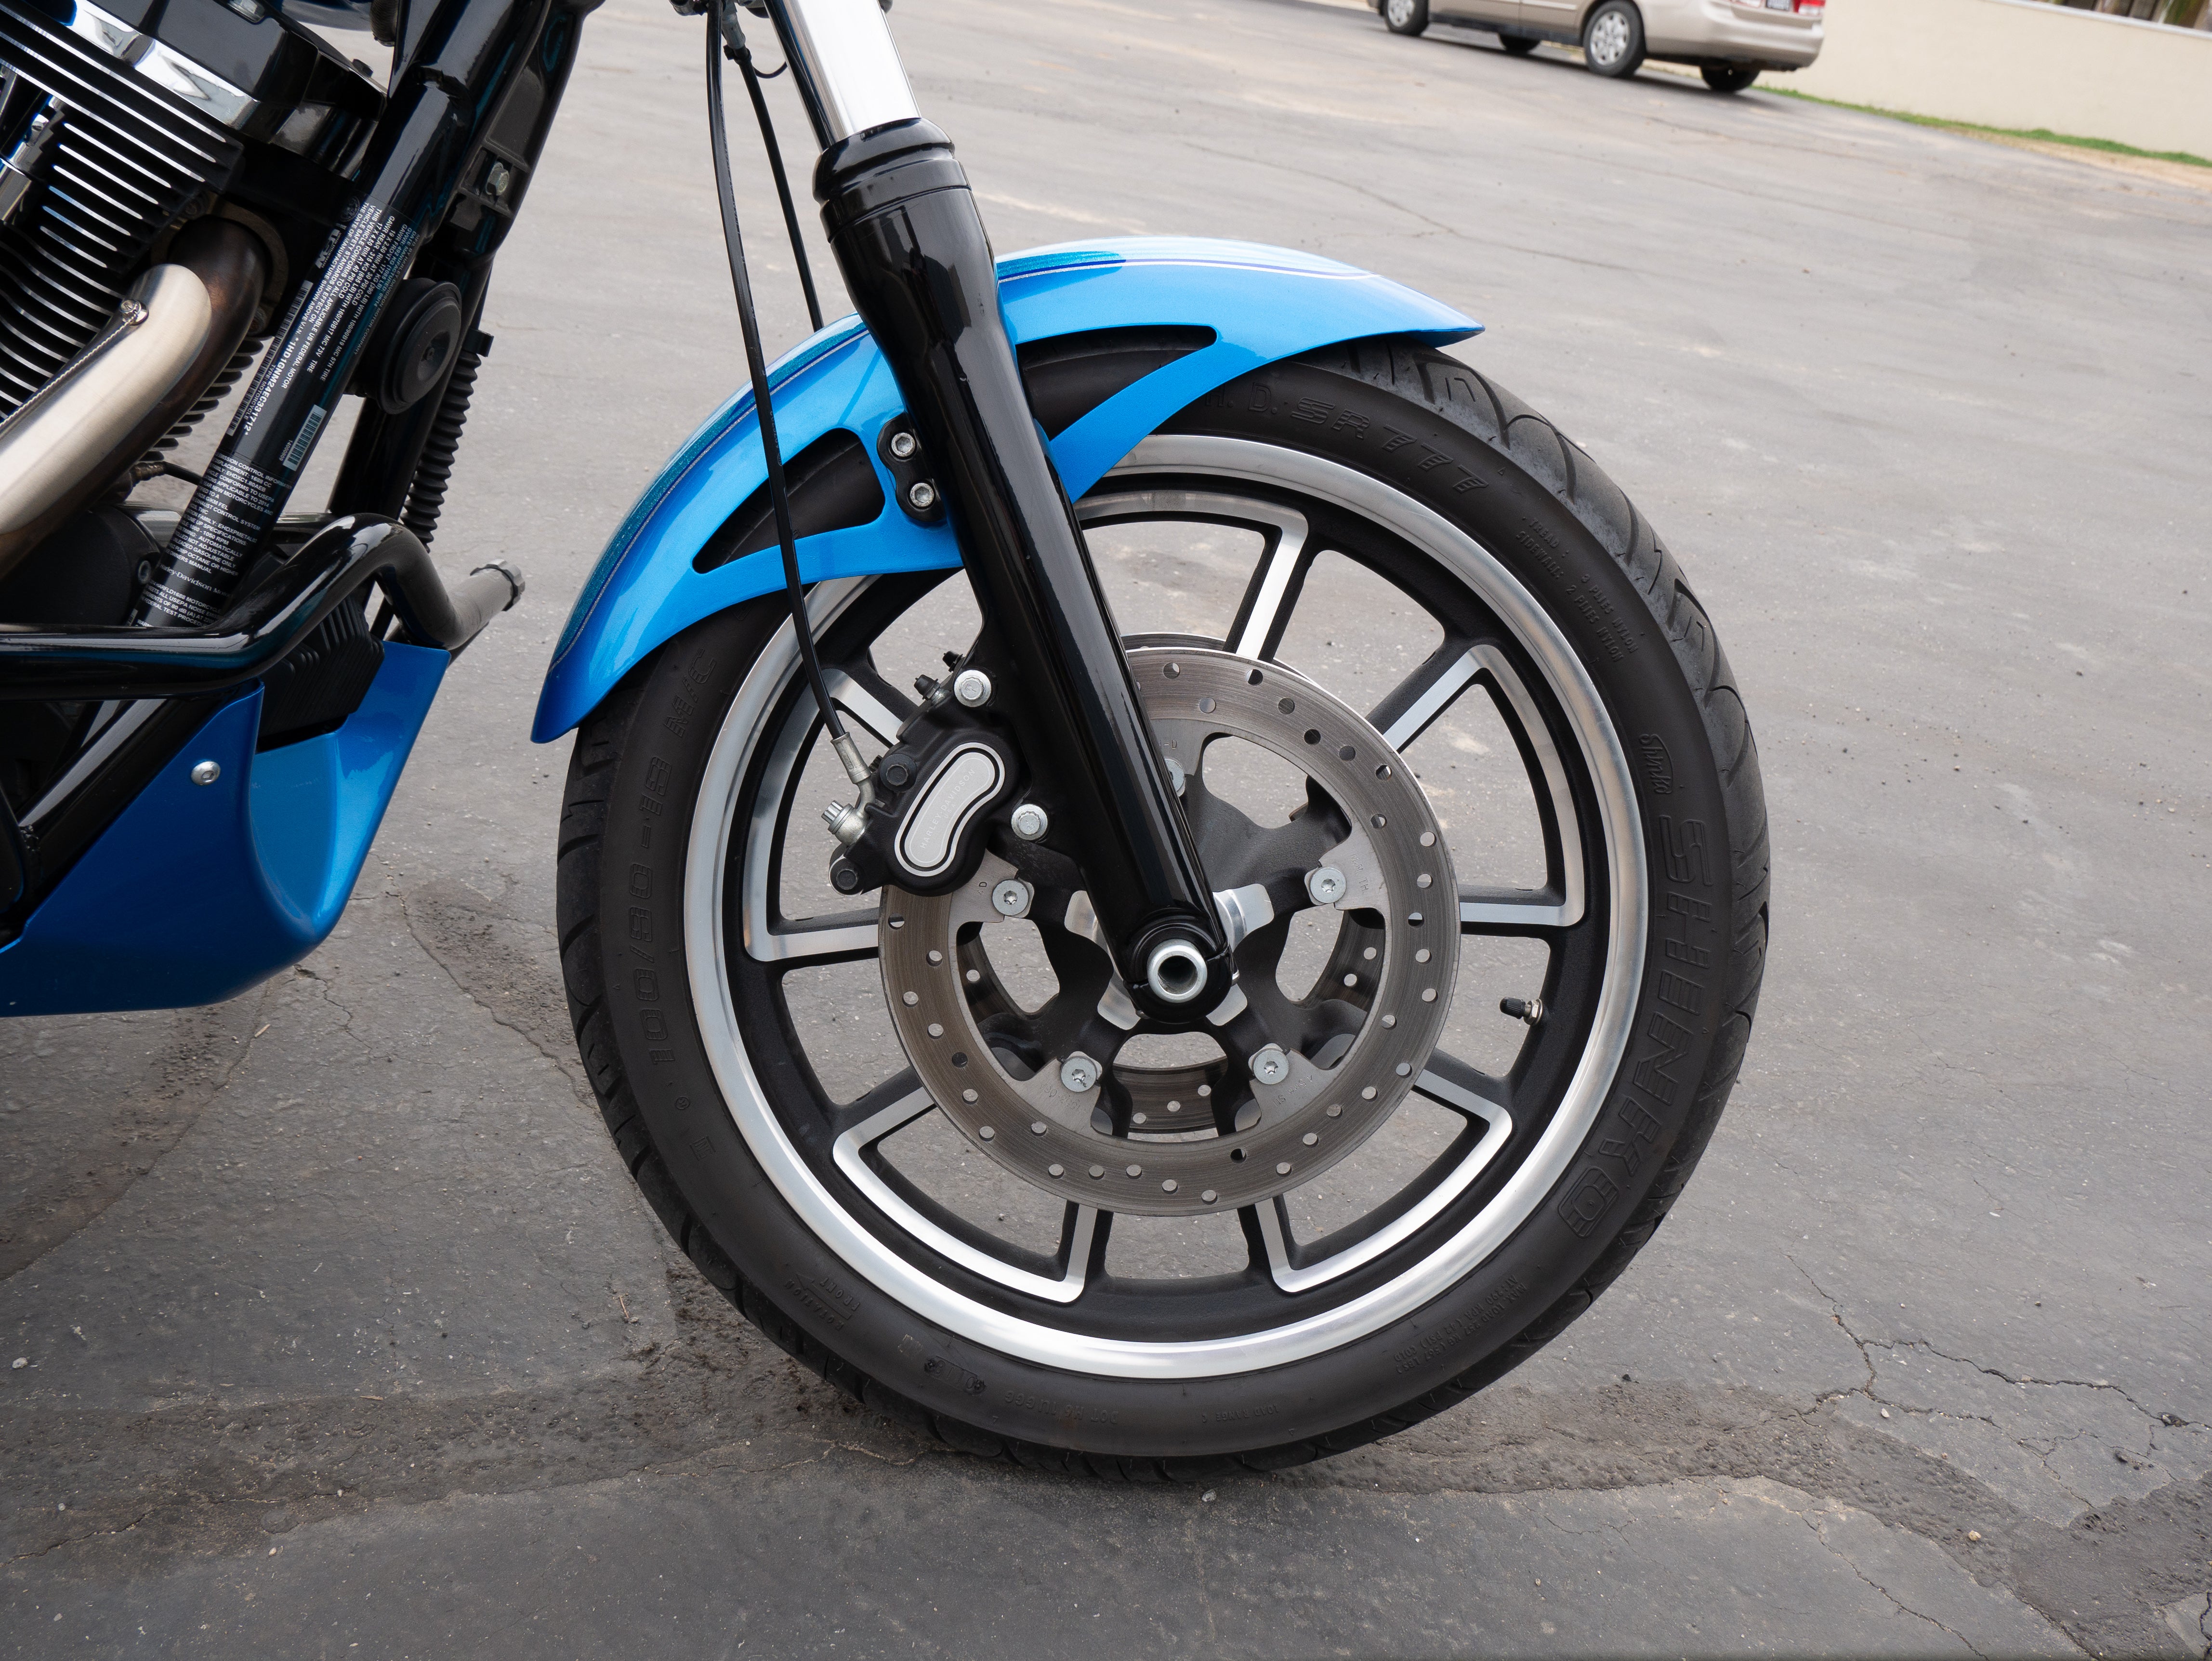
- Front Forks - Telescopic tubes containing fork oil, springs, and damping circuits that absorb front-end impacts and control steering response. Fork seals prevent oil leakage and contamination.
- Swingarm and Pivot Bearings - The swingarm connects the rear wheel to the frame via pivot bearings that require periodic greasing to prevent binding and maintain smooth suspension articulation.
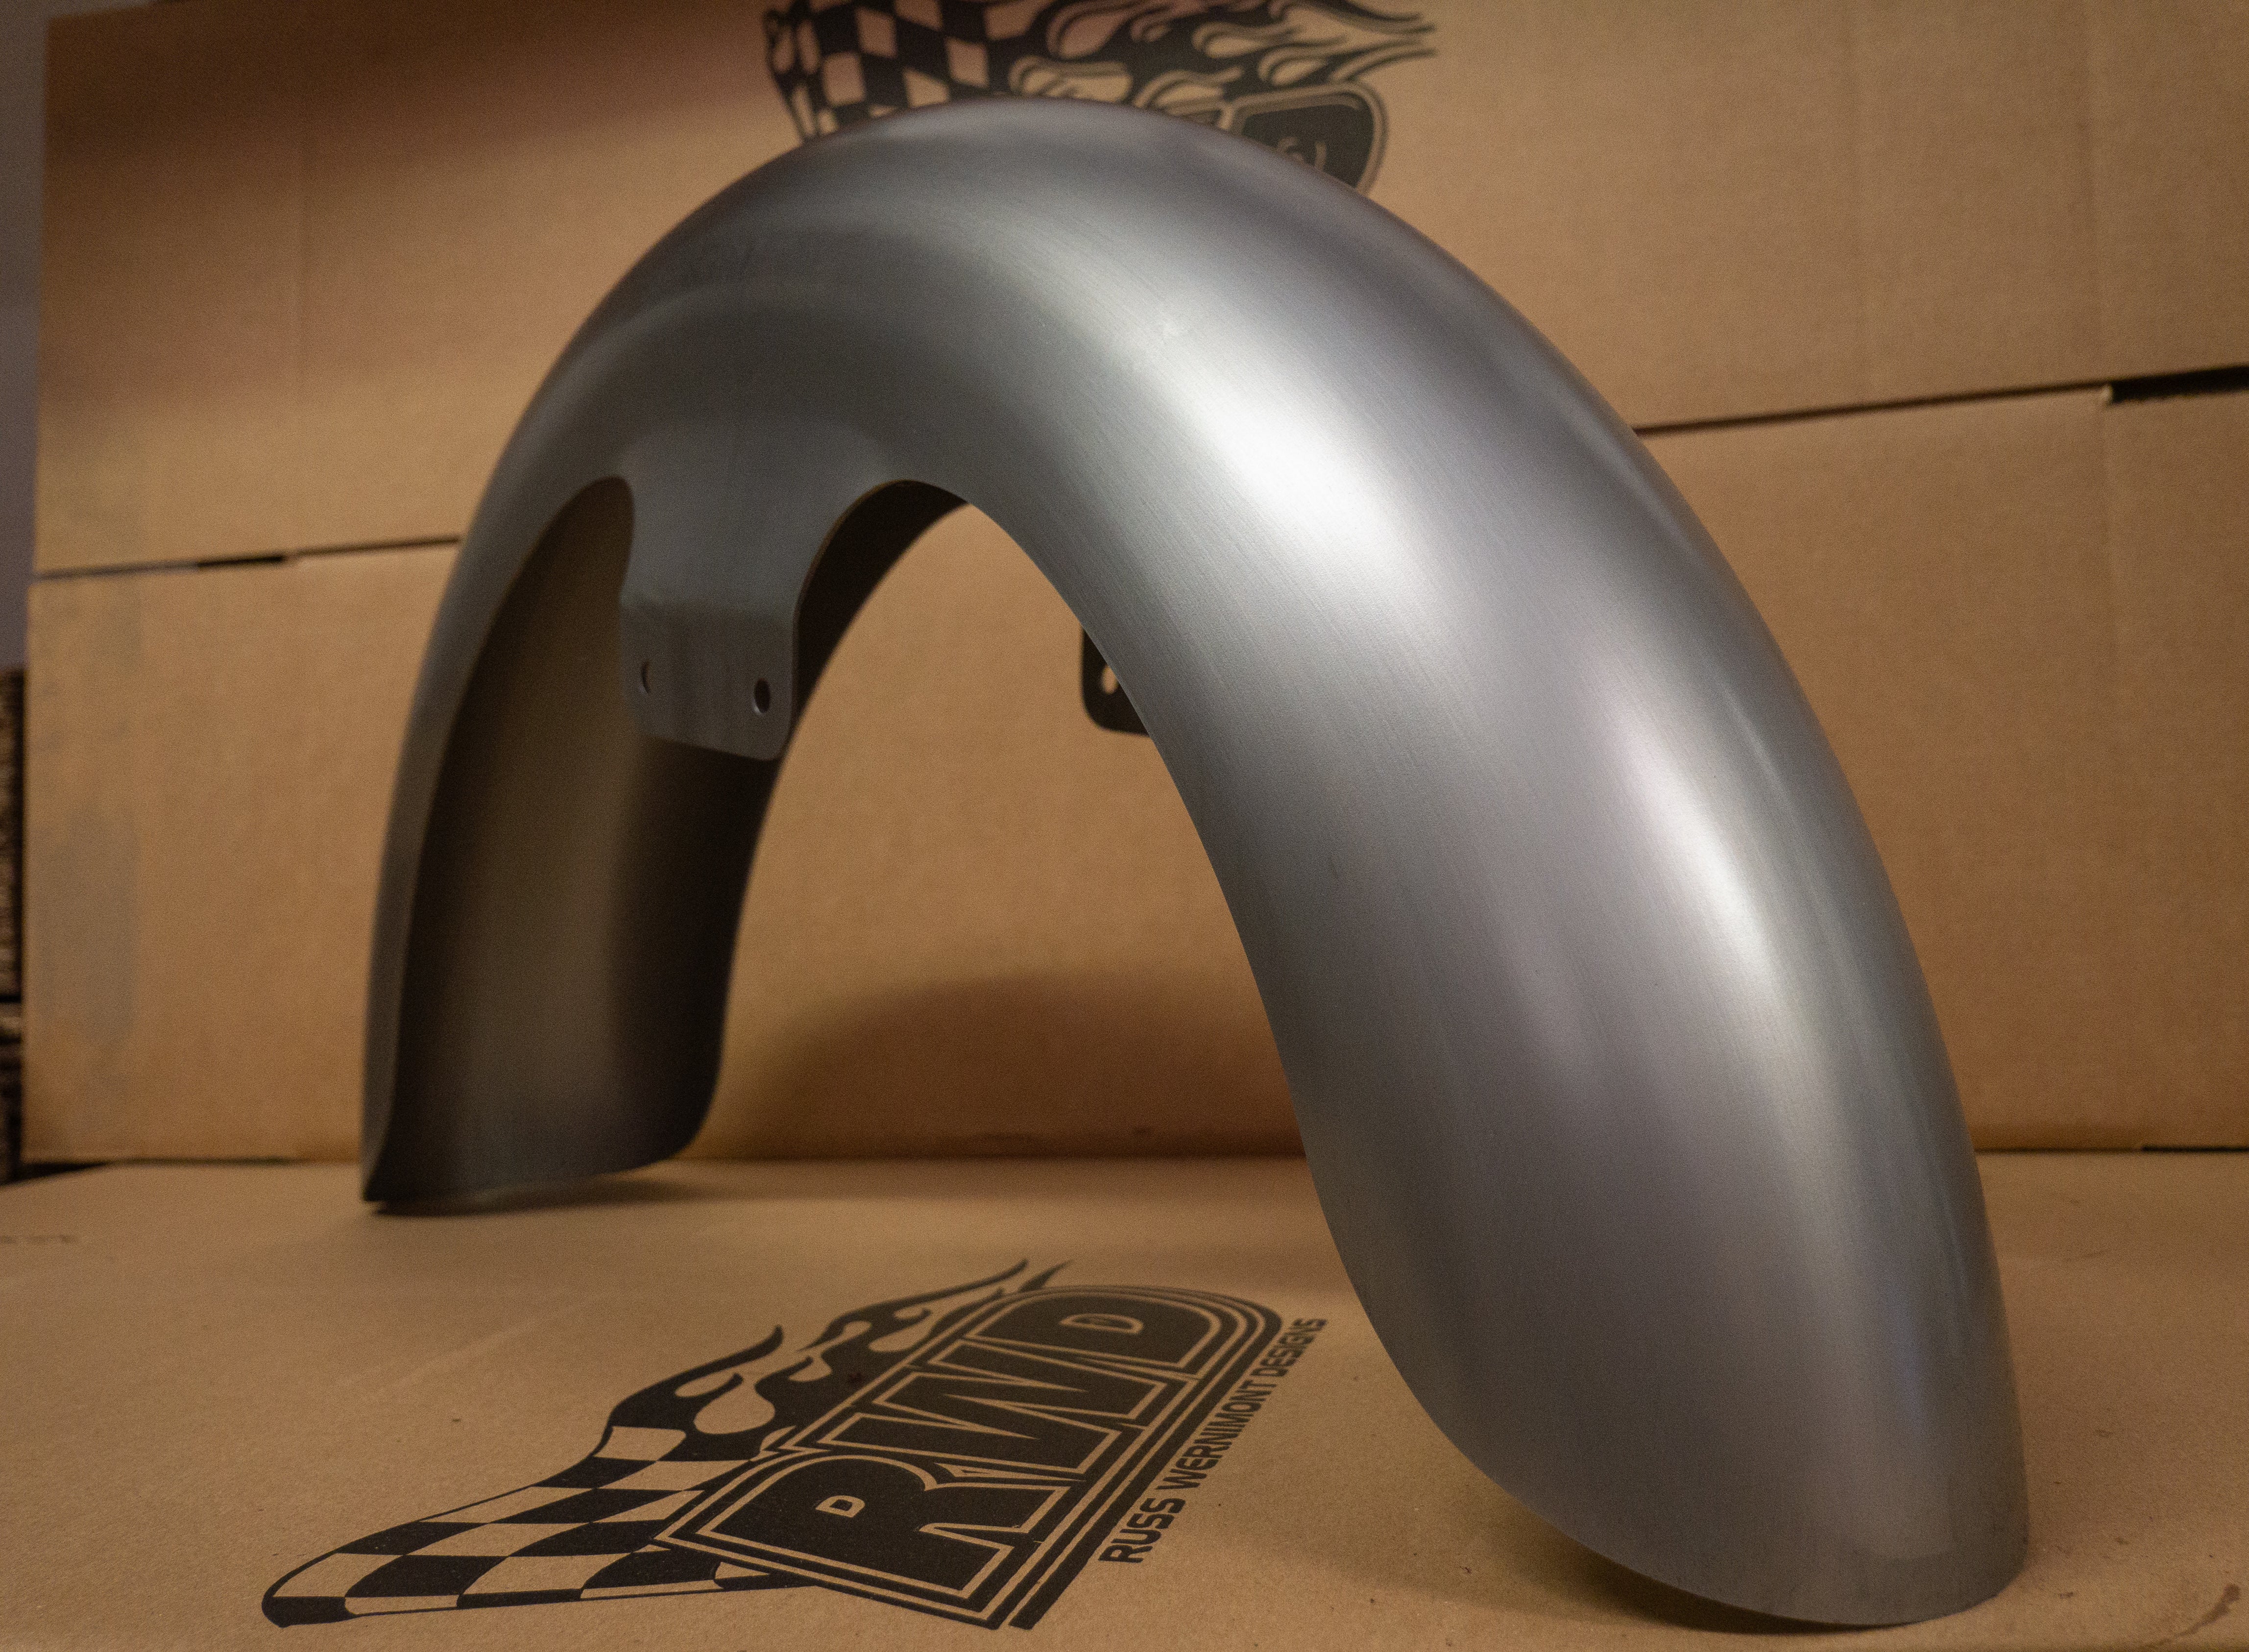
- Bushings and Linkages - Connecting hardware including shock mounts, fork leg bushings, and linkage bearings (on models equipped) that wear over time and affect suspension geometry.
- Preload Adjusters - Threaded collars or air valves that allow you to adjust spring tension for different loads, rider weights, and riding conditions.
These components work in concert to manage two critical functions: compression (when the suspension compresses to absorb bumps) and rebound (when it extends back to its resting position).
Quality suspension maintains the right balance between these forces, keeping your Harley stable and predictable. When you hit a pothole, the fork or shock compresses to absorb energy, then rebounds in a controlled manner to prevent bouncing or pogo-sticking. Worn suspension components lose this control, resulting in harsh impacts, excessive bouncing, and compromised handling that can affect both comfort and safety. Regular maintenance ensures each component continues performing its specific role in this complex system.

Essential Suspension Maintenance Tips for Long-Term Performance
Keeping your Harley's suspension performing at its best requires a combination of regular inspections, preventive maintenance, and timely component replacement. These maintenance tips will help you maximize suspension life, maintain optimal performance, and catch potential problems before they become expensive repairs:
- Inspect Fork Seals Every 1,000 Miles: Look for oil seepage, leaking, or dirt buildup on fork tubes. Wipe down fork tubes after every ride to prevent dirt from damaging seals. Replace fork seals immediately if you notice oil leakage, as contaminated fork oil loses damping ability and accelerates internal wear.
- Change Fork Oil Every 10,000-12,000 Miles: Fork oil breaks down over time, losing viscosity and damping performance. Fresh fork oil restores proper damping characteristics and protects internal components. Use manufacturer-specified weight and capacity for your specific model year.
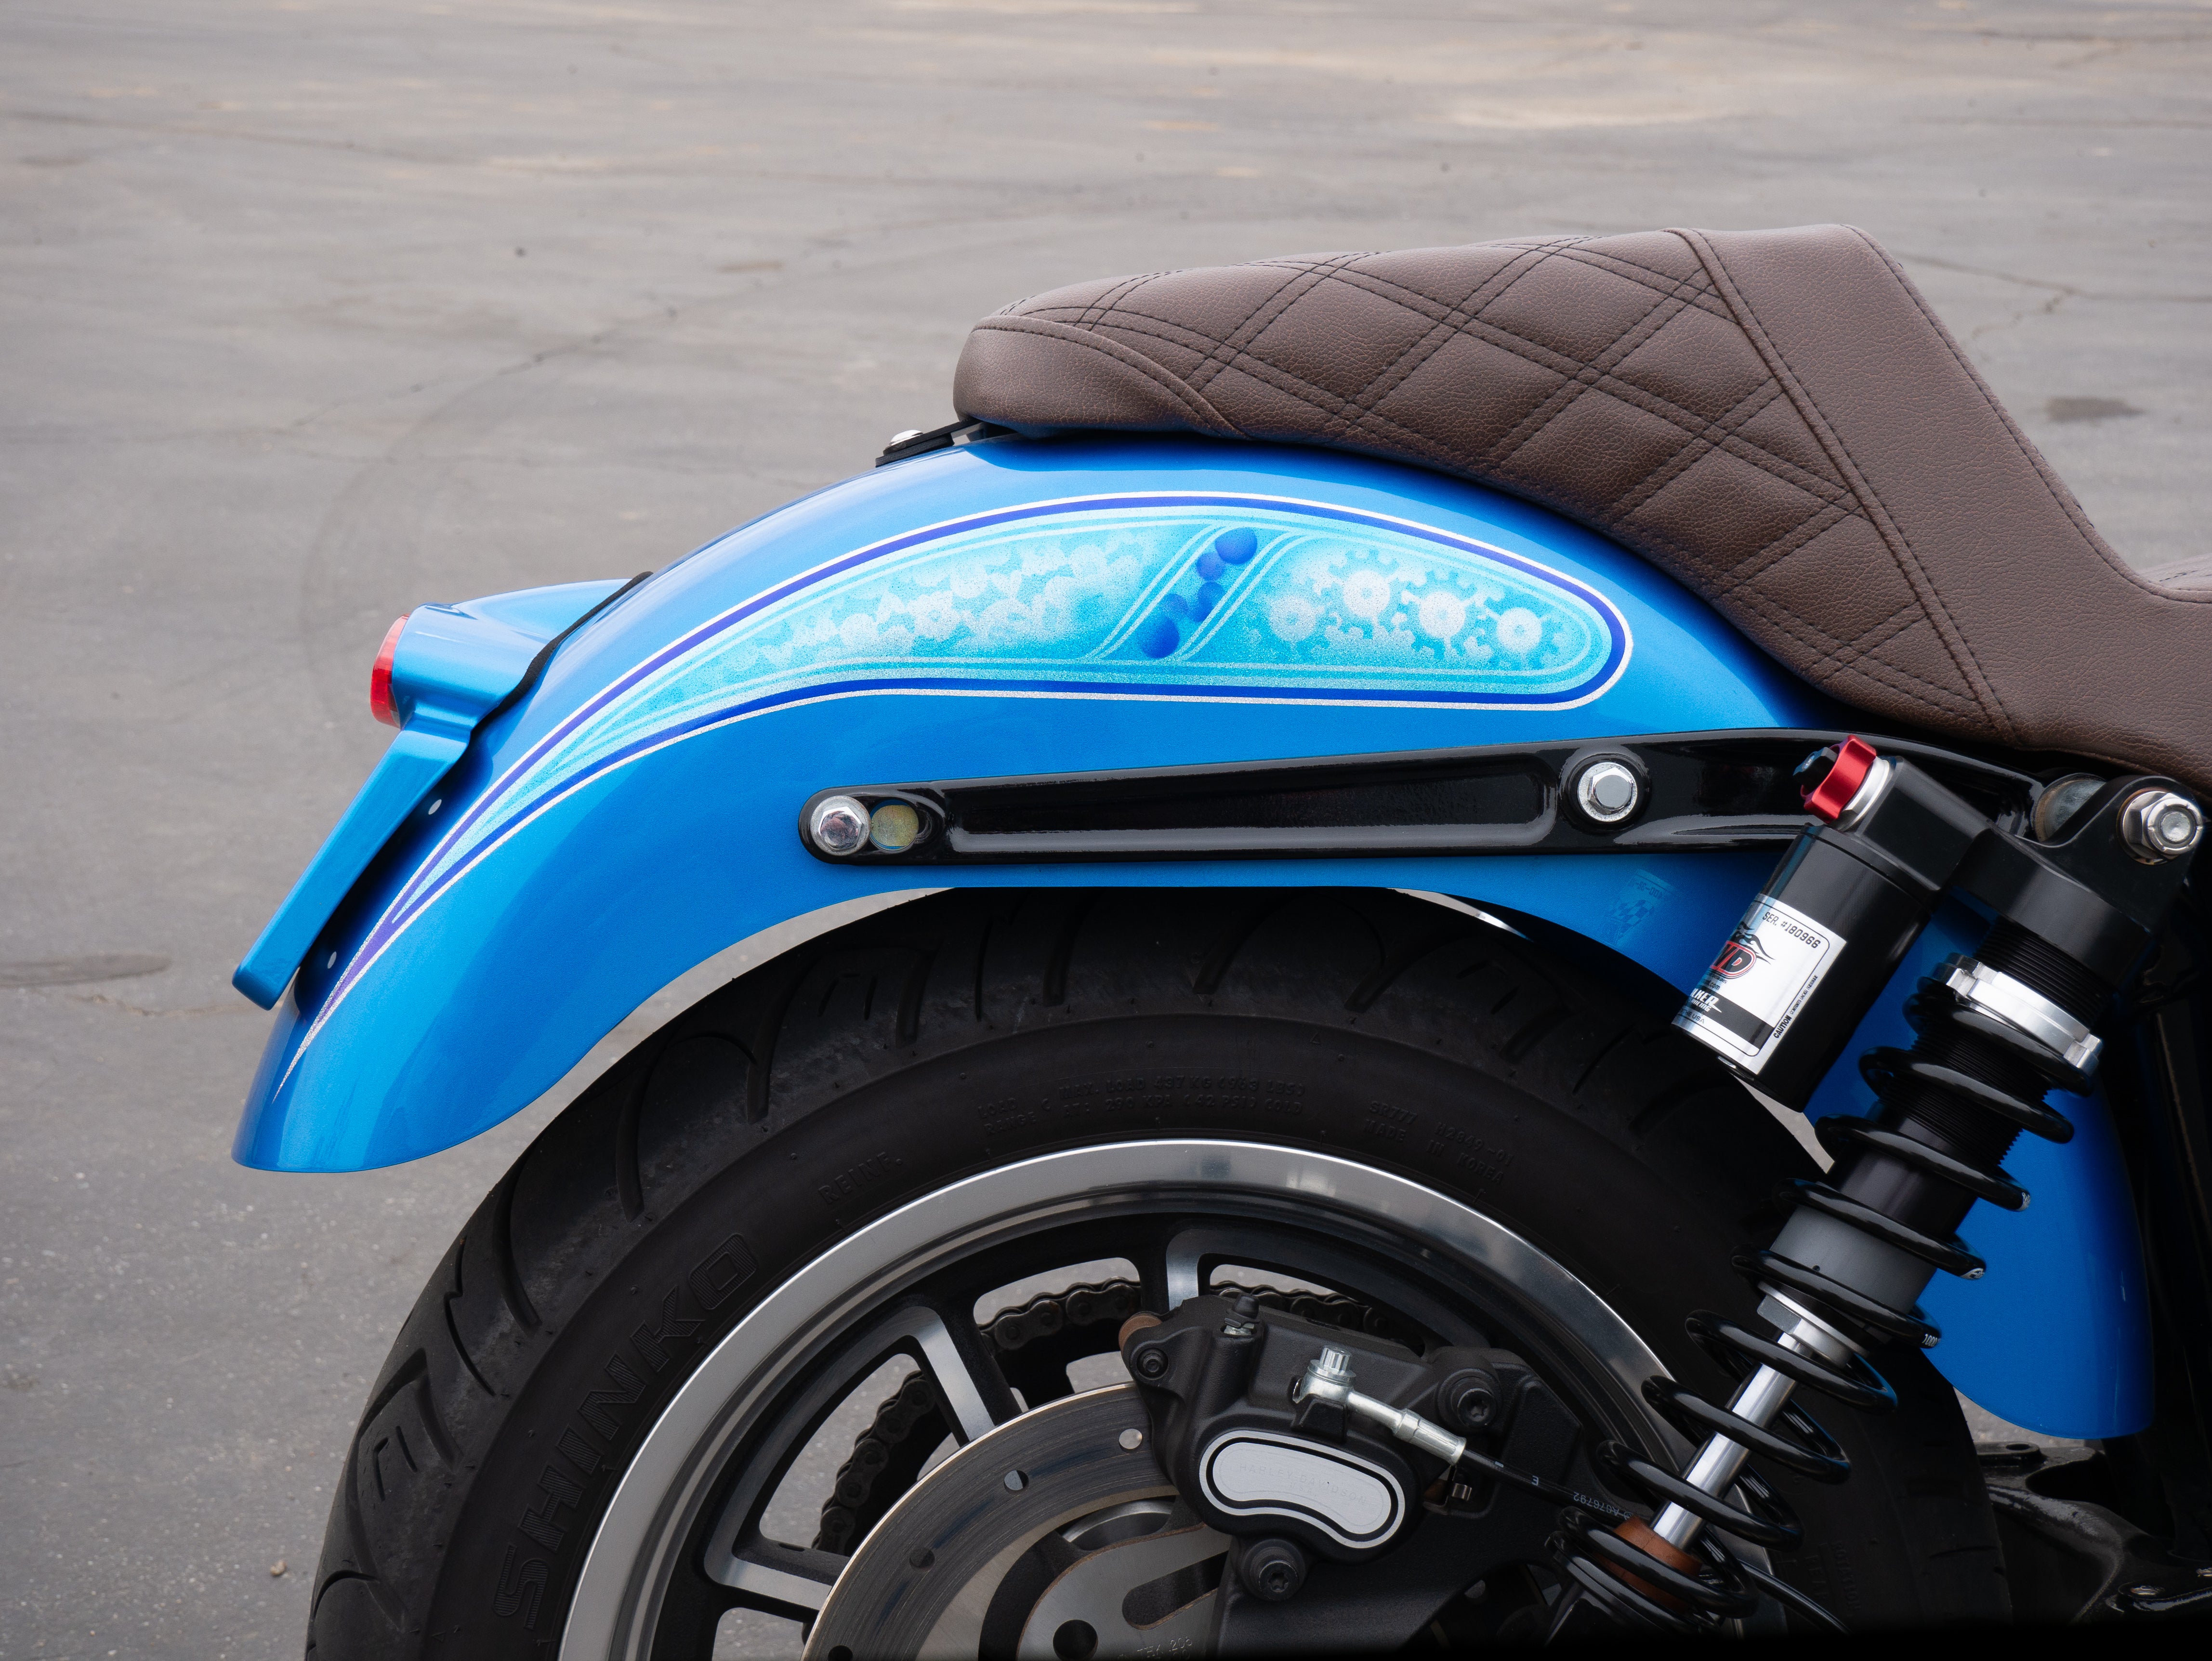
- Check Rear Shock Condition Annually: Inspect for oil leakage around shaft seals, physical damage to shock body, and proper spring tension. Test shock performance by bouncing the rear end. It should rebound smoothly without excessive bouncing. Replace shocks showing signs of fade, leakage, or loss of damping control.
- Grease Swingarm Pivot Bearings Every 5,000 Miles: Remove swingarm pivot bolt and inject fresh marine-grade grease into zerks (if equipped) or repack bearings during disassembly. Neglected pivot bearings develop play that affects handling and accelerates wear on shock bushings and mounting hardware.
- Adjust Preload for Load Changes: Increase preload when carrying a passenger or luggage to maintain proper ride height and prevent bottoming. Restore to solo rider settings when unloaded. Proper preload ensures suspension operates in its optimal range and prevents damage from over-compression.
- Monitor Tire Wear Patterns: Uneven tire wear (cupping, scalloping, or center wear) often indicates suspension problems like worn shocks, incorrect preload, or misalignment. Address suspension issues immediately when abnormal tire wear appears to prevent handling degradation and premature tire replacement.
- Inspect Bushings and Hardware Annually: Check shock mounting bushings, fork leg bushings, and all suspension hardware for cracks, deterioration, or looseness. Replace rubber bushings every 20,000-30,000 miles or when they show signs of dry rot, crushing, or separation. Torque all suspension mounting hardware to factory specifications.
- Clean and Protect Chrome Components: Keep fork tubes and chrome shock bodies clean and protected with quality chrome polish or wax. Road salt, brake dust, and environmental contaminants cause pitting that damages fork seals and degrades appearance. Regular cleaning extends component life significantly.
- Test Suspension Travel Regularly: Measure static sag (how much the suspension compresses under the bike's weight) and ensure you're using 25-30% of available travel while sitting on the bike. Too little sag indicates excessive preload; too much suggests worn springs or inadequate preload. Proper sag setup optimizes handling and prevents bottoming.
- Keep Detailed Maintenance Records: Document all suspension work including fork oil changes, seal replacements, shock rebuilds, and bearing services. Records help you identify wear patterns, plan preventive maintenance, and maintain resale value. Note any handling changes or unusual symptoms for diagnostic purposes.
Following these maintenance tips consistently will keep your Harley's suspension performing like new for tens of thousands of miles. While some tasks like fork seal inspection and preload adjustment are straightforward DIY jobs, more complex work like fork oil changes and shock rebuilds may require specialized tools and experience.
When in doubt, consult with suspension specialists who understand Harley-specific requirements.
At RWD V-Twin, we stock quality replacement components including fork seals, bushings, bearings, and upgraded suspension parts to help you maintain and improve your bike's suspension performance.
Remember: preventive maintenance is always less expensive than repairing damage caused by neglect.


