


How to Adjust Harley Touring Suspension Settings for Passenger Comfort
Harley Davidson touring bikes are built for the open road, but comfort for both rider and passenger shouldn't be an afterthought.
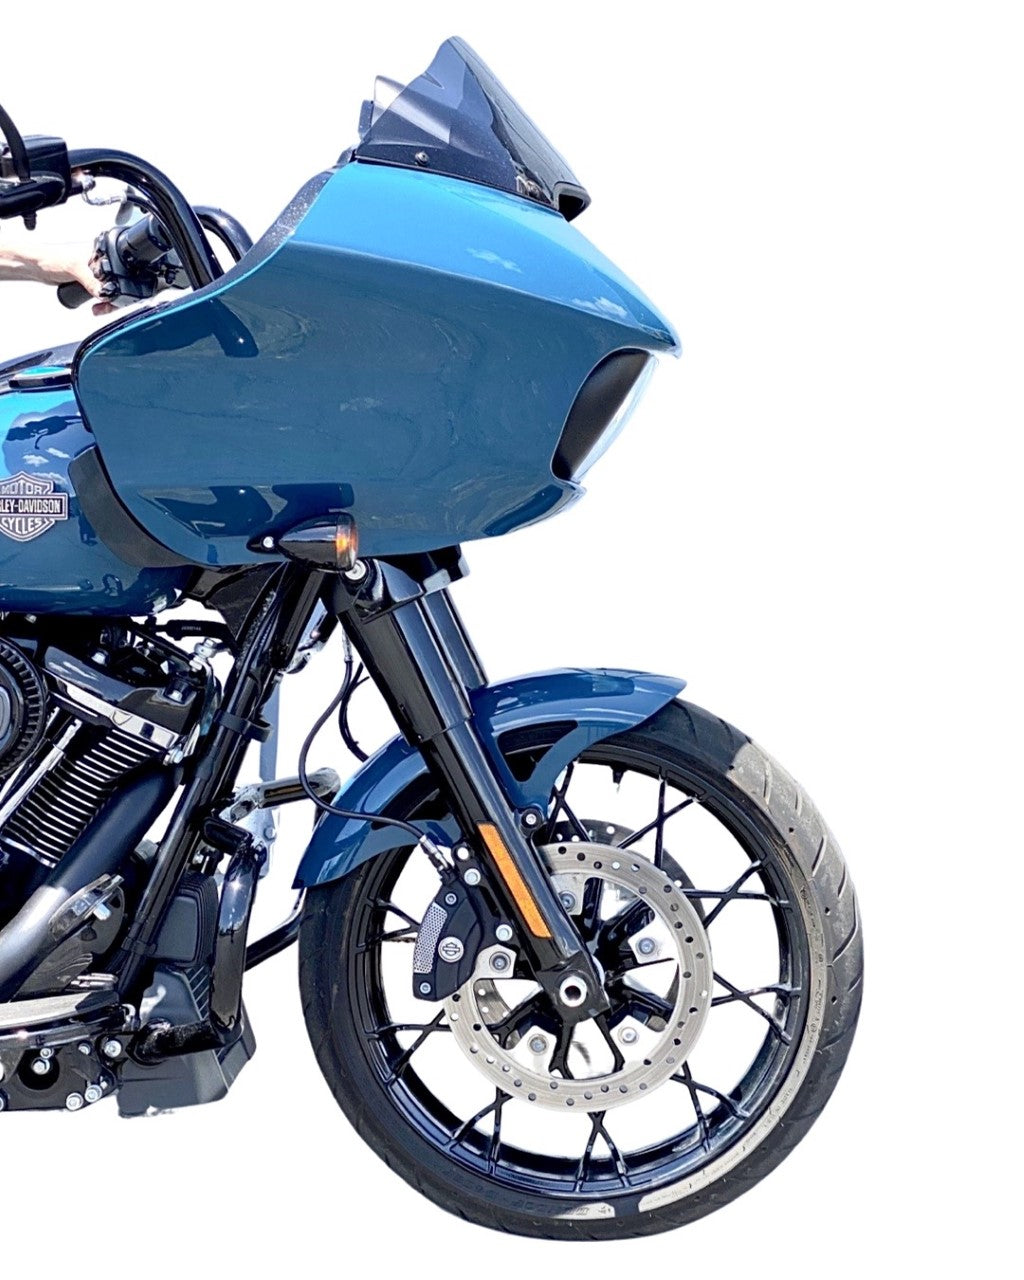
If you've noticed your passenger shifting uncomfortably or gripping tighter over bumps, the issue often lies in your suspension settings. Factory suspension on Harley touring models like the Road King, Street Glide, and Ultra Limited is designed as a one-size-fits-most compromise, which means it may not be optimized for carrying a passenger regularly.
Adjusting your Harley touring suspension settings specifically for passenger comfort can transform your two-up riding experience, reduce fatigue for both riders, and even extend the lifespan of your suspension components.
Proper suspension adjustment for passenger riding involves understanding two critical components:
- Preload
- Compression damping
Many Harley riders are unaware that their touring bike's suspension can be fine-tuned to handle the additional 150-300 pounds a passenger brings to the bike. When weight isn't properly supported through correct preload settings, your rear suspension compresses excessively, affecting handling and comfort.
This guide walks you through adjusting your Harley touring suspension for optimal passenger comfort, whether you're riding two-up daily or just occasionally. We'll cover the essential adjustments you can make yourself, plus recommendations for when professional suspension work might be worthwhile.
Harley Touring Suspension Basics to Know
Before diving into specific adjustment procedures, it's essential to understand the fundamental components of your Harley touring suspension system.
Most touring models from 2009 onward feature adjustable rear suspension with emulsion shocks, while newer models (2017+) often include premium suspension options with more fine-tuning capabilities.
Knowing these basics will help you make informed adjustments and communicate effectively with suspension specialists when upgrades become necessary.
- Preload - Controls the initial compression of your suspension springs and determines ride height. Higher preload firms up the rear end and prevents bottoming out with passenger weight. Most touring models have easily accessible preload adjusters.
- Compression Damping - Manages how quickly the suspension compresses when hitting bumps. Proper compression settings prevent harsh bottoming and improve comfort over rough roads, especially important when carrying a passenger.
- Ride Height - The distance between your rear axle and fender. With a passenger, stock suspension typically sags 1-2 inches. Proper adjustment maintains optimal geometry and ground clearance.
- Weight Distribution - Touring bikes carry 40-45% of weight on the rear when solo. Adding a passenger shifts this to 50-55%, requiring suspension adjustments to maintain balance and handling.
- Emulsion vs. Cartridge Shocks - Stock emulsion shocks offer basic adjustability. Upgraded cartridge shocks provide separate high and low-speed compression adjustments for superior control.
Next, let's move on to how to adjust a Harley touring suspension when riding with a passenger.

How to Adjust Harley Touring Suspension for Riding with a Passenger
Adjusting your Harley touring suspension for two-up riding is a straightforward process that can dramatically improve comfort and handling for both you and your passenger.
The key is to increase preload to compensate for the additional weight, then fine-tune compression and rebound damping to match your riding style and typical road conditions. Most adjustments can be made with basic tools in your garage, though you'll want to have your passenger present during the test ride phase to ensure settings are dialed in correctly.
Follow these steps to optimize your suspension for passenger comfort.
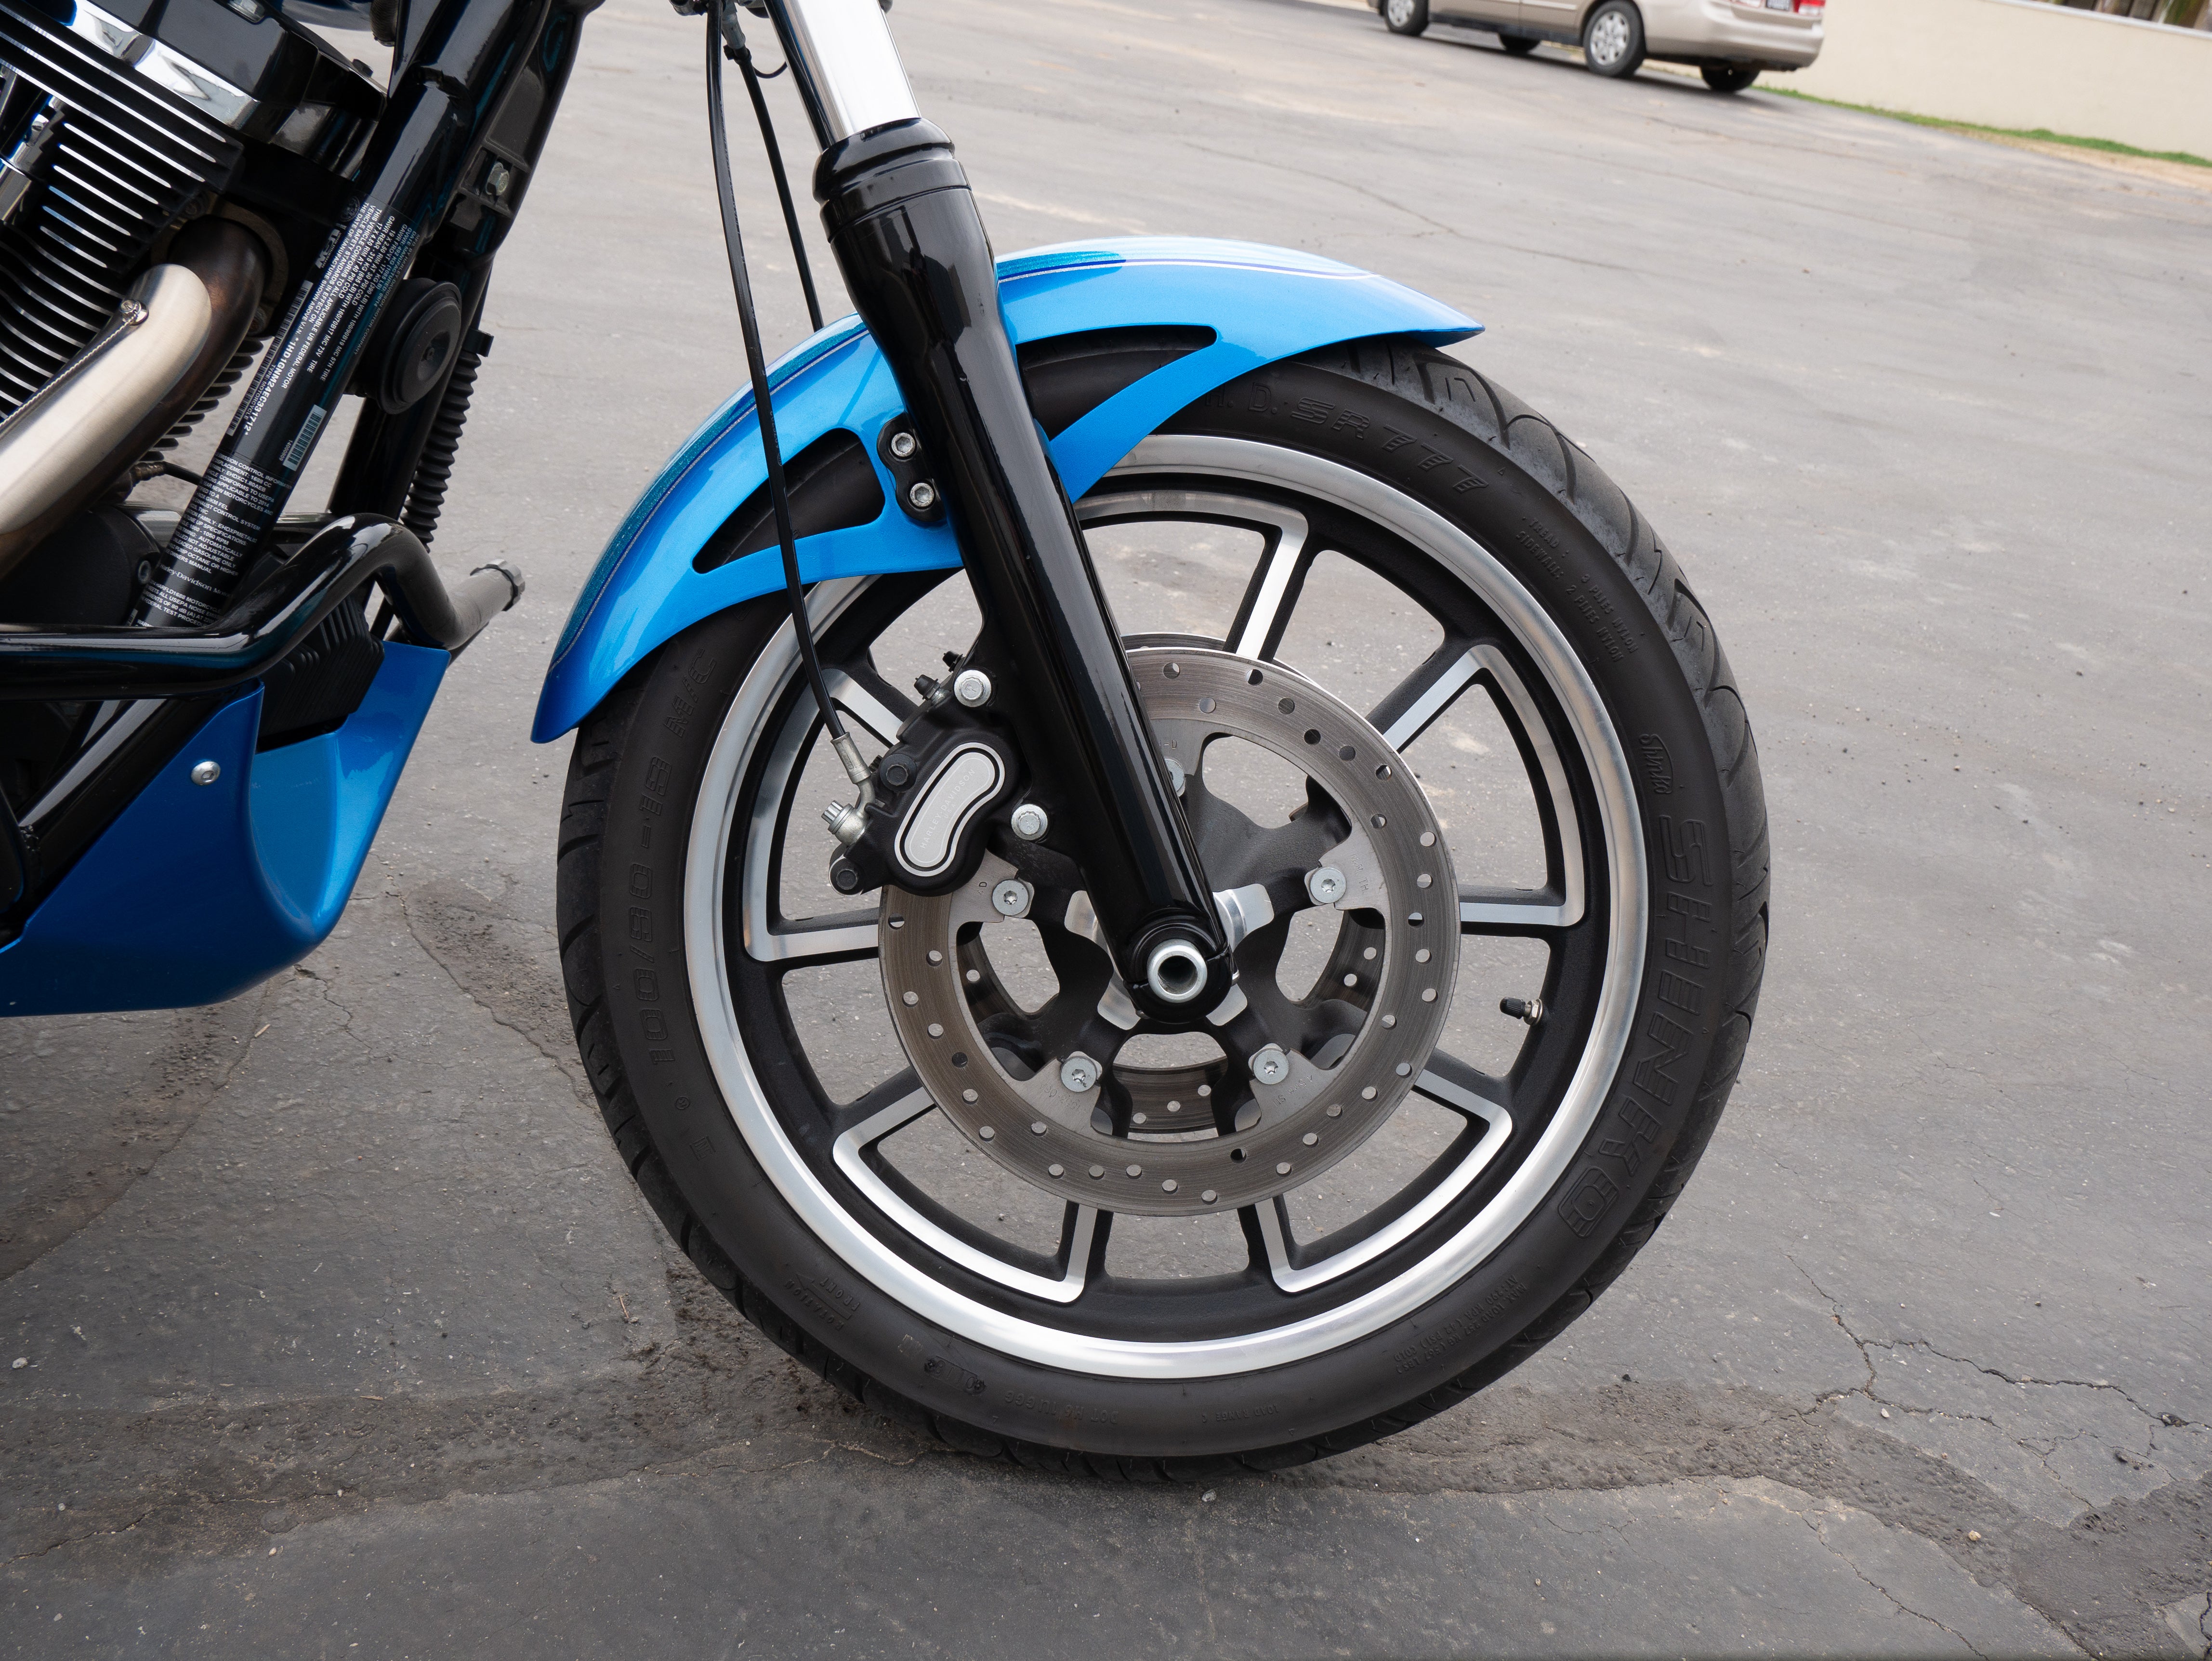
- Measure Your Current Ride Height - Park the bike on level ground and measure the distance from the rear axle to the bottom of the fender. This baseline measurement helps you track how much the suspension compresses with a passenger and guides your preload adjustments.
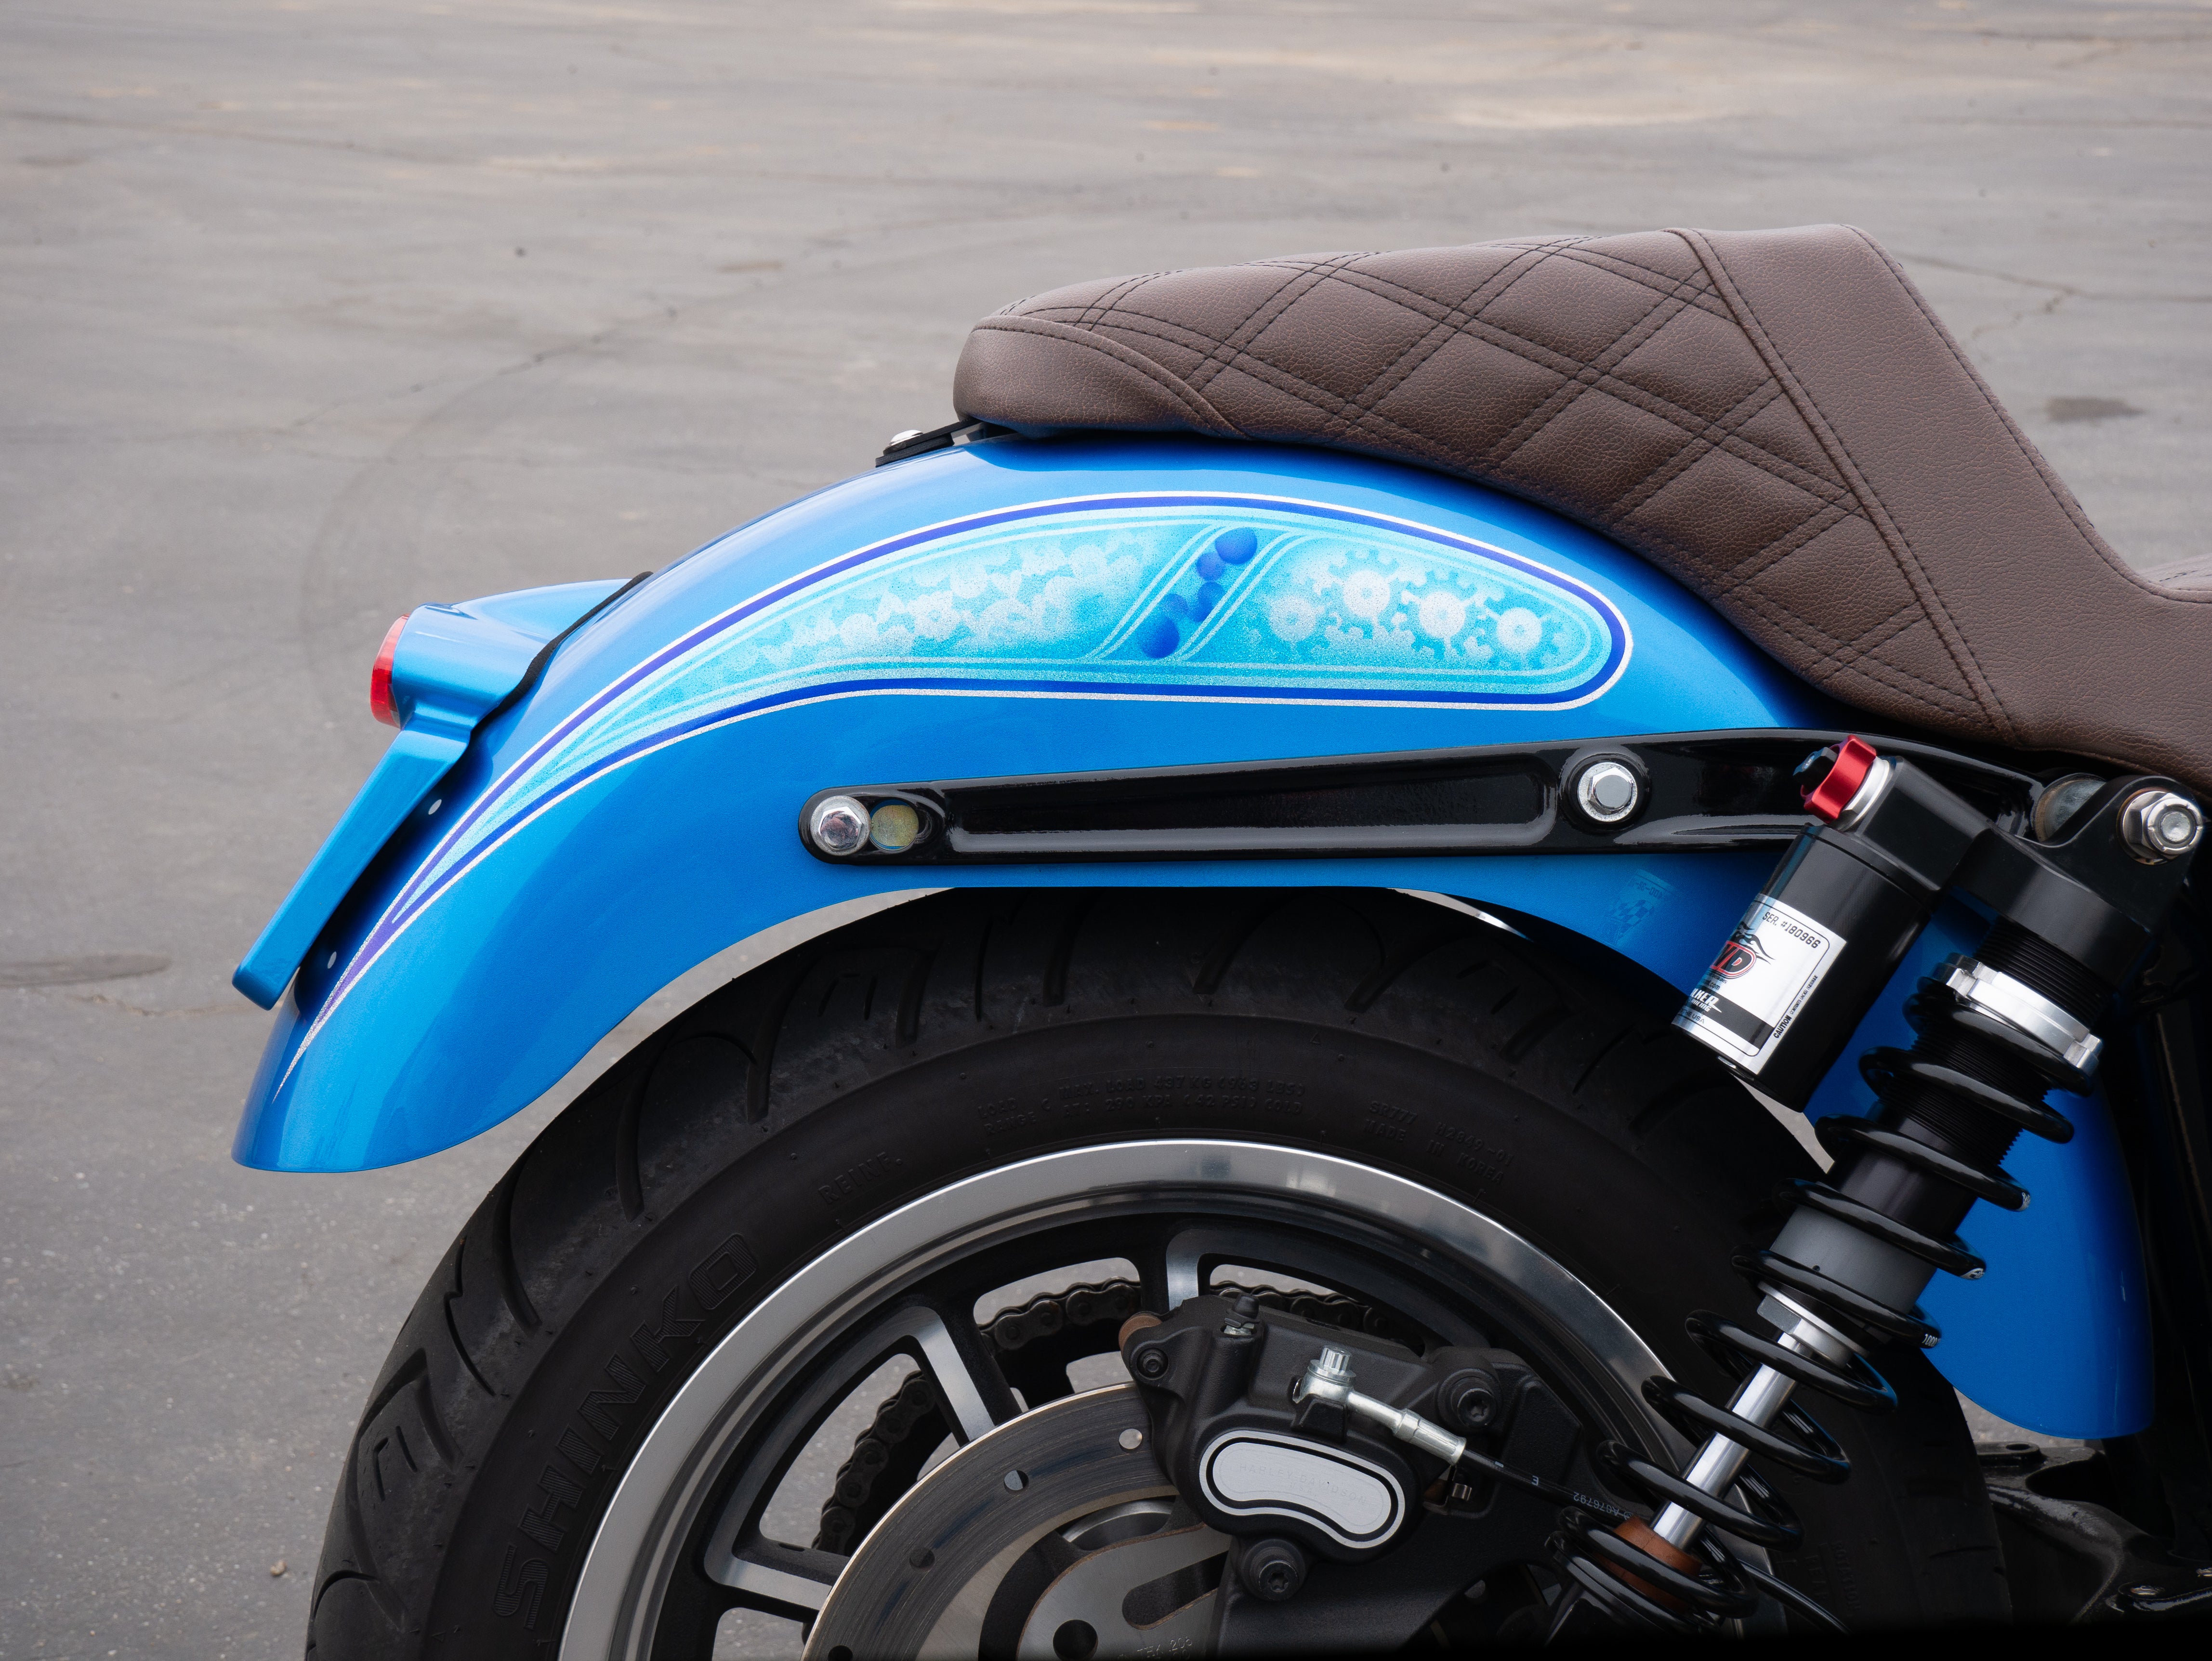
- Locate the Preload Adjusters - On most Harley touring models, you'll find preload adjusters at the top of the rear shocks. They're typically accessible without removing bodywork. Some models have a threaded collar with a C-spanner slot, while others use a hand-adjustable knob or require a shock spanner wrench.
- Increase Preload for Passenger Weight - Using the appropriate tool (C-spanner, shock wrench, or hand adjustment), increase preload by 2-3 full turns from your solo riding setting. This is a good starting point for most average-weight passengers (150-180 lbs). Heavier passengers may require 4-5 turns.
- Check Ride Height with Passenger Onboard - Have your passenger sit in their normal riding position. Re-measure the rear ride height. You're aiming for approximately 1 inch of sag (compression) with the passenger seated. If you're seeing more than 1.5 inches of sag, add more preload.
- Adjust Compression Damping (If Equipped) - If your shocks have compression damping adjusters (usually a screw or knob at the bottom of the shock), start at the factory setting for two-up riding recommended in your owner's manual. If not specified, try adding 2-3 clicks of compression damping from your solo setting to help control harsh bottoming.
- Adjust Rebound Damping (If Equipped) - Rebound adjusters are typically located at the top of the shock body. With increased preload, you may need to add 1-2 clicks of rebound damping to prevent the suspension from rebounding too quickly. Start conservative and adjust based on ride feel.
- Test Ride and Fine-Tune - Take a 15-20 minute test ride with your passenger over familiar roads that include bumps, dips, and smooth sections. Pay attention to how the bike handles bumps, whether it feels harsh or wallowy, and ask your passenger about comfort levels.
- Make Incremental Adjustments - Based on your test ride, fine-tune in small increments. If the ride feels harsh, reduce compression damping by 1-2 clicks. If the bike feels bouncy or unstable, add rebound damping. If you're still bottoming out, add more preload.
- Document Your Settings - Once you've found the sweet spot, write down your settings (preload position, compression clicks, rebound clicks). This makes it easy to return to passenger settings or adjust back to solo riding configuration.
Adjusting Harley Touring Suspension for Two-Up Riding in Conclusion
Properly adjusting your Harley Davidson suspension for passenger comfort isn't just about making your rides more enjoyable. It's about safety, bike longevity, and maximizing the performance potential of your touring machine.
By understanding the fundamentals of preload, compression damping, and rebound damping, you're equipped to fine-tune your bike's suspension to handle the additional weight and dynamic changes that come with two-up riding. The small time investment you make in these adjustments will pay dividends in reduced fatigue, better handling, and a more confident passenger who's eager for the next ride.
At RWD V-Twin, we're here to support your Harley touring journey with quality suspension components, expert advice, and the parts you need to keep your bike performing at its best. Whether you're working with stock suspension or considering upgrades to premium shocks and damping systems, proper adjustment technique remains the foundation of passenger comfort.
Don't let improper suspension settings compromise your two-up riding experience. Take the time to dial in your suspension properly, and you'll discover just how capable and comfortable your Harley touring bike can be with a passenger onboard.


